Cold Process vs. Hot Process: Soap Making Methods Compared Like Never Before
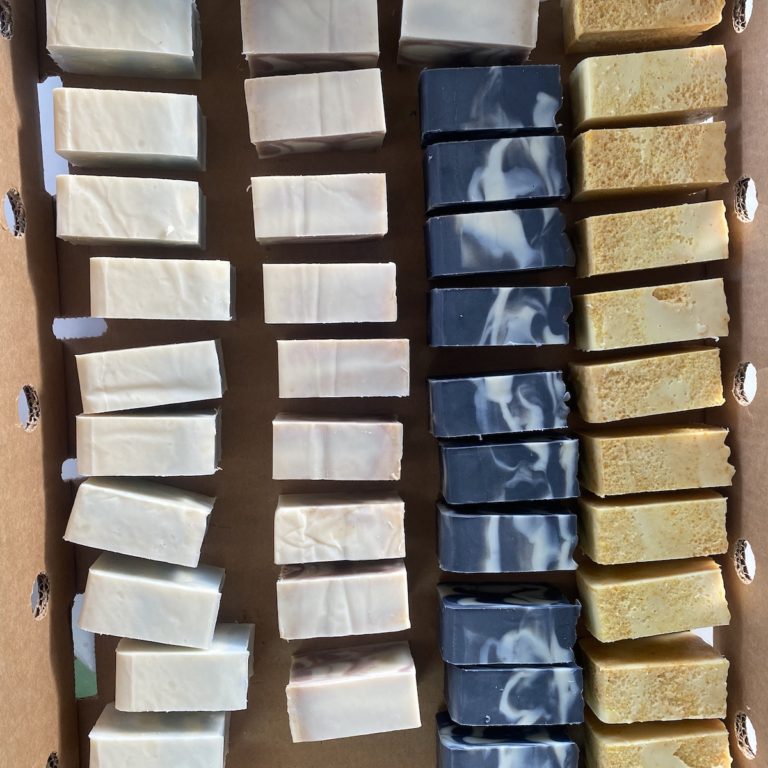
Handmade soap bars can vary significantly based on personal preferences, ingredients used, design details added, and even the method used to make them. While each one is a unique work of art, the process used to make the bar of soap creates a different soap-making experience for the soapmaker and a different looking and feeling bar.
Cold process soap making does not require an external heat source, takes longer to saponify, and produces shiny, hard bars. However, the hot process requires an additional heat source, saponifies quickly, and creates a rustic-looking bar.
Both soap making methods have similarities, but they differ in many ways. In this article, you’ll learn more about both processes. Come along as we take a closer look at how these methods work, how they compare, and their pros and cons.
How Cold Process and Hot Process Soap Making Methods Are Similar
While these methods for making bars of soap differ significantly, there are a few ways they are the same.
Both methods require:
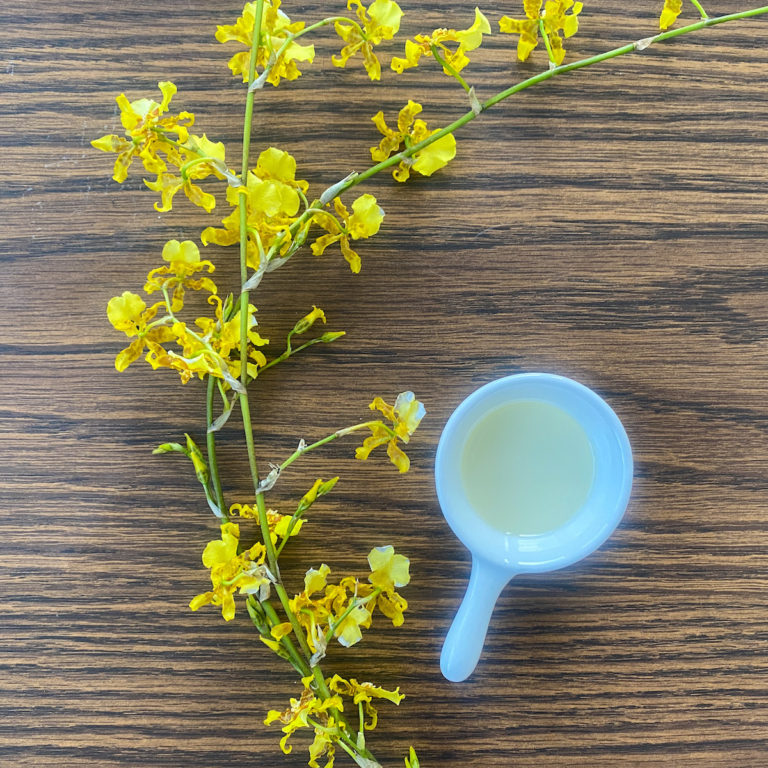
- Starting with a prepared lye solution, which is lye dissolved in a liquid. Usually, the liquid is distilled water, but it can be fruit juice, milk, tea, or something else for some recipes.
- Melting the fats and mix them with the liquid oils to prepare them before using in your recipe
- Combining the lye solution and oils to get the saponification and emulsion started
Why the Different Methods?
Beyond these key components that both processes have in common, the methods diverge, and here’s why. The saponification that occurs in both approaches (after the fats or oils mix with the lye and become soap) is classified as an exothermic chemical reaction. This means it naturally gives off heat. The process of saponification takes about 24 to 48 hours on its own.
The hot and cold methods come into play because you can slow down the process by keeping it cold (or neutral) or speed it up by adding more heat.
Cold Process Soap Making: A Basic Overview
The word “cold” can help you remember some of the key differentiators about cold process soap making. Cold process doesn’t require using an additional external heat source; it takes a long time to saponify and cure (think about an ice cube taking a while to form), and it results in a hard, shiny bar (like a “cold” ice cube!).
If we’re getting technical, it’s not exactly a completely “cold” process because you heat the fat ahead of time. You already know that heat is naturally created during the chemical reaction of saponification. But it is cold because you don’t add any additional external heat during the process. For some recipes and techniques, you even refrigerate or freeze your batter to really slow it down. However, typically, you’re simply letting it do its thing without extra heat.
Steps for Making Cold Process Soap
After combining your lye solution and fats according to your recipe for cold process soap making, here are the next steps you’ll follow:
- Alternate between mixing with your immersion or stick blender for about 20 seconds and powering it off to hand stir for 20 seconds. Continue mixing until you see trace is reached. Your soap batter should be thick enough that you see a faint, fleeting imprint when you lift out the blender and drizzle some across the top.
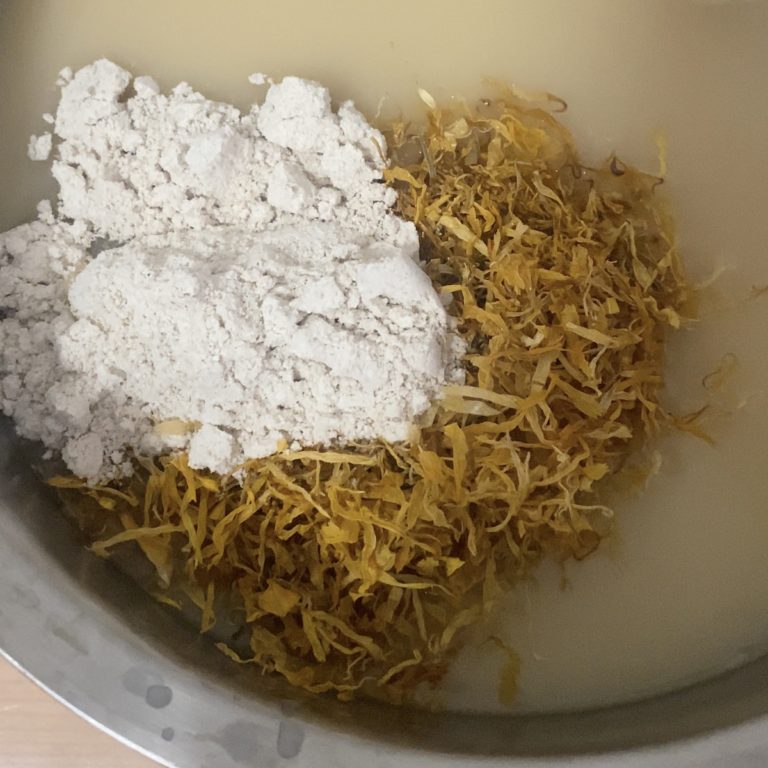
- If you’re adding color, fragrance, or other mix-ins like exfoliants, now’s the time. Separate your batter into bowls if you are swirling or layering, and mix in your add-ins.
- Carefully pour or dollop the soap into your mold (make sure it’s lined if your style mold requires that). Swirl, stir, layer, etc., if required for your recipe. Remember that the soap is still dangerous to your skin at this point, so use care as your pour and make sure your hands, arms, and eyes are protected. Give it a few taps on the counter to knock any air bubbles up to the top.
- Cover your mold with a sheet of wax paper and the lid if it came with one, or otherwise a cardboard piece.
- Insulate your mold to retain its heat by wrapping a towel or blanket around it. Place it somewhere safe where it won’t get bumped for one to two full days.
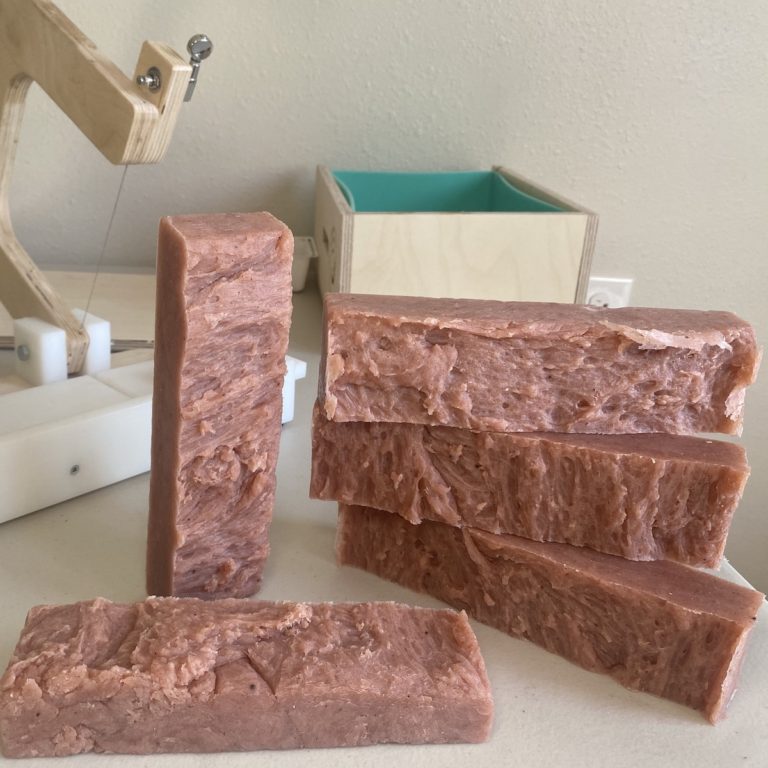
- After one or two days, remove the soap from your mold and slice it into bars. One inch is a standard width to go with. If your mold came with a knife, use that, or otherwise, a sharp kitchen knife will work well. A ruler, miter box, or soap cutting box may help you keep consistent bar thickness if you’d like. Here’s a quick video on how a soap cutting box works: https://www.youtube.com/watch?v=zUSIHiyqrCA
- At this point is where the waiting comes in. Before you can use your soap, you should let the bars sit out in open air to cure for about four weeks. Place them on sheets of wax paper or a coated baking sheet. Sitting out in the air allows water to evaporate from the bars, which makes them firmer and ultimately makes them last longer in the shower. If you choose to use them before four weeks, it’ll still work, but the bar will not last as long.
Pros of Cold Process Soap Making
In this section, we’ll analyze the advantages of cold process technique when making handmade soap.
- Cold process is easier. When all is said and done, cold process requires you to simply mix your ingredients, pour into a mold, and wait. While there are some nuances and things to know about the process, it’s not terribly complicated.
- This method allows for design details. Since cold process allows for a natural, gradual saponification process, the trace of the batter will enable you to add a variety of different design techniques and effects. You’re able to layer in colors, add swirls, frosting, and more based on a thin or thick trace.
- Cold process doesn’t require a double boiler or crockpot. There’s no need to haul out the extra equipment or use additional electricity. Cold process soap making only requires you to mix up your batter and pour it into a mold.
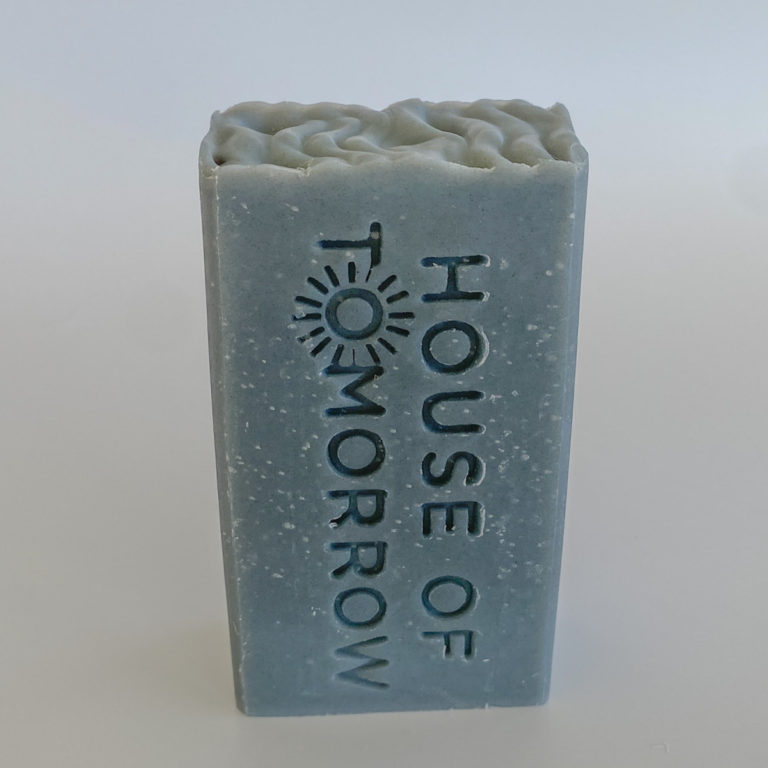
- The soap bars appear polished. This could technically be a pro or a con, depending on personal preference. Still, in general, there’s something professional and put-together about a nice firm, smooth, polished-looking bar of soap. Many people appreciate this appearance, and the cold process method gives it to you.
Cons of Cold Process Soap Making
Here are the disadvantages of using the cold process method for making soap:
- You need to wait weeks before using the soap. It can be very hard for those who like instant gratification to wait for weeks until your cold process soap is cured and ready to use.
- Potentially less impactful fragrances. Since scents are already in the soap batter as it sits in the mold saponifying, there’s a possibility that the chemical reaction going on can alter their strength and smell. Some people think the fragrance does not last as long in cold process soap.
Hot Process Soap Making: A Basic Overview
Hot process soap making results in beautifully rustic bars that often have a slightly lumpy top and overall texture. It’s easy to remember and makes sense that the hot process is the one that requires adding additional external heat. The reason is it speeds the soap through the saponification process, so it is ready to use sooner than cold process soaps are.
Steps for Making Hot Process Soap
To make hot process bars of soap, after mixing up your lye solution and melting your oils, you’ll combine them and continue cooking in the crockpot or double boiler.
Part 1 for crockpot cooking – mixing and cooking: (see below for double boiler cooking)
- Mix your lye solution according to your recipe and use the crockpot to melt oils.
- Very carefully and slowly, pour your lye solution into your oils in the crockpot while stirring gently.
- Using your immersion blender, pulse the mixture in the pot while stirring. You’ll see it come together pretty quickly and begin to thicken. After a few minutes of mixing, your batter will come to a trace. This is when it looks at the consistency of thin pudding and holds its shape when you pull out your blender to drop some on top.
- Cover your crockpot to keep much water from escaping, turn it on to “low,” and walk away for 50 minutes. This will heat your batter somewhere between 140 °F and 176 °F (60 °C and 80 °C), helping it go through saponification until it reaches the gel phase.
- Keep an eye on your soap as it cooks. If it begins to overflow, give it a simple stir to get it back under control and cover it back up. Otherwise, there’s no need to stir it, even if you think you should.
- As your batter cooks, prepare your soap molds if they need to be lined, and get any additives ready, such as colors, fragrances, or mix-ins like exfoliants.
- After 50 minutes, your soap mixture will have bubbled on the sides, boiled, turned translucent like petroleum jelly, expanded more, and started to fold over on itself. After it’s all translucent and folding in enough to fill the middle, it should be ready to turn off.
- Turn off your crockpot and allow the soap batter to cool briefly, but not too long, as it will begin to harden sooner than you think. Now is the time to add any essential oils, fragrances, and additives. Work quickly and carefully, as hardening begins soon as the soap paste cools.
(See below for part two – final molding steps, which are the same whether you cook in a crockpot or double boiler.)
Part 1 for double boiler cooking – mixing and molding:
- Before melting your oils and mixing your lye solution, add enough water to your boiler so the soap pot can be half-submerged and not floating.
- Add your soap pot inside the boiler and heat with medium heat.
- Mix your lye solution according to your recipe, and add oils to the soap pot so they melt.
- Carefully and slowly, add your lye solution to the oils in the soap pot. Mix by pulsing your immersion blender until it reaches trace.
- When the water starts boiling, turn the heat down and keep a low simmer for about one hour. Lids should always be on, and the water should never get to more than a simmer. Do not let it rapidly boil.
- While the soap cooks, it’s a perfect time to prepare any ingredients you’ll want to add in at the end, like colors, fragrances, and exfoliants, or other mix-ins. Prepare your molds with lining if needed.
- After about one hour of simmering in the double boiler, remove your lids and stir the batter. It should look a bit like jelly, with an applesauce-ish consistency and rich golden color. Remove a dab of soap to let cool for a brief test. Replace lids.
- With a dollop of test soap, let it cool a bit and then roll between your fingers into a small ball. When it’s cooked enough, it’ll keep its shape without being too sticky, and you’ll notice it turns an opaque white color.
- If it’s ready, move on to step ten. If it doesn’t quite do behave as described above, let it cook longer. Check it every fifteen minutes and do the ball test. Depending on your recipe, how big your batch is, and your oils, soap prepared in a double boiler needs to cook for one to two hours. Note: If your soap ball crumbles, it has overcooked. It may have cooked too long, too hot, or you may have left a lid off. It’s still usable soap.
- When your soap batter is ready, turn off the heat and let it cool down to about 140 ºF (60 ºC). It cools quickly and will begin to harden shortly after that, so if you are adding any mix-ins, now is the time. Work swiftly and carefully to avoid splashing hot water on you. Leave your soap in the double boiler as you combine your additives to keep a little warmth for ease of mixing.
Part two for both methods – molding:
- Pour your soap mixture into the mold, pressing it into all corners, tapping it a few times on the table to release any air, and let it settle in. Smooth out the top as much as possible.
- Let your hot process soap sit in its mold for one to two full days, or until it’s completely set. Usually, overnight is probably enough time.
- When it’s set, remove it from the mold and slice it into approximately one-inch thick bars using a soap cutter or sharp kitchen knife. Since you sped up your soap through the saponification process by adding extra heat, it’s technically ready to use as soon as it’s cut but will benefit from sitting out another few days up to a few weeks to harden further and cure.
Pros of Hot Process Soap Making
In this section, we’ll analyze the advantages of cold process technique when making handmade soap.
- You can use your soap very soon after making it. Many soapers love that you can use your hot process soap after just a couple of days or after a couple of weeks of curing. This beats the four week cure time for cold process soap any day.
- Longer lasting fragrances. Many people feel the scents in hot process soap tend to last longer since they’re added to the soap after being saponified. There’s no risk of the fragrances being altered during the chemical reaction since it’s already done.
Cons of Hot Process Soap Making
Here are the disadvantages of using the cold process method for making soap:
- Bars can be lumpy and rustic-looking. Again, this could be a pro or con depending on personal preference, but many people prefer soap batter that’s smoother and results in a more shiny bar.
- Detailed designs are tricky. Since the added heat in the hot process soap-making speeds the soap right through saponification, it can be incredibly difficult to add layers, swirls, frosting, etc.
- Difficult to add natural additives. While it’s not impossible, the hot process makes it hard to add natural ingredients like milk or purees. Unfortunately, they tend to scorch during the cooking period.
- You need an extra piece of equipment. This method requires using a crockpot or double boiler for the added heat, so it’s one more thing to buy, use, take up space, and clean. Granted, many people may already own one of these items.
Which One Should You Choose?
The soap-making method you choose comes down to personal preference, desired outcomes, and supplies available.
If these apply to you, choose the cold process:
- You can wait several weeks before using your bars of soap.
- You don’t have a double boiler or crock pot, or you don’t care to use it for making soap.
- You’d like it to be fairly simple to add swirls, layers, or other design details to your bars.
- You prefer a smoother, shinier, polished, more rigid bar of soap.
If these fit you better, choose the hot process:
- You’d like to use your soap sooner than later.
- You prefer a rustic, chunkier looking bar of soap.
- You have a double boiler or crock pot to use.
- You’re not interested in adding any swirls or other design details like layering, or you’re willing to work at it a bit to make them happen.
Conclusion
So what do you think you’ll choose, hot process or cold process soap making? Consider each method’s pros and cons, from the time it takes, supplies required, and resulting aesthetics. Both are excellent options, and you’re sure to create beautiful bars of soap no matter which process you go with.