How To Make A Shampoo Bar – The Perfect DIY Recipe To Customize
I’m going to teach you how to make a shampoo bar right in your own kitchen. After all, it seems everyone is switching over to shampoo bars these days, and that’s a great thing.
The popularity of shampoo bars shows that people are willing to adjust their routines to have a gentler impact on the earth. Because bars can be packaged in little to NO plastic, and they’re highly concentrated therefore requiring less fuel to transport, they’re much easier on our home planet. It’s highly concentrated nature means it’s easier on your wallet, too. The compact size and lack of water also means they’re easier to travel with.
The instructions you’ll find here will give you a great base or foundation that you can play with if you choose. It’s perfectly fine to keep this bar plain and simple (that’s the most cost effective, and quickest solution), but you can also dress it up with fancy additives, scents, and colors if you choose.
Shampoo Bars VS Soap Bars
So, what exactly makes a shampoo bar, a shampoo bar? There are actually many individual shampoo bar options in just two broad formulation categories on the market. It can get confusing because people/sellers often call them all shampoo bars, but the formulas technically refer to 2 separate things..
The first category of shampoo bars are actually soaps specially formulated for use on the hair. Although I love making soaps and have used them in the past to wash my own hair, they’re highly alkaline (while the human scalp/hair is acidic) and some people’s hair is just not going to put up with it. I believe many people with longer hair are not going to be satisfied using soap in the long term. Soaps are nice for those with shorter hair, in a pinch, or those willing to invest in extra time to do some sort of secondary rinsing step that helps to bring the PH back down. I personally hated the way my hair felt when I washed it with soap after a day at the beach (salt water hair).
The other category of shampoo bar is actually a syndet bar, not a true, old-fashioned soap. In broad, sweeping terms, these use the same types of ingredients found in liquid shampoos, but without the water. We basically form surfactants (cleansing and lathering agents) into bar form with some conditioning and hardening agents.
The formula I’m going to share with you fall into the latter camp. It’s not a soap – it’s a gentle syndet bar. It’s sulfate-free, though most shampoos and shampoo bars do use sulfates like SLS and SLES. I am not willing to work with SLS or SLES myself, therefore I can’t in good conscience recommend you do so.
Is It Worth Learning How To Make A Shampoo Bar, Or Is It Better To Buy?
Why learn how to make a shampoo bar yourself, instead of buying? It’s definitely not a required life skill, so if you want to skip the work of buying supplies (which you then have to store somewhere in your home), measuring, molding, curing bars, etc, there are many ready-made options including my shampoo bars which you can find here.
Some of you though, have an irresistible urge to make your own stuff and I’m here (as someone who has made a butt-ton of shampoo bars) to share what I know and make it easy on you. Other reasons for making your own include a greater degree of control over the ingredients, tailoring it to your exact preferences. Your options to customize are just about limitless. Pick the exact additives and scents you want, and make it whatever shape and size your heart desires.
How to Make A Shampoo Bar – The Best Starter Recipe
- 3.8 oz recipe
- this is the perfect amount to make 2 shampoo bars, which will last for 3+ months if used by just a single person
TOOLS/EQUIPMENT
- Scale that has the ability to measure in grams
- Digital thermometer
- Safety goggles for eye protection
- High quality dust mask / respirator mask
- Medium bowl to measure dry ingredients and mix bars in
- Small bowl to measure your liquid surfactant
- Small pot to measure and shea butter and cetyl alcohol
- Metal spoon for mixing
- Small spatula for scraping
- Optional: shampoo bar press
- Optional: gloves for hands
- Optional: small spray bottle filled with water
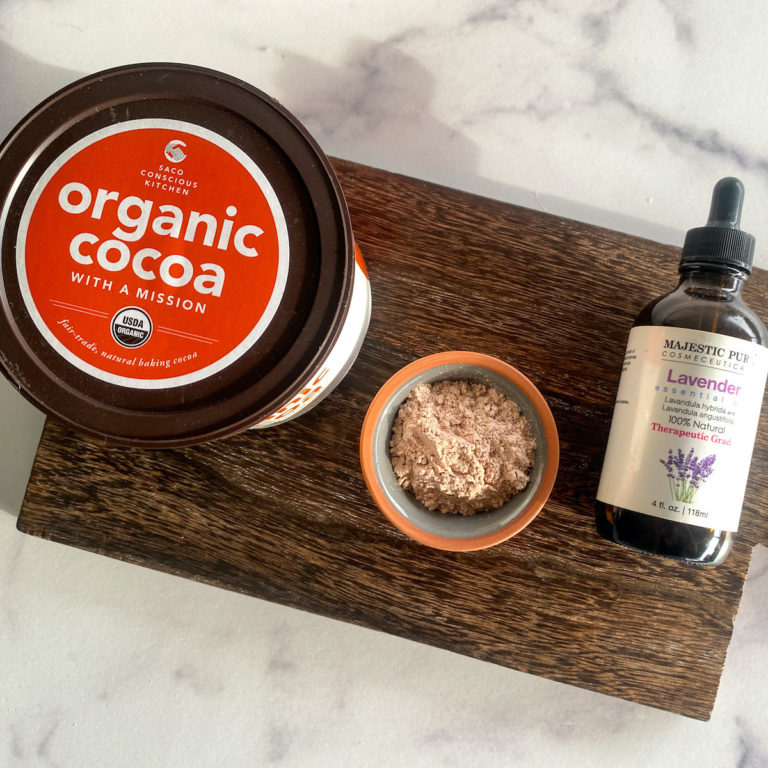
INGREDIENTS
Note: ingredients are measured in grams
POWDERS
- Sodium Lauryl Sulfoacetate (SLSA): 27 g
- Sodium Cocoyl Isethionate (SCI): 47.7 g
- OPTIONAL – Powdered additives like ground herbs: 1.2 g
LIQUIDS
- Cocamidolpropyl Betaine (CAPB): 14.7 g
- OPTIONAL – Essential oil or essential oil blend of your choice: 1.2 g
HEATED
- Shea butter: 8 g
- Cetyl alcohol: 7.3 g
INSTRUCTIONS
- Gather ingredients and equipment
- Put on the appropriate eye and respiratory protection
- Measure out the powders into your medium sized bowl and mix
- Measure your liquids into your small bowl and mix
- Measure your heated ingredients into your small pot
- On the lowest heat setting your stove can provide, melt your heated ingredients, using your metal spoon to mix the ingredients occasionally to distribute the heat
- If you’re using essential oils, wait for your heated ingredients to cool down to about 160-175 degrees before moving on to the following steps because minimizing essential oil’s exposure to heat will help to preserve its beneficial properties better. If you’re not using essential oils, wait until your heated ingredients cool to about 160-190 degrees (will result in a comfortable handling temperature).
- Pour liquids into your bowl of powders and use a small spatula to scrape out as much as you can
- Pour heated ingredients (which are now a liquid) into your bowl of powders. Again, use the small spatula to scrape out as much as you can.
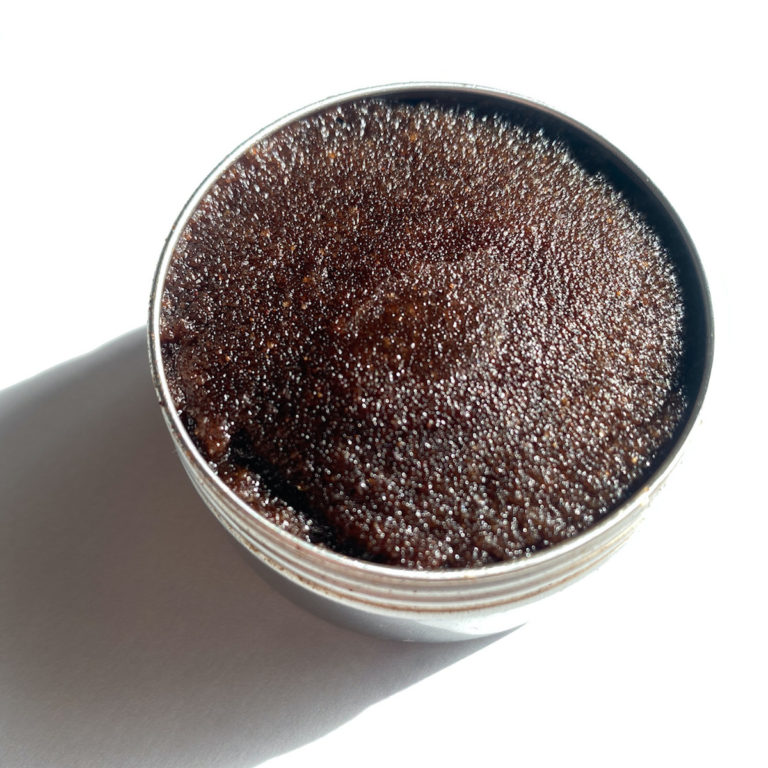
- Initially, you’ll mix everything together with your metal spoon since some ingredients will still be hot.
- Your mixture will be thick and clumpy. Switch to using your hands after about a minute, folding and sort of kneading the mixture to ensure your mix is well combined.
- Your shampoo bar batter will resemble a dough. Use your spray bottle to spray very small amounts of water at a time if your dough feels too dry to knead/shape. You will only need the tiniest amount, if you need any water at all.
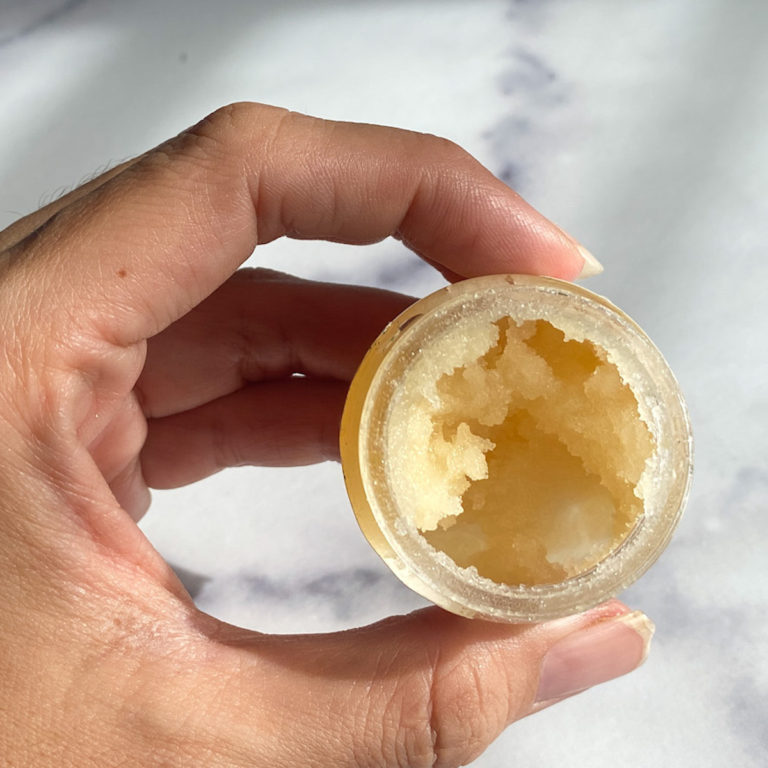
- Divide into 2. You can eyeball it, or use your scale if you want it to be really even.
- Shape the 2 dough balls into very compressed bar shapes. Use your shampoo bar mold if you have one.
- Set aside someplace cool and dry to cure for 1-6 weeks. The longer the better. There is water in Cocamidolpropyl Betain (CAPB) that needs time to evaporate if you want a hard, long-lasting bar, and this curing time allows that to happen.
TIP: Hopefully you’ve been saving plastics that come through your house that have the potential to be re-used somehow. If you are using a shampoo bar mold, it really helps to take a couple small pieces of old plastic bags to line the top and bottom of your shampoo bar press to prevent sticking and make for a nice, easy release. These pieces of plastic can be washed and reused many, many, many times over.
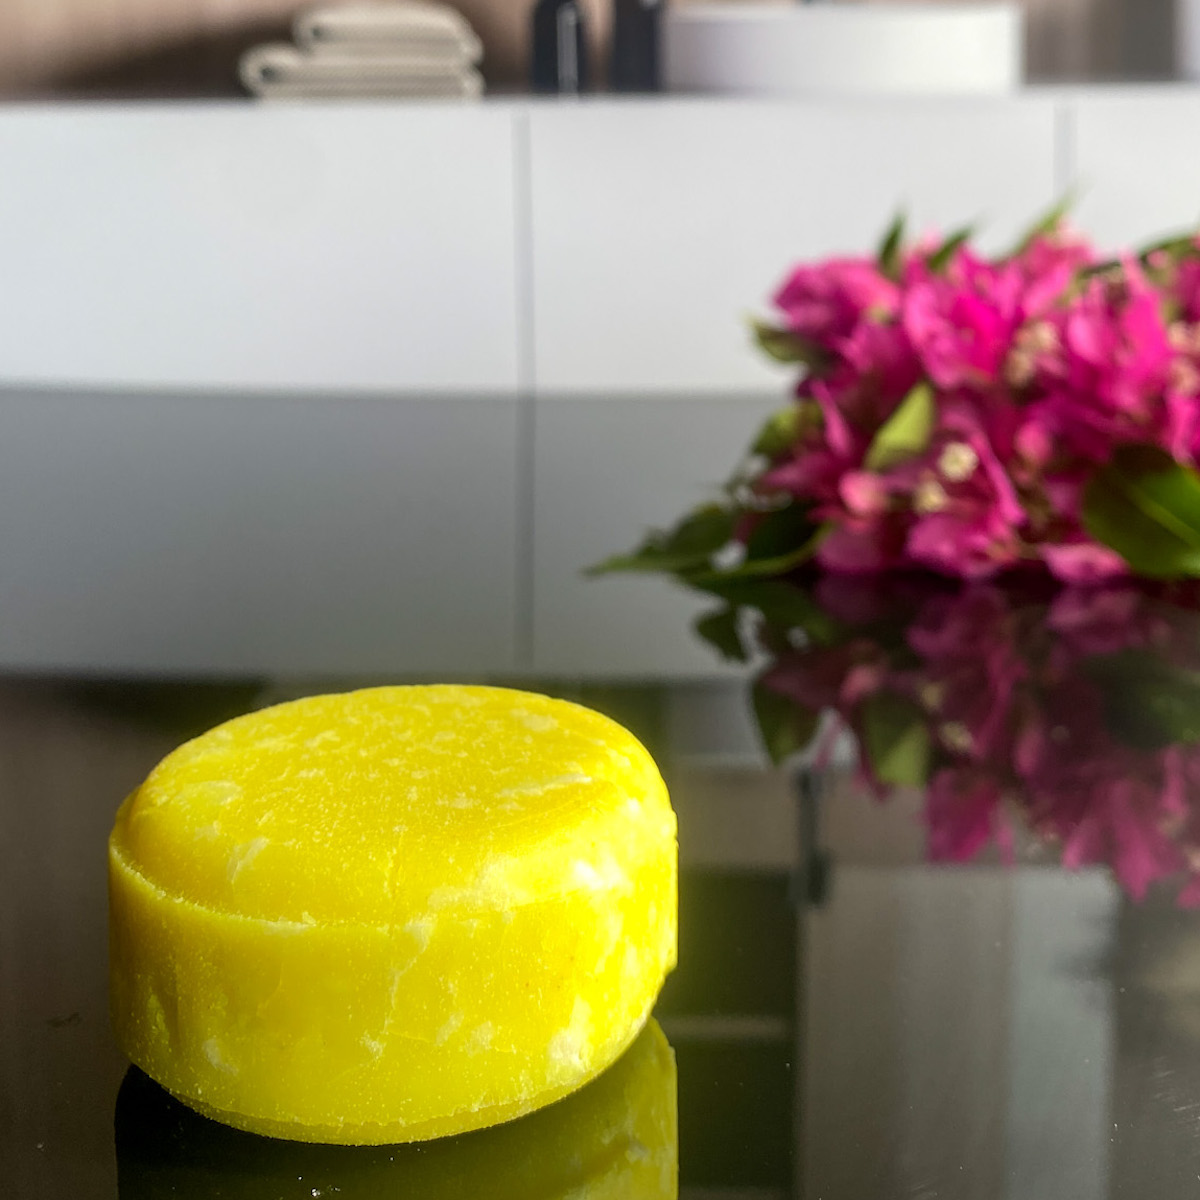
Once You Learn How to Make a Shampoo Bar, How Do You Use It?
Usage is pretty simple, it just takes some getting used to. It’s similar to how you already use a liquid shampoo, with some small adjustments.
- Wet your hair well and turn off the water
- Rub the bar around directly onto your wet hair/scalp a few times
- Put the bar someplace it can air out and dry
- Lather up like regular shampoo
- Rinse out like regular shampoo
How to Store Your Bar
When not in use, it’s important to store your shampoo bar properly to ensure it lasts as long as possible. Look for a spot out of direct sunlight. The most important thing is that it remains dry. Never keep it stored in a water puddle (no matter how small) or in the shower where it can get wet from water stream splashes. It’s fine to store it in the bathroom where the water won’t hit it, like on the bath ledge opposite the shower head. You might want to keep your bar perched on a draining soap dish, or a slice of loofa which will act like a lift for your bar.
Learning how to make a shampoo bar is a great way to reduce plastic waste and customize your formula to give your hair exactly what it wants. Your hair (and the environment) will thank you for it.