How To Make Homemade Soap Without Lye (Complete Guide)
Lye is an essential ingredient for soap making. Unfortunately, it is caustic and can cause serious injury if not handled correctly. Some beginner soap makers would like to make homemade soap without having to use this harsh chemical.
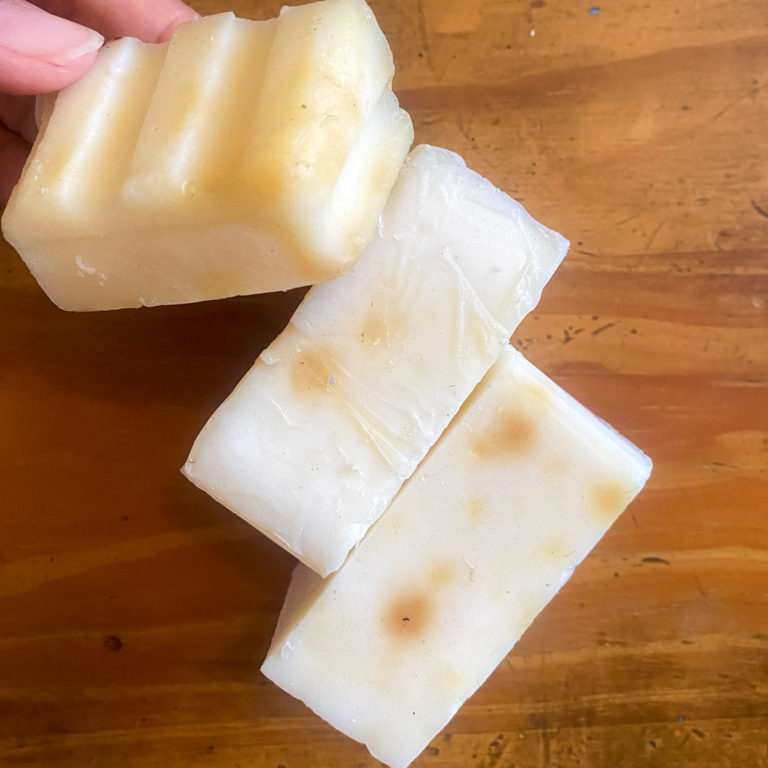
The best way to make homemade soap without lye is to use the melt and pour technique. Melt and pour soap making involves melting a soap base and adding selected ingredients. Lye is crucial to making all real soap, so the soap base is pre-made using lye.
This article will tell you all you need to know about making homemade soap without lye, including:
- Why lye is essential to soap making
- How to make soap from soap base
- Types of soap base
- Benefits of using a soap base
- Safe handling of lye
Why Lye Is Essential to Soap Making
The process of making soap involves a chemical reaction called saponification. During saponification, lye (sodium hydroxide) reacts with the fatty acids in the oils/fat to produce soap and glycerine.
Without lye, the reaction does not occur, and you simply cannot make soap. It’s not possible to substitute lye for sodium bicarbonate(baking soda) in this reaction. Saponification requires a strong base like lye or potassium hydroxide, and baking soda is not a strong base.
Though lye is caustic and should never be applied directly on the skin, it’s safe to use soap made from lye. Lye is used up entirely during the saponification reaction, and a well-formulated soap bar should have no lye remaining.
If you’re making your homemade soap bar, you might want to use a lye calculator to ensure you’re putting enough oils to neutralize the base thoroughly. Lots of soap makers use a technique called superfatting. It involves adding oils in excess, so some oils are left over after the reaction, making the soap mild and moisturizing.
Despite lye being so essential to soap making, I can understand why you might not want to work with it. It is pretty caustic and could result in burns if handled carelessly. If you also have kids or pets around the house and you’re interested in making soap yourself, you might be looking for safer family-friendly alternatives.
Melt and Pour Technique
You can’t make soap without lye. It’s a fact, but you can bypass the lye process and have someone else do it for you. You could purchase a soap base and add extra ingredients to make it better suited for your needs. This process outlined above is the melt and pour technique.
The soap base is essentially soap without any additives. Lye is added to a mixture of glycerine, oils, and butter to make a soap base. The saponification process occurs to create a soap base. While making the soap base, the makers add lots of glycerine, making it melt quickly for the melt and pour soap making process.
Making soap via the melt and pour technique is pretty easy, and it’s safe enough for your kids to join in. However, the type of soap you’ll make relies heavily on the type of soap base you use and the ingredients you add.
Just because you are starting with a soap base doesn’t mean the process is tiresome. You can still have lots of fun choosing shapes, designs, and fragrance.
Types of Soap Base
Soap base contains three primary ingredients:
- Lye
- Oils and butter
- Glycerine
There are two primary types of soap base:
- Commercial
- Homemade
Both types involve the same production process but may contain some different ingredients. Sometimes sodium laureth sulfate is a constituent of a commercial soap base. If you’re a fan of all-natural soap, you might want to ensure that the soap base you’d like to buy is free from sodium laureth sulfate and contains natural ingredients only.
The soap base is also distinguished based on the types of ingredients it contains. Some notable examples include:
White Soap Base
As the name implies, it’s white. It is very versatile and can be used in making various kinds of soaps. Types of white soap base include:
- Standard white soap base
- Natural white soap base
- Low sweat white soap base
These soap base types all come in white, and it would be best to choose one that best suits your needs. If you want to make homemade soap with vibrant colors, a white soap base might not be the right choice for you. The white color in the soap base tends to add a pastel shade to whatever color you add.
Clear Soap Base
A clear soap base is excellent if you’re making soaps in vibrant colors because it has no color of its own to interfere with your process. It’s also ideal for making soap with layers or embeds.
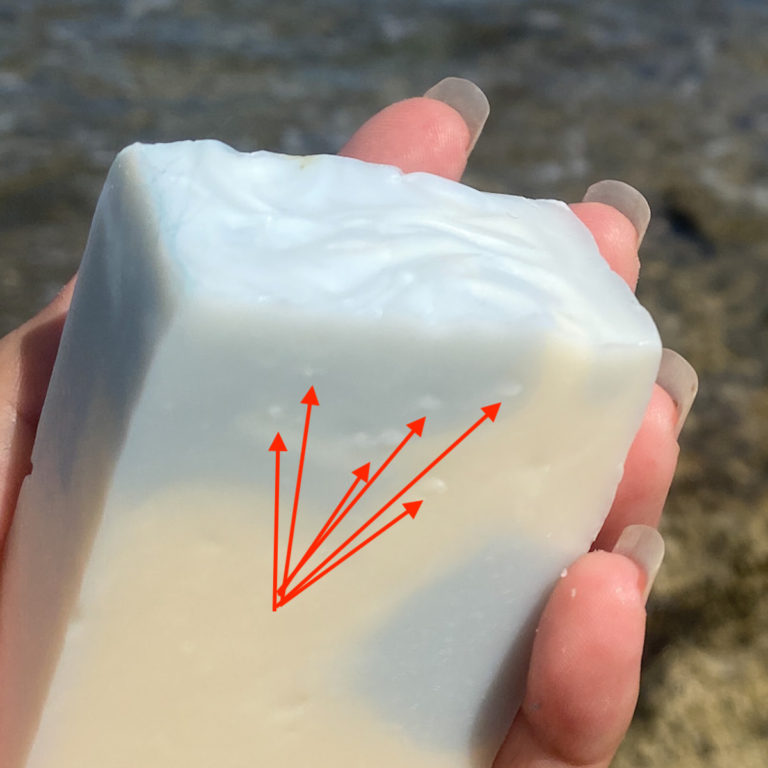
It contains lots of glycerine, which makes it clear and an excellent moisturizer for dry skin.
On the flip side, the glycerine attracts moisture to the surface of your soap, so it’ll sweat a lot more. To avoid this, you could opt for a low sweat clear soap base, which has reduced glycerine content to decrease sweating.
Moisturizing Soap Base
A moisturizing soap base contains extra natural additives to improve the moisturizing properties of the soap. Some popular moisturizing soap base includes
Goat Milk Soap Base
Goat milk is rich in moisturizing fats, butter, and oils. It is also naturally blended, so whatever ingredients you might add, blend in too. Using a goat milk soap base will make your soap product fit for use on all skin types but especially beneficial to dry or mature skin.
Goat milk soap base comes in a creamy white color, so, like a white soap base, it adds a pastel hue to added colors.
Shea Butter Soap Base
Shea butter is natural butter originating from Africa. It’s been a part of natural hair and skin care for centuries.
If you’re thinking of making a soap bar for dry skin, then a Shea butter infused soap base would be a great start. It is incredibly moisturizing and contains many vitamins, such as vitamin E and A, to nourish your skin.
Unfortunately, due to the high oil content, this soap base doesn’t lather very well. Consider not adding lots of oils during the soap-making process, or you’ll end up with an incredibly soft soap bar.
Olive Oil Soap Base
Olive oil soap base gives you the moisturizing olive oil properties without the greasy feeling of the other oil infused soap bases. You can also use a soap base containing olive oil and hemp oil. The hemp oil is rich in oleic acid, omega-6, and omega-3 fatty acids, making it a perfect nourishing soap bar.
Unique Soap Base
These types of soap bases possess unique properties that make them great for making any one of your personal favorites.
If you’re thinking of suspending exfoliators like oatmeal, coffee grounds, or even rose petals in your soap batch, you might want to go for a suspending soap base. This soap base, unlike a regular soap base, will keep your additives suspended. They are translucent and allow you to be more creative in your soap making process.
Palm oil is a crucial ingredient used in soap making. Sadly the growing of palm trees for palm oil production has been linked to deforestation. If you want to skip on the palm oil in your soap base as part of your efforts to save the environment, you can. Some soap base makers offer you palm oil free soap base.
You can also get a highly foaming shaving soap base containing conditioner and wheat powder for a smooth shave.
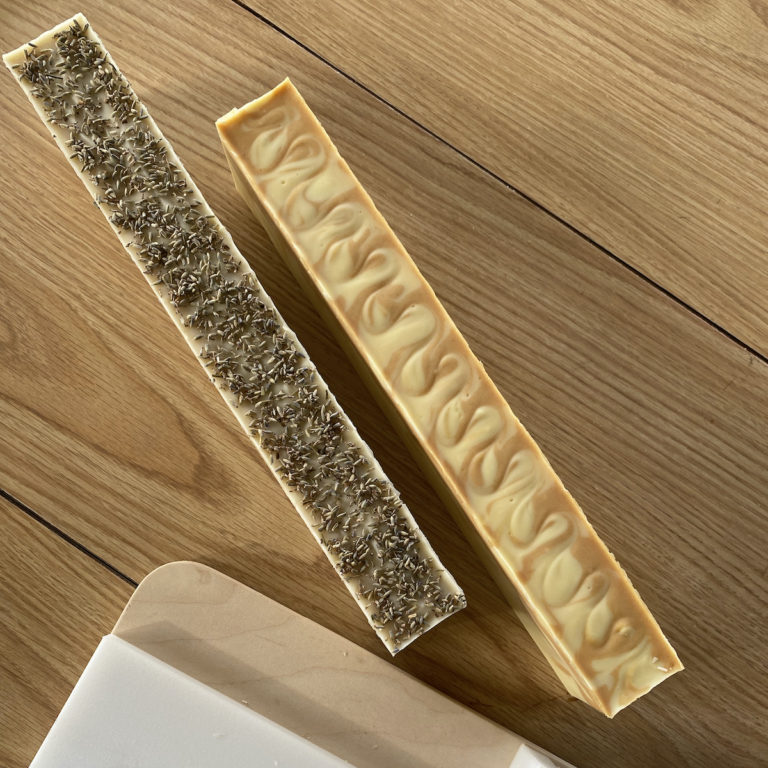
How To Make Melt and Pour Soap
Melt and pour soap entails melting the soap base and pouring it into molds. You make your soap more personal by adding other ingredients to your soap like:
- Oils
- Fragrance
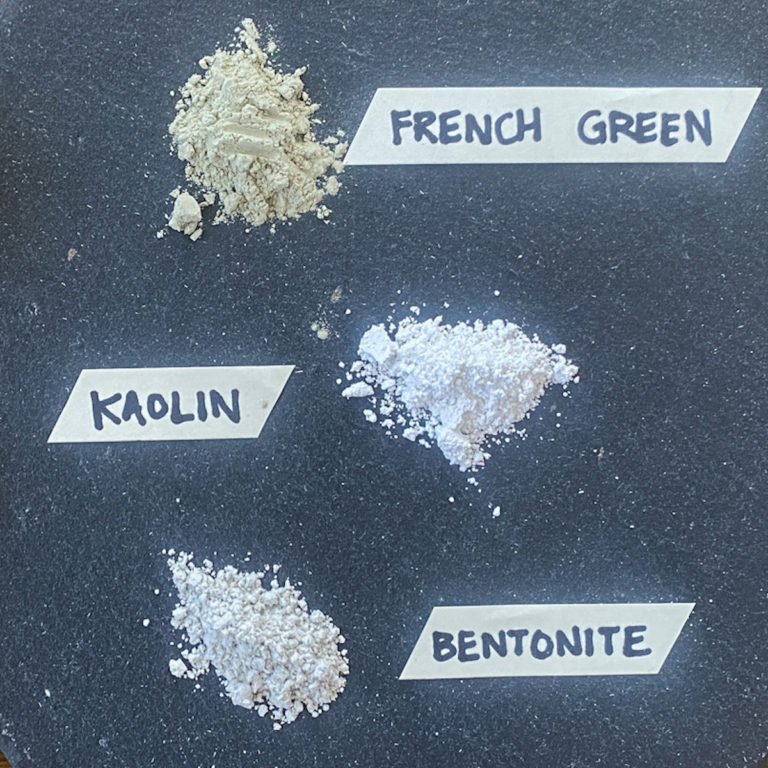
- Color (mica or herbs)
- Exfoliants
- Herbs
Once you’ve added all your additives to your melted soap base, pour the soap into your mold and leave it in the open for a few hours to harden.
A silicone soap mold would be ideal. These SJ Silicone Soap Molds from Amazon are an easy way to start.
You can also use other household items to hold your soap, such as:
- Empty milk cartons
- Plumbing pipes
- Wooden molds
Starting your soap from a soap base gives you room to modify your soap to meet your personal creative needs. If you’re beginning and unsure of what ingredients to combine with your soap base, I’ll be sharing my favorite melt and pour soap recipes with you.
Milk and Honey Soap
This soap combines the moisturizing properties of goat milk and honey.
Things you’ll need:
- 1lb goat milk soap base
- 3 tablespoons raw honey
- Soap mold
- Yellow coloring (optional)
- Red coloring (optional)
- Microwave safe bowl
Follow these instructions:
- Cut up your soap base into small cubes.
- Place the cubes into the microwave-safe bowl.
- Put your bowl into the microwave for 30-second sessions.
- In between each session, stir the melting soap thoroughly.
- When the soap has melted completely, add three tablespoons of honey.
- Add in a few drops of yellow and red coloring to achieve a golden shade.
- Pour your soap mixture into your soap mold.
- Allow the soap mixture to sit for about two hours.
- Once it’s hardened, it’s ready to use.
Chocolate Mint Soap
This sweet-smelling soap is excellent for oily skin.
Things you’ll need:
- 1lb shea butter soap base
- 2 tablespoons cocoa powder
- 2 tablespoons chopped fresh mint
- 10 drops of peppermint essential oil
- Soap mold
- Microwave safe bowl
Follow these instructions:
- Cut up your shea butter soap base into small cubes.
- Put the soap cubes into the microwave-safe bowl.
- Place your bowl into the microwave for 30-second sessions.
- Stir your soap thoroughly in between sessions till it’s completely melted.
- Add cocoa powder.
- Throw in your chopped fresh mint.
- Add about 10 drops of peppermint essential oil.
- Pour your soap mix into the soap mold.
- Allow to set and harden for about two hours.
Exfoliating Soap
This exfoliating soap is excellent for eliminating dead and dry skin cells. It’s gentle and takes less than minutes to make.
Things you’ll need:
- 1 pound of clear glycerin soap base
- 4 tablespoons distilled water
- 4 tablespoons oil (coconut oil, olive oil, or almond oil)
- Exfoliating ingredients (cornmeal, coffee, chia seeds, oatmeal, or oatmeal)
- Soap mold
Follow these instructions:
- Cut up the glycerin soap base into small cubes.
- Place the soap cubes into your microwave-safe bowl.
- Put your bowl of soap cubes into your microwave for 30-second sessions.
- Stir in between heating sessions.
- Let it cool a bit, and add in your oils.
- Add distilled water.
- Add your dry exfoliating agents.
- Pour your soap mix into a mold and let it sit for about two hours.
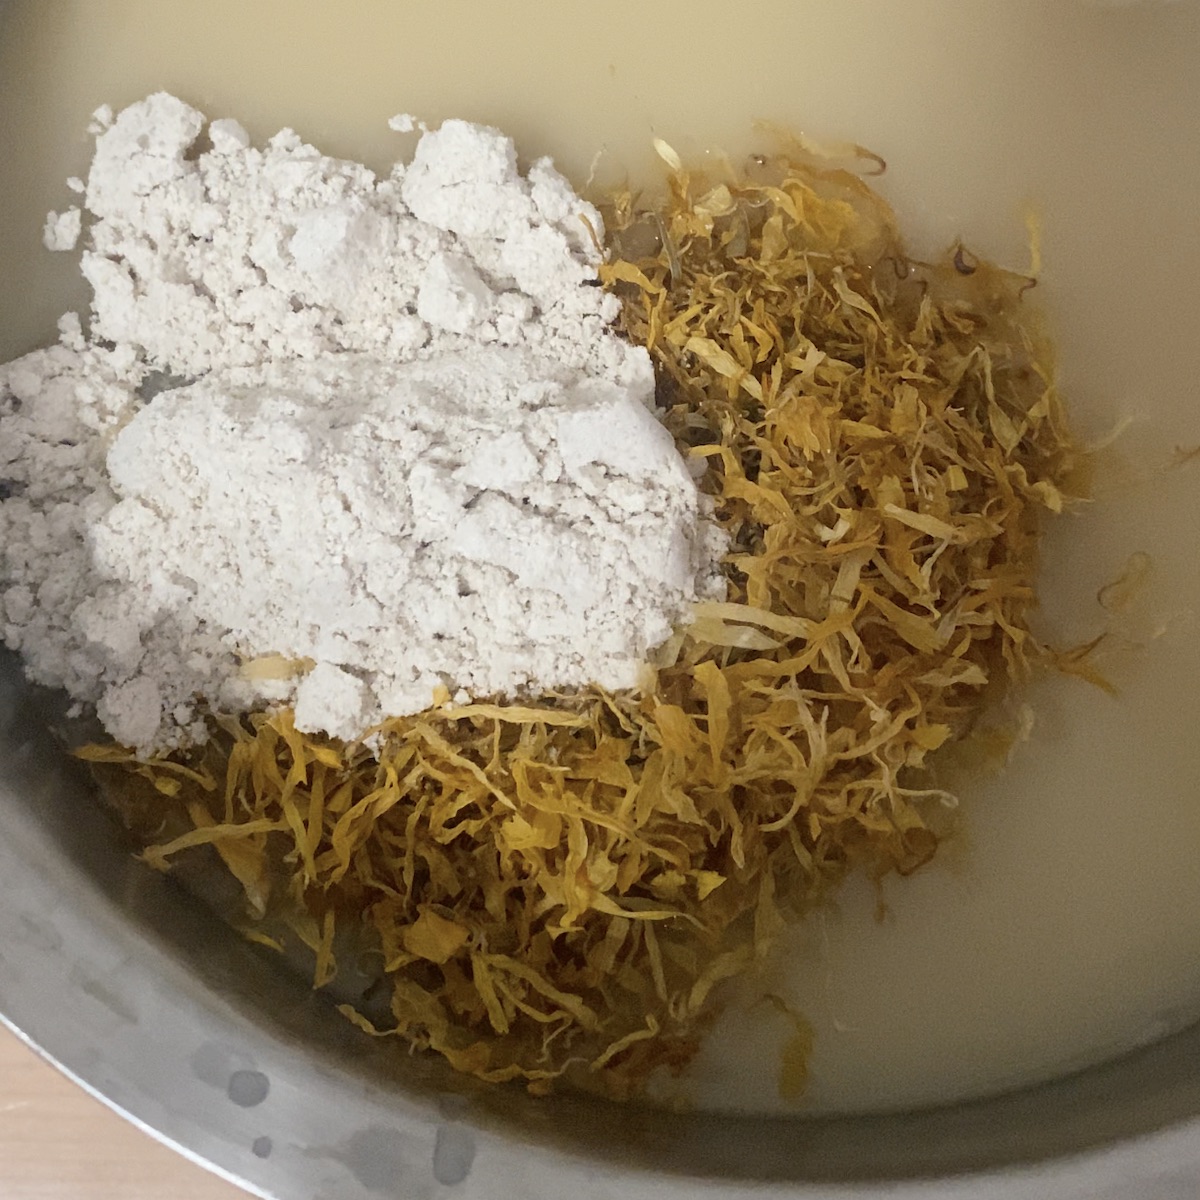
Lemongrass and Matcha Soap
Matcha isn’t only for drinking. It’s excellent for reducing inflammation, controlling signs of aging, and evening out your complexion. When combined with the skin brightening properties of lemongrass, you have a refreshing, healing soap.
To get the matcha evenly blended, use an immersion blender, but it can cause bubbles to form in your soap bar. A quick alcohol spritz should eliminate those unwanted bubbles.
Things you’ll need:
- 1/2 cup Glycerin soap base
- 1 teaspoon shea butter
- 1/4 tsp Matcha powder
- 20 drops lemongrass essential oil
- 10 drops Eucalyptus essential oil
- 10 drops Cedarwood essential oil
- Alcohol
- Microwave safe bowl
Follow these instructions:
- Cut up the glycerin soap base into small cubes.
- Put the soap cubes into the microwave-safe bowl.
- Place your bowl into the microwave for 30-second heating sessions.
- Stir thoroughly in between sessions.
- Put in the shea butter into the melting soap and return it to the microwave.
- When the soap has melted fully, add your matcha and blend evenly with an immersion blender.
- Add in your essential oils and mix evenly.
- Pour into soap molds, spritz with alcohol, and leave to harden for about two hours.
Benefits of Using a Soap Base
- You won’t have to work with lye. Starting your soap making process is an excellent way to skip using lye in your soap making efforts. It’s a safe way to get kids involved in soap making without the danger of exposing them to lye.
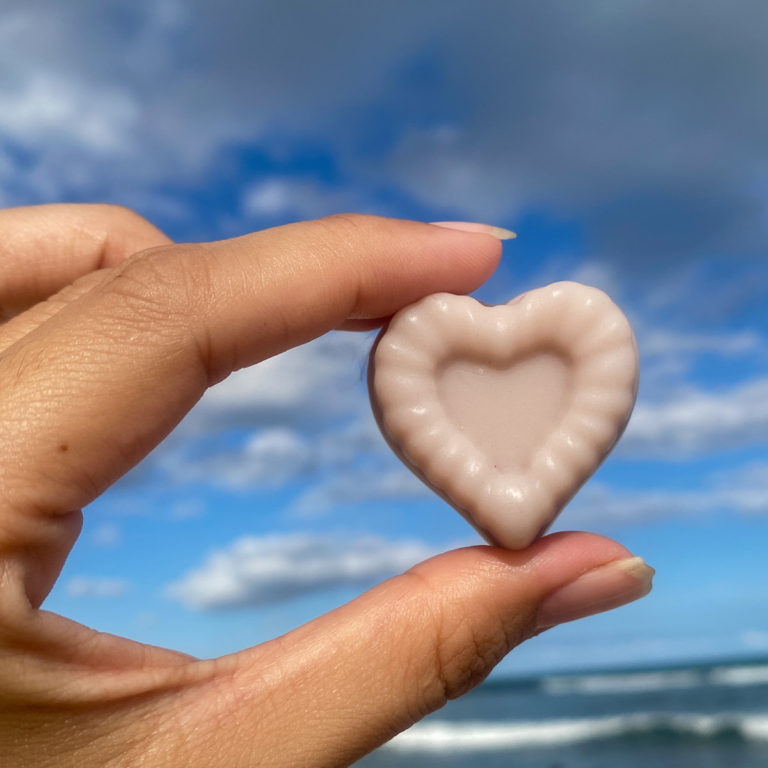
- You can create fun shapes. You can develop soaps in fun shapes and sizes. To get these fun shapes, you can make your molds or order them online.
- You can add herbs and micas. By adding herbs, you can improve your soap’s benefits; it caters to your specific needs. For instance, if you’re battling acne, infusing your soap with lemongrass oils and matcha can help reduce the inflammation and improve your skin’s appearance.
- It’s quicker and easier. It takes about ten minutes to melt and pour soap, and it requires little expertise. A beginner can work with these recipes and achieve a perfect soap batch in minutes. Cleaning up afterward is also a breeze.
- You can use the soap immediately. The soap base has already completed the saponification process, so there’s no need to leave the soap for weeks to cure. There’s no danger of irritating your skin with active lye because the soap base has used up all the lye used in making it.
- You have full control of the ingredients. You can decide what type of components to add to your soap. You can make soaps that are best for your skin. If you have sensitive skin, you can decide to opt for zero fragrance. You can also choose to skip using liquid soap dyes and go for natural herbs or natural colors to achieve your desired color.
How To Handle Lye Safely
Starting with a soap base is fine, but If you’d like to make your soap from scratch, you’d eventually have to handle lye. Understanding the safe way to work with lye is essential.
- Wear protective gear. Dish hand gloves that get to your elbows are okay, but you could wear latex gloves instead if you find them too bulky. Long sleeve shirt to protect your arm. Goggles to protect your eyes from possible splashes. A face mask to save you from breathing the fumes is also an excellent addition.
- Use appropriate lye containers. Not all types of bowls are safe for mixing lye. During the mixing process, lye produces lots of heat, so you’ll need a heat-safe container. Lye also reacts with some metals like cast iron, steel, and aluminum. The best containers to mix lye are glass, heat resistant plastic, and ceramic containers. Use only wooden or heat resistant plastic spoons for mixing.
- Do not add water to lye. If you add water to lye, a violent reaction can send splashes of lye solution flying around. You could get seriously hurt. It’s best to add lye slowly to water.
- Store away your lye. Label lye containers boldly with the word ‘LYE.’ Add extra warning signs like ‘POISON,’ ‘DANGER,’ to warn unsuspecting people. Store and lockup lye away in a cupboard. Suppose you have kids around put the key to the lye cupboard far from their reach.
- Wash your skin with water if lye touches it. Suppose your lye spills on your skin during soap making. Don’t panic. Rush over to the tap, put the affected area under running water for 15 minutes, and seek medical assistance. If you get some lye in your eyes, flush your eyes with water for 15 minutes, too, and seek medical help.
It may not be best to use vinegar to neutralize lye in your skin because the reaction between vinegar and lye produces more heat. However, you can use the vinegar to neutralize working surfaces before cleaning up.
Final Thoughts
Making soap without lye is possible only if you’re starting the soap making process with a soap base using the melt and pour technique. Melt and pour soaps are quick and easy to make and can be an excellent way for beginners and kids to get involved in soap making.
In this article, we discussed:
- Why lye essential to soap making
- How to make soap without lye
- Types of soap base
- Melt and pour soap making recipes
- How to handle lye safely
Sources
- Rural Sprout: 15 Melt and Pour Soap Recipes Anyone Can Make
- Organic Beauty Recipes: Top 3 Glycerin Melt and Pour Soap Recipes
- Happiness Is Homemade: 10-Minute DIY Milk & Honey Soap
- Hello Glow: Our Complete Guide to Using Melt-And-Pour Soap (+ 20 Recipes To Try!)
- Hello Glow: DIY Exfoliating Homemade Soap – 4 Ways
- Hello Glow: How to Make Homemade Cocoa Mint Soap
- Healing Harvest Homestead: Without Using Lye? (Here’s a Secret, Easy Way!)
- Brownthumbmama: Make Soap Without Using Lye
- Wholenewmom: Make Your Own Soap Without Lye (well, you’ll see what I mean)
- Lovely Greens: How to Make Soap Without Lye (Your Questions Answered)
- Wikipedia: Saponification
- Soap Guild: Lye calculator
- Fishersci: Material Safety Data Sheet
- Sodium hydroxide, solid
- Sciencing: How to Use Lye Safely
- Naturesgardencandles: Melt and Pour Soap Benefits
- Doctorndtv: Skincare Tips: Get Flawless Skin With This Homemade Matcha Tea Face Pack; Know The Benefits
- Rainforest Rescue: Palm oil – Deforestation for Everyday Products
- Healthline: Hemp Oil for Skin
- Latech: Chemistry122: Synthesis of Soap