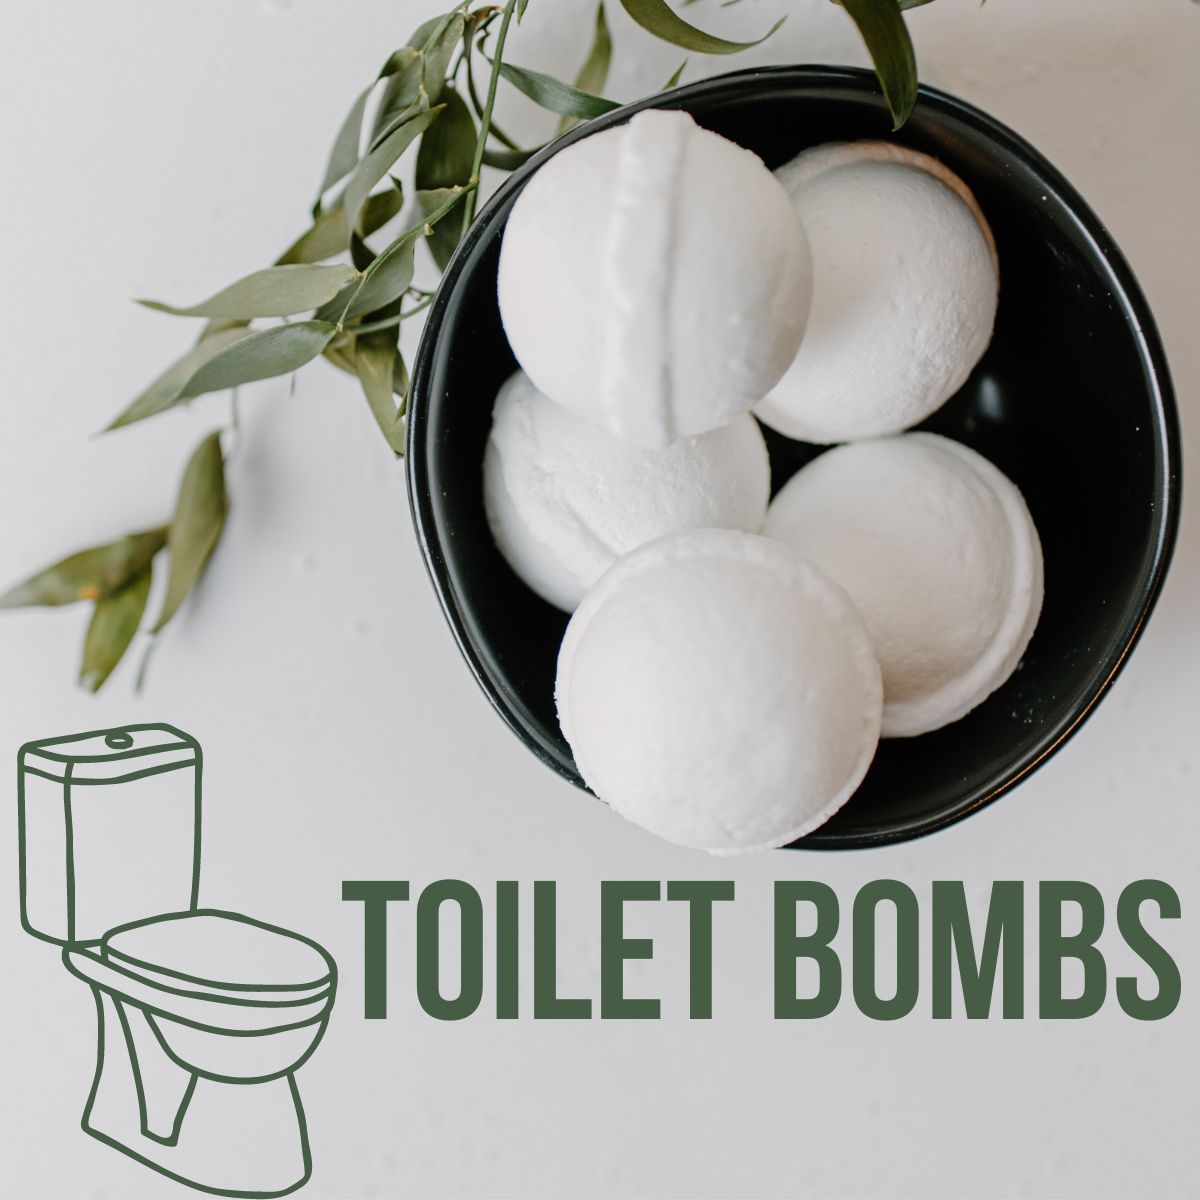
How To Make Toilet Bombs & Make Cleaning Fun (Kinda)
You’re in the right spot if you’re ready to learn how to make toilet bombs that are free from toxins and environmental pollutants. You’ll need some very basic equipment that you probably already own, and a handful of natural ingredients that are fairly easy to find.
Benefits of Making & Using Toilet Bombs
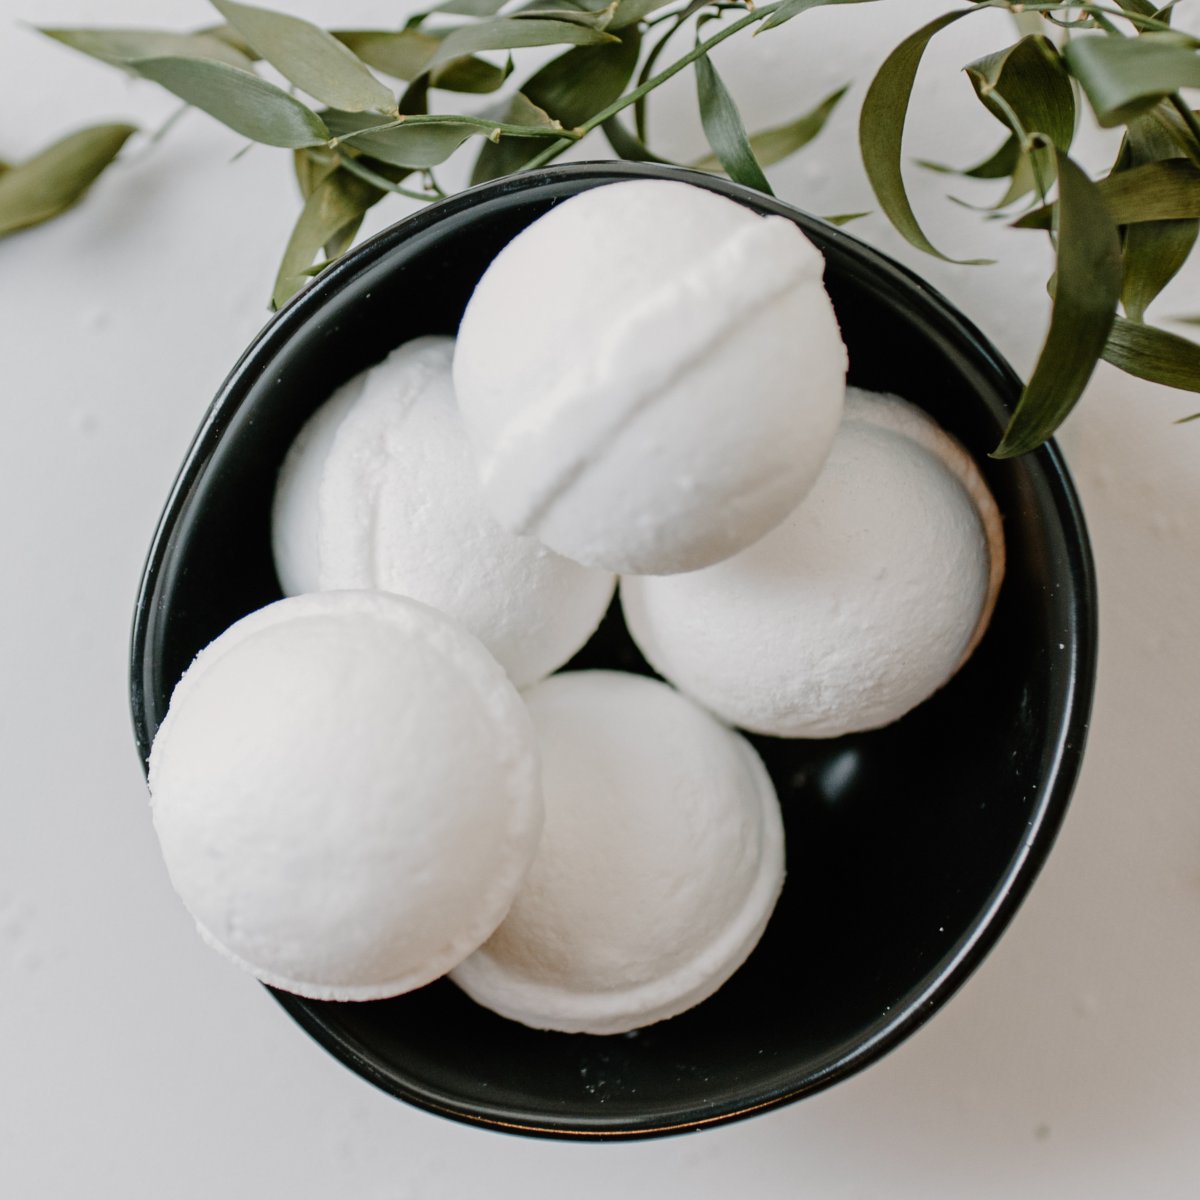
Using toilet bombs can add a little bit of fun and ease to a fairly unpleasant chore. You drop them in your toilet, they dissolve, releasing cleaning agents into the toilet water, which you’ll then use to scrub it clean.
They’re usually effervescent, so they fizz up when they hit the water, much like a bath bomb.
It’s that fizzing action that makes people want to use them. If you’re lucky, you might find that your kids/partner/housemates are more eager (or at least willing?) to clean the toilets if you keep some toilet bombs handy.
They’re also made of completely safe and natural ingredients, which simply cannot be said of commercial toilet cleaners.
You’re saving on packaging waste too. It’s not easy to make an apples-to-apples comparison, but the amount of packaging that comes with the ingredients required to create your own toilet cleaner at home, pales in comparison to the amount of packaging you’d go through if buying ready-made commercial cleaner.
How to Make Toilet Bombs For Cleaning
Equipment:
- Mixing bowl
- Mixing spoon, whisk, or gloves (this depends on your preferred method of mixing these ingredients)
- Measuring cups and spoons
- Silicone mold or mooncake press (optional)
- Spray bottle
Recipe Ingredients:
- 1 cup baking soda
- 1/4 cup citric acid
- 1/4 cup cornstarch
- 1/4 cup Epsom salt
- 2 tablespoons water
- 20 drops of essential oil (optional and definitely not neccessary)
- Water to fill your spray bottle
As an alternative to using essential oils, you can use lemon or lime juice in the same amount to add a fresh scent. The scent will be much more subtle, but this is more cost efficient and resourceful. Hey, any scent you choose is only going to end up down the drain anyway.
Instructions:
- In a mixing bowl, combine the baking soda, citric acid, cornstarch, and Epsom salt. Mix the ingredients together until they are well combined. You can use a large spoon, whisk, or even your hands (which I personally find to be most effective).
- If you want to add essential oils or citrus juice to scent your toilet bombs, add 20 drops to the dry ingredients and stir until evenly distributed.
- Slowly add the water to the dry mixture, whisking continuously as you pour. You may notice the mixture starting to fizz. This is normal and expected, but you do want to keep fizzing to a minimum, so you really have to add it slowly.
- Continue whisking until the mixture starts to clump together and resembles wet sand. You want the mixture to be just wet enough that it sticks together when you press it with your fingers.
- If the mixture is too dry, you can spray a small amount of water from the spray bottle and mix again until you reach the desired consistency. Be careful not to add too much water, as this will cause the mixture to activate prematurely. Less is more!
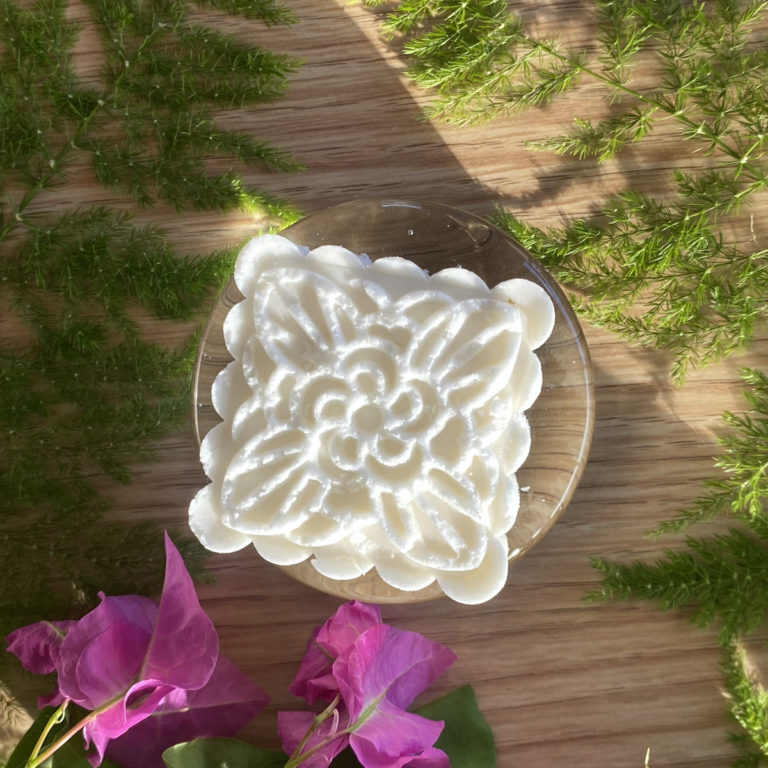
- Once you’ve reached the correct consistency, use a spoon or your hands to grab some of your mixture and press it. You can press it into a silicone mold, form discs or balls with your hands, or use a mooncake press. Whatever method you choose, make sure you compress the mixture as tightly as you can so that it stays together.
- Allow the mixture to dry and harden in the mold for at least 12 hours. Humidity plays a major role in how quickly these will harden. If it’s humid out, allow your toilet bombs to sit in the mold even longer.
- Once the bombs are completely dry, remove them from the mold and store them in an airtight container. It you happen to have some desiccant packets on hand (TIP: save them when you find them in product packaging!), throw some in, as they will keep your bombs from absorbing moisture in the air and activating prematurely.
Please careful not to inhale the mixture or get it on your skin, as it can be irritating.
You may have noticed that I didn’t mention above how much of the mixture you would use for each individual bomb. That’s because it varies according to the size of the mold you’ll be using. The size of one of your toilet bombs could vary greatly from another reader’s.
If you’re forming discs or balls with your hands, or using a mooncake press, you have more control over how big your toilet bombs will be. In this scenario, use about 1/4 cup of the mixture per toilet bomb.
If the bombs start to crumble, you can add a little more water to the mixture to help bind it together again.
How to Use Them
It’s very similar to using a bath bomb, only you don’t climb in the water.
First, determine how many bombs you’ll need for your toilet. As I noted above, the size of everyone’s toilet bombs will differ according to what size mold they use.
When you’re ready to use your bombs, use as many as it takes to get about 1/4 cup worth of product. For some people that means using just one toilet bomb. For others that may mean 2 or more.
Be sure to seal your airtight container back up immediately after removing the toilet bomb that you’re going to use.
Drop your bomb(s) into your toilet bowl, wait for it to dissolve, and get to work with your toilet brush.