Best Ways to Store Homemade Soap
Whether you made it yourself or are the proud owner of someone else’s artisan handmade bar of soap, it’s a work of art worthy of storing wisely. How you keep your handcrafted soap influences how long it lasts and how well it maintains its color and scent. So what are the best ways to store handmade soap?
The main thing to remember is that the best way to store homemade soap is keep it where it gets decent air circulation and stays out of direct sunlight. Homemade soap fares best in cool, dry environments with plenty of room for air to reach it.
Sop loves the open air, and open-air loves soap. Generally speaking, a bar of soap that regularly sits out in a cool, dry place enjoys a longer life. This is true of almost any kind of bar soap, no matter if it is handmade or store-bought, made with hot process or cold process, melt-and-pour or rebatched. Air keeps soap hard and helps it to last longer.
Depending on the process in which your soap was made and how soon after making it you’re looking to store it, we have a few different pieces of advice for you. Read on in this article for tips about storing your handmade soap for initial curing, storage after the soap has done its minimum curing time, and what to avoid to ensure your bars of soap last a long time.
How To Care For Soap In Use
Some people stick the bar of soap under running water to lather up, then let water from their hands drip all over the soap and soap dish when putting the bar of soap back down. These people are my kids.
Because they’re not the only ones who exhibit such maddening washing behavior, self-draining soap dishes and trays work well for storing soap in between uses near the bath or sink.
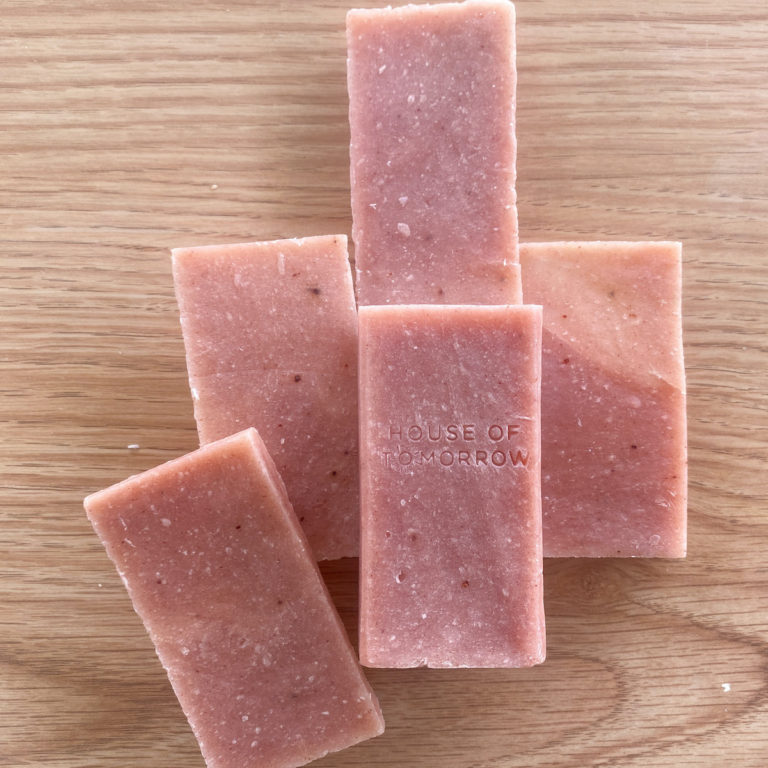
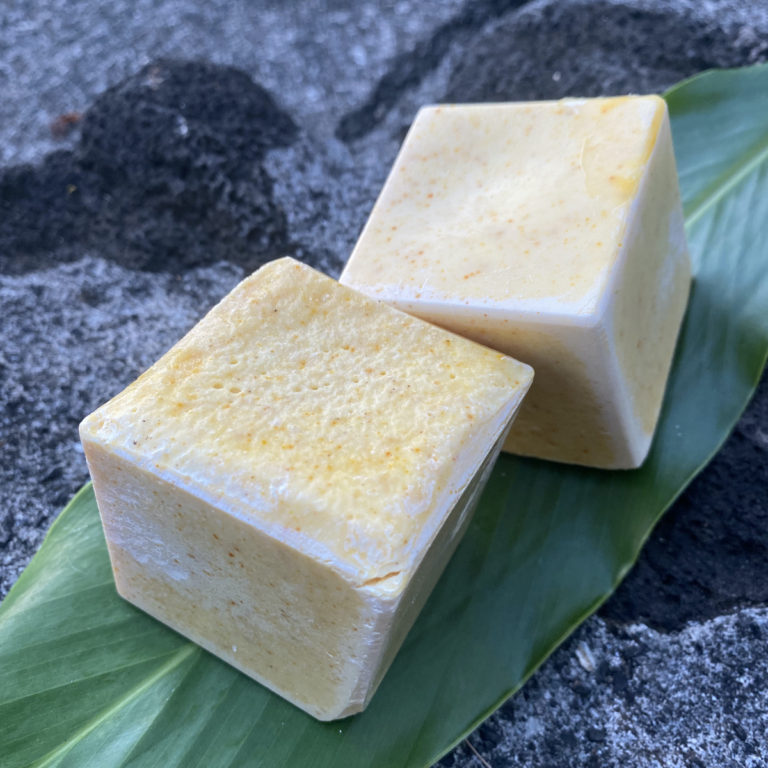
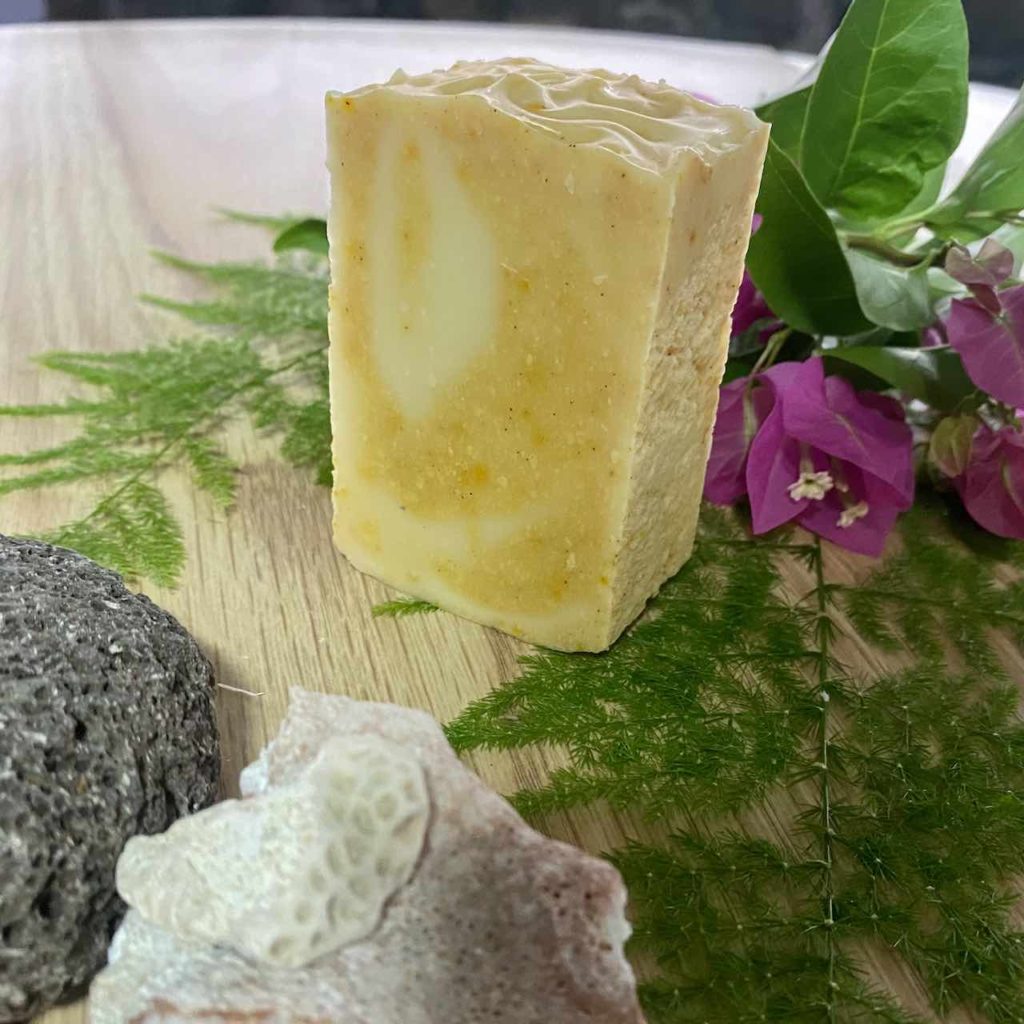
Most of my soaps are squares and rectangles and can “stand up” on its side. I like to stand my rectangle bars up the tall way like so, because it maximizes exposure to the air.
Best Ways To Store Homemade Soap for Your Business – For Soapmakers
If you are a person who makes handmade soap to sell or share, you may have some different storage needs than the average maker. Whether it’s lots of bars, freshly-made loaves, or long-term storage, we could be talking about different scenarios. Here are some tips for storing the homemade soap you’ve made before using it.
Store Soap To Complete Curing Process
If you’re looking for how to store your bars as they complete the curing process (which can be as long as four to six weeks for cold process soap and 6+ months for cold process castile soap), the bars probably can’t just sit out on a counter this whole time.
There are many options to choose from to suit all different types of needs and budgets for the pro or semi-pro soapmaker.
If you’re really serious about storing soap in the most convenient or efficient way possible, or maybe a little bougie, an orchard rack looks like a gorgeous way to store soap.
Ventilated soap drying trays are another popular option that allows for air circulation from all directions.
Based on what I’ve seen in YouTube videos, it seems many soap makers love using bakers racks to store soap. These look like a great option because it stacks pretty high vertically, making it space efficient and easy to organize.
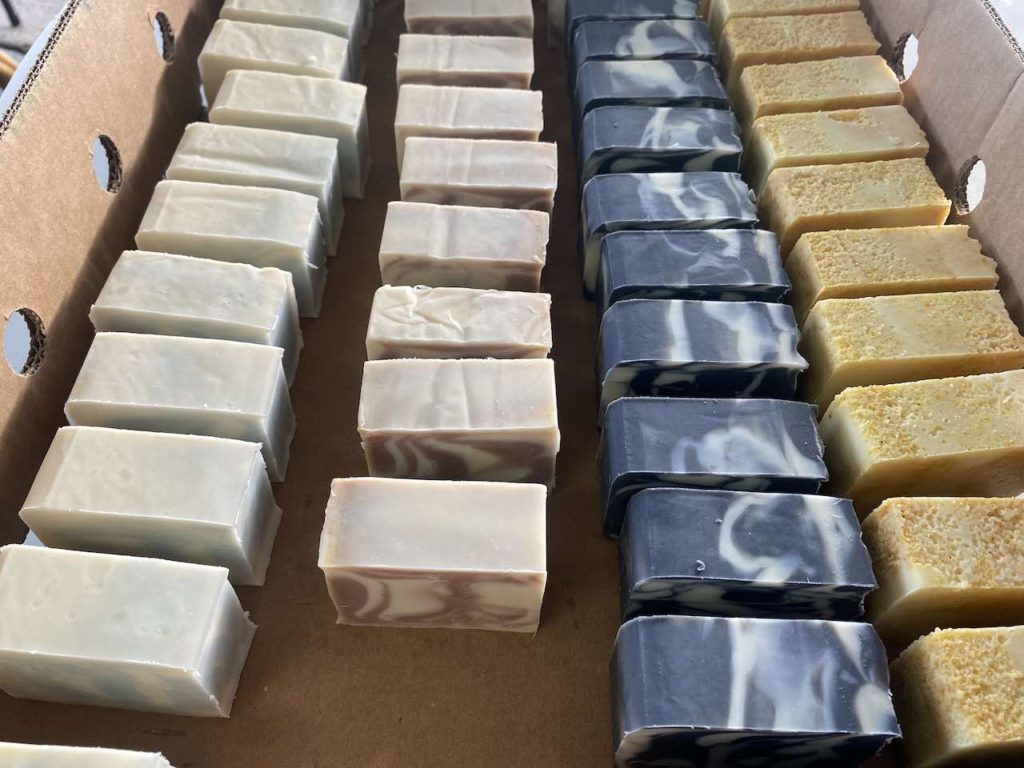
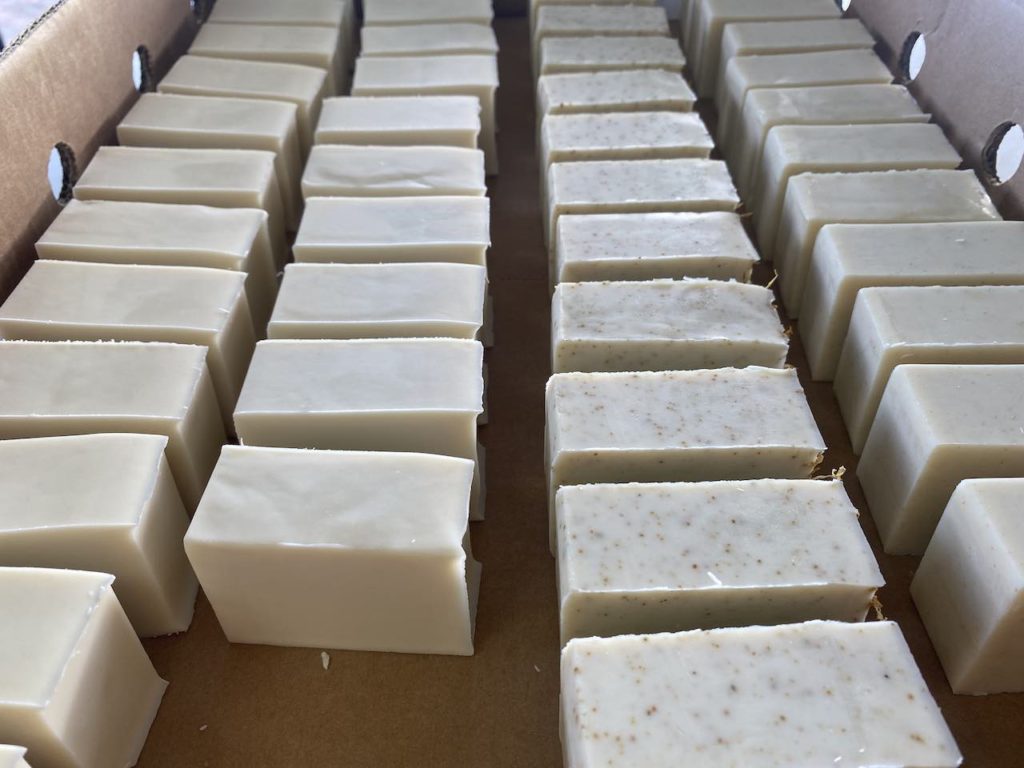
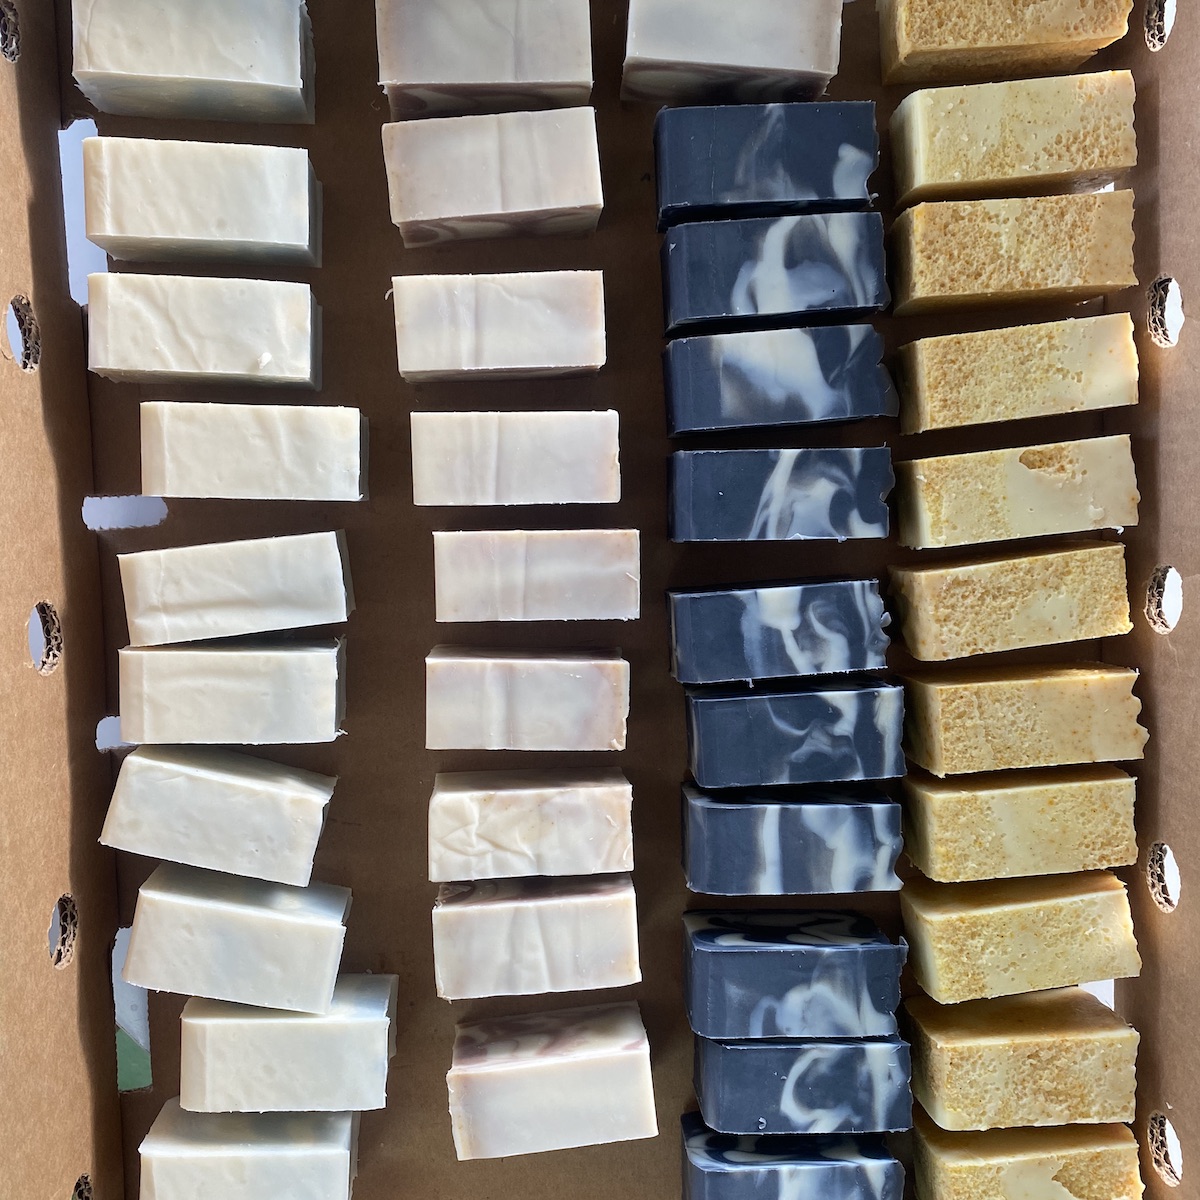
Back when I started thinking of offering soap for sale and where I would keep all those soaps, I scoured the internet I found a suggestion to go to Costco and grab some of their cardboard produce trays. You know, the ones that hold cartons of berries or packages of mushrooms and the like. These are nice, strong trays that stack fairly well, some with interlocking tabs. Best of all they’re free and easy to find. Some of these other options out there cost an arm and a leg to ship, especially to Hawai’i where I’m from. Here’s some pics of my soaps in cardboard trays from Costco:
Some people use a baking rack for the curing process. If you do, make sure the metal is coated (plastic-coated metal). This type of rack is often used in closets, offices, garages, or basements for easy storage and accessibility. Metal rust can be a factor in accelerating soap rancidity or even creating dreaded orange spots (DOS), which no one wants!
Want to make your own soap shelves? That would be the ultimate in soaping badassery.
No matter what you choose to store your soaps on, as you probably already know if you’re to the point where you’re offering soap for sale, you want a little bit space between each bar to allow water to evaporate as quickly as possible.
Where to store soap if you only have a litle space?
It’s no small feat to find the space, but get thinking about where in your home or studio you may have room:
- Got some spare shelves in the laundry room?
- What about in your closet or under the bed?
- The garage may work if its airy and not too hot or cold.
- How about your guest bedroom?
- Your basement may be the perfect spot. If the humidity is high here, investing in a dehumidifer might be important.
- How about a large vacant cabinet?
- A linen closet could work well.
If the space doesn’t have a whole lot of air circulating, run a small fan by it when you’re home.
After the Soap Bars Have Cured
Ta-da! After curing is complete, you can store the bars in a bit closer quarters, but they still love to have airflow. Perhaps you’ll package them up to hold onto until you take them to an artisan craft fair or a local shop you sell in, or maybe it’s just until you use them or give them to family or friends.
Regardless of what your next steps are, we suggest you do the following with your freshly-cured bars of homemade soap:
- Leave it right as it sits! If you can spare the space, soap does well to sit out good and long in the open air. If it has cured in a well-ventilated, spread out area, and you can handle letting it stay there until you sell, gift, or use it, that’s ideal.
- You may choose to stack the soap up in cardboard boxes, shoeboxes, or uncovered or loosely covered storage bins. Most of these options will do, as long as you’re not tightly sealing the soap and trapping in the moisture.
- Start by spreading out the first layer of bars in your box with decently sized gaps between each one, just slightly smaller than a bar size.
- A layer of paper towel will then work fine and continue to stack the next layer of bars over the first layer’s gaps. This helps make sure there’s little overlap in the bars and avoid touching each other whenever possible.
- Remember that soap stored in a closed or sealed container is more likely to have dreaded orange spots appear. This is due to the fact that any excess moisture is trapped and recirculates back into the soap. It’s a good idea to leave your lids off.
- Keep your scents separate. There’s something miraculous about handmade soaps wherein scents rub off from bar to bar. Try separating them out for storage by “category” of fragrances, courtesy of EcoMall:
- Lavender
- Citruses
- Mints
- Spices
- Rosemary
- Eucalyptus
- Tea tree
- Fruit
- Floral
When grouped accordingly, the more dominant and mellow scents will level out over time at different rates. Fun fact: Citrus fragrances tend to mellow out faster than other scents.
- If you plan to wrap your soap in packaging, make sure it has fully cured before you do so. When it’s time, you can wrap it in packaging that has openings to let in some fresh air, such as medium and large shrink wrap bands. This ensures moisture doesn’t get trapped in the soap and cause rancidity, DOS, or something else that would make you sad.
Best Ways To Store Homemade Soap at Home – For Consumers Using the Bar
If you’re a consumer of handmade soap or whether you made it yourself, we have a few pointers for you on how best to store your soap bars while you use them. Many people want to keep their soap in the bathroom, either at the side of the sink or by the bathtub or shower. This is great, as it’s convenient to you for the instances you’re actually reaching to use your homemade soap.
However, these tend to be higher temperature, more humid environments, which don’t do homemade bar soaps any favors! If you’ve ever made the mistake of leaving your soap in the shower on a shelf beneath the showerhead that doesn’t drain well, you know it can result very quickly in a soggy, soft bar of soap that seems to disintegrate a great deal every time you shower.
Additionally, it’s important to consider how many bars of soap you’re really looking to store at one time for in-use purposes and what your environment is like. Some consumers have a shampoo bar, conditioner bar, body bar, shaving cream bar, and facial bar, for example. Still, others have a shared family bar of soap. All of these need to be used in the shower, so it’s crucial to look at in-shower options.
Is it the same for you? You may wish to explore different in-shower or in-bath storage rack options, depending on how many bars you wish to store in your shower. This may also depend on your bathroom layout.
Overall, to mitigate the potentially negative effects of the factors that can harm homemade soap, we have a few tips for you.
When you’re not using your handmade bar of soap, here’s what you should strive to achieve in its storage environment:
- Cut larger bars in half to use just one half at a time. They’ll last longer, and you’ll enjoy many scents and different formulas! Cutting in half means more surface area that’s allowed for the air to reach. Talk about the surface area!
- Keep the soap away from running water and only grab it when you need it.
- Ensure it’s stored in an area that’s well-ventilated and well-draining.
- Use a fan to minimize humidity whenever possible.
- Try a self-draining dish that can stick on a wall or sit on a countertop. This is a fantastic choice for keeping the shower soap on the opposite wall of your shower spigot, for example. It will be out of the way of the stream of water and allowed to drain freely.
- Try a soap saver pouch. Place your soap in the pouch and tighten the drawstring until it closes. When you wet the soap, it lathers up. Simply hang it up when done. The soap saver pouch will dry between uses. You may find this type of product made from cotton to yarn to ramie, plastic, and mesh. This type of apparatus lengthens the life of your bar of soap and adds a soft layer of exfoliation between your skin and the soap.
What To Avoid When Storing Homemade Soap
You are now familiar with some great tips to store your handmade soap and make it last a good long life, but there are also a few things to point out that you should avoid when storing your handmade soap. If you want to ensure a long-lasting bar of soap, avoid these elements:
- Sunlight – this can discolor your bar of homemade soap
- High heat – handmade soap can melt
- High humidity – this can cause dreaded white spots, glycerine slime, or other ailments
- Lack of air circulation – this can cause the same issues as high humidity can
All these factors can degrade your soap. They may fade the colors and odors, inhibit the bar’s chemical makeup, or soften the bar, so it melts away too quickly when in use.
When it comes to harmful things for homemade soap, we hear about all too often: consumers sealing their soap in a container with a tight-fitting lid. This can limit airflow too much and encourage the likelihood of DOS. If you’re tempted to seal a box of newly made soap tightly, refrain and go with a looser covering the route. All you need to do is protect the bars from potential dirt and debris, so a light covering should be fine.
Natural handmade soap contains glycerin, which naturally draws moisture in the air into the soap. If your area is particularly humid, you may consider a dehumidifier to remove excess moisture from the air and help your soap stay dry and hard.
Conclusion
When it comes to storing your handmade soap so it lasts as long as possible and remains in great shape to perform well, we hope you’ve found these tips helpful. You can implement excellent storage and in-use techniques to care for your handmade bar of soap and get the most out of it! You’ll soon be on your way to rich lathers, lots of suds and duds, and a squeaky clean body that feels nourished by all-natural handmade artisan soaps.