When To Stamp Soap For The Best Looking Results
Knowing when to stamp soap can make a big difference in how your design or logo ends up looking on your bar, and therefore how your overall finished piece looks. If you’re stamping soaps, chances are you’re aiming for an attractive bar of soap, likely to sell.
So stamping at the right time is pretty important, not just for your own aesthetic preferences, but for branding purposes. You want your product to exemplify quality.
But how do you find out when that “right time” is? As with all things soap, there are a variety of factors to consider. Let’s dive deeper into this.
TYPES OF SOAP STAMPS
The main types of soap stamps, from most common to least, are:
- acrylic
- brass
- wood
If you’re stamping a company logo onto your soaps you’d be working with a stamp crafter and providing your logo file to them.
You can usually opt to have a handle attached to your stamp, or not.
WHEN TO STAMP SOAP
Is the best time to stamp right after unmolding and cutting your soap? Sometime during the cure when it’s a little more firm than the initial cut? Or right before you’re ready to gift or sell your soap?
The answer to this question often varies according to the soap formula you’re using.
I did an experiment with some end/scrap pieces of my own soap formula to show you what stamping looks like for me at various stages into the cure.
Let’s take a look at the results.
STAMPING IMMEDIATELY AFTER CUTTING
I let my soap sit in the mold for a bit after pouring and cut it 3 days later giving it some time to firm up.
I don’t like to stamp right after the cut (which would be on 3 day old soap) because my formula – and probably most people’s formulas – creates a bar that is still too soft at this point.
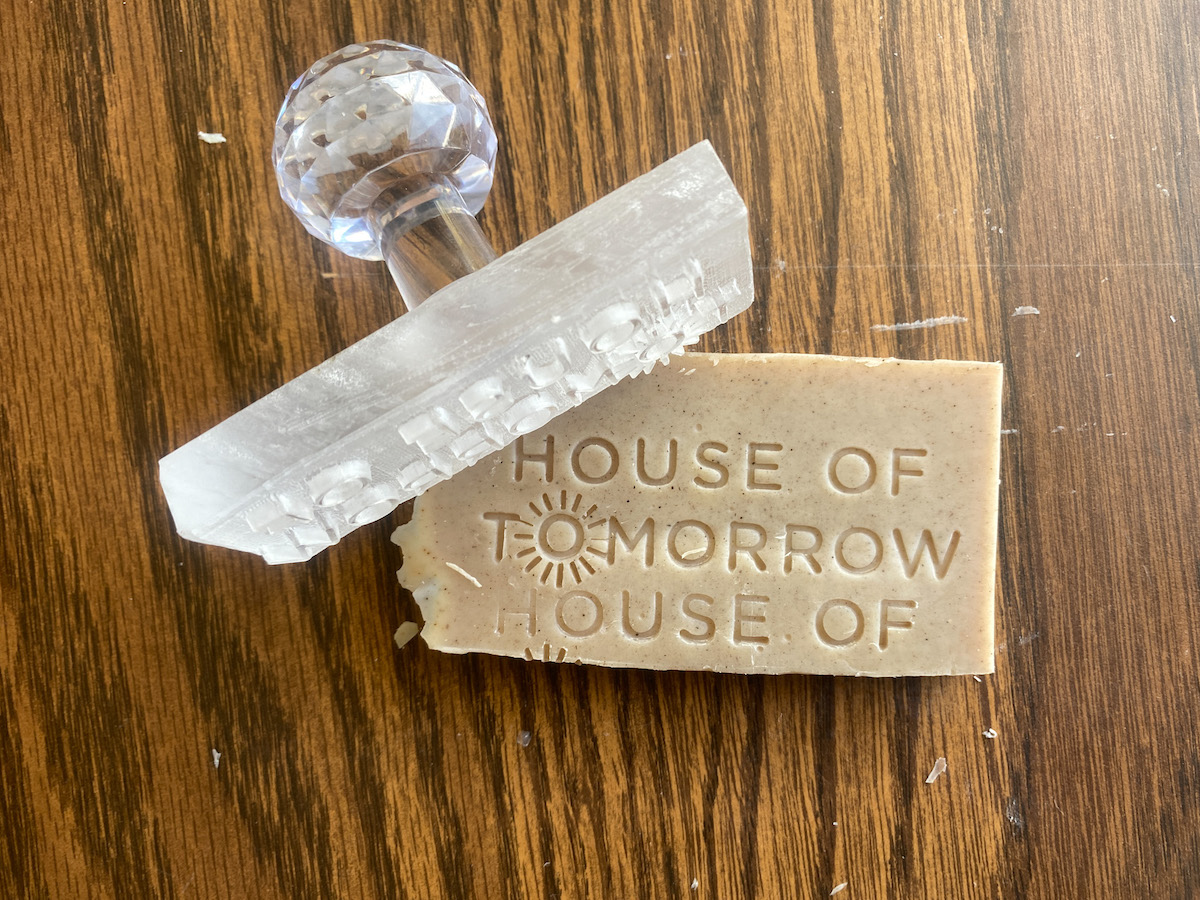
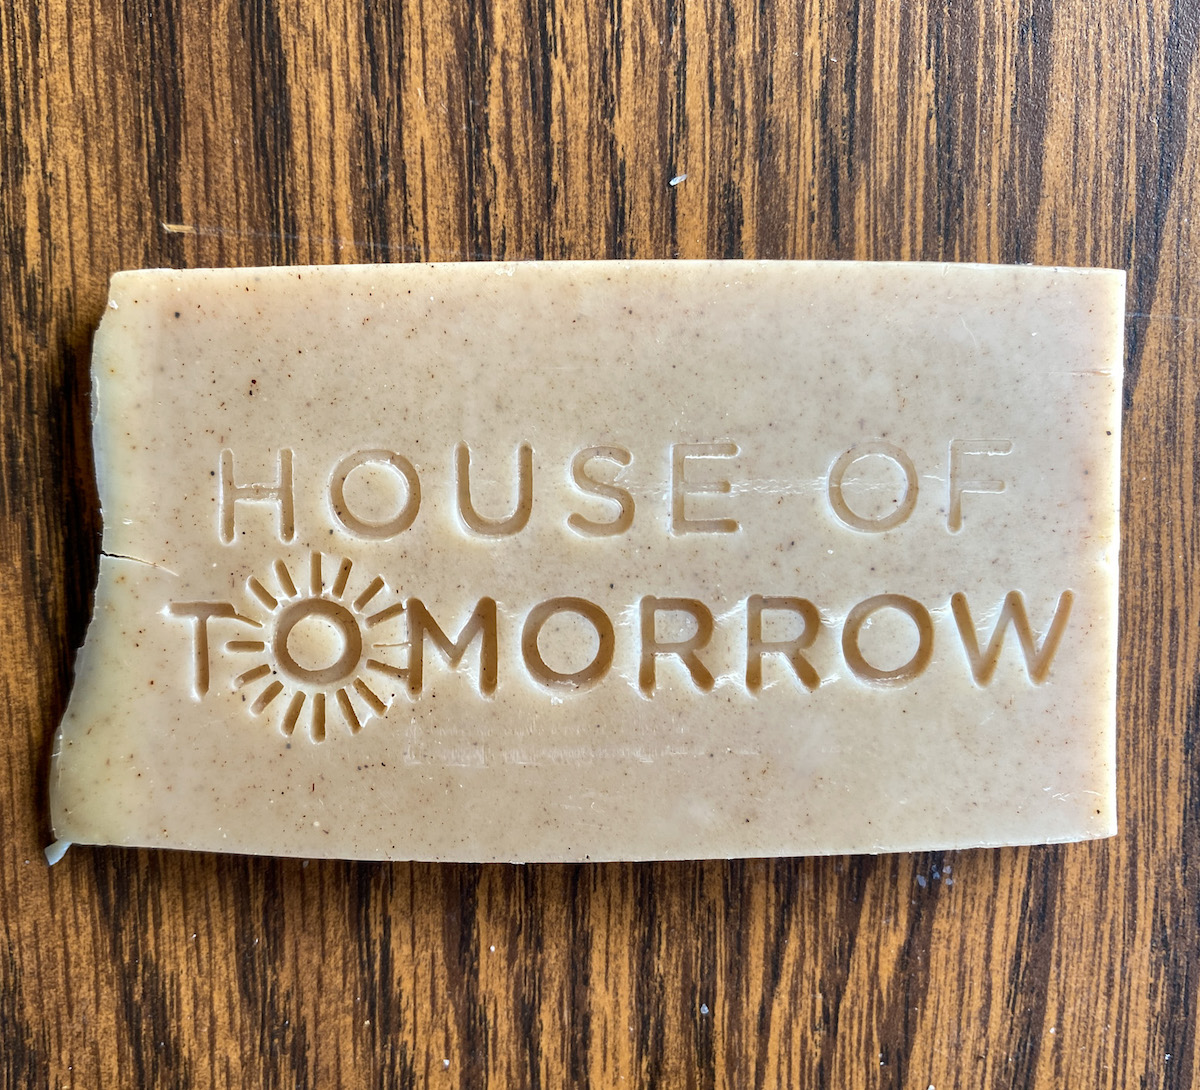
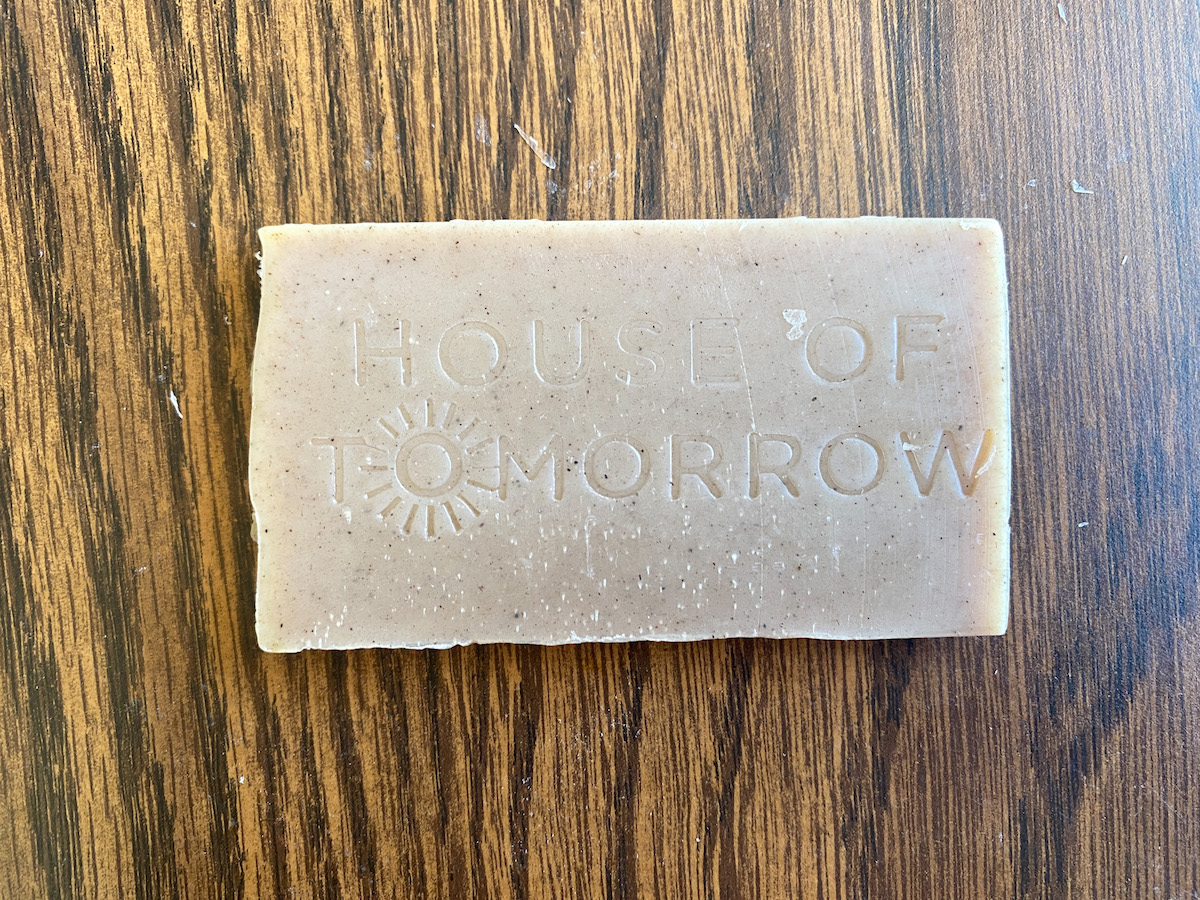
When stamping immediately after cutting your bars, sometimes the stamp will come out nicely if you can pull it straight up out of the soap without angling it at all. I was able to do that with the soap you see below.
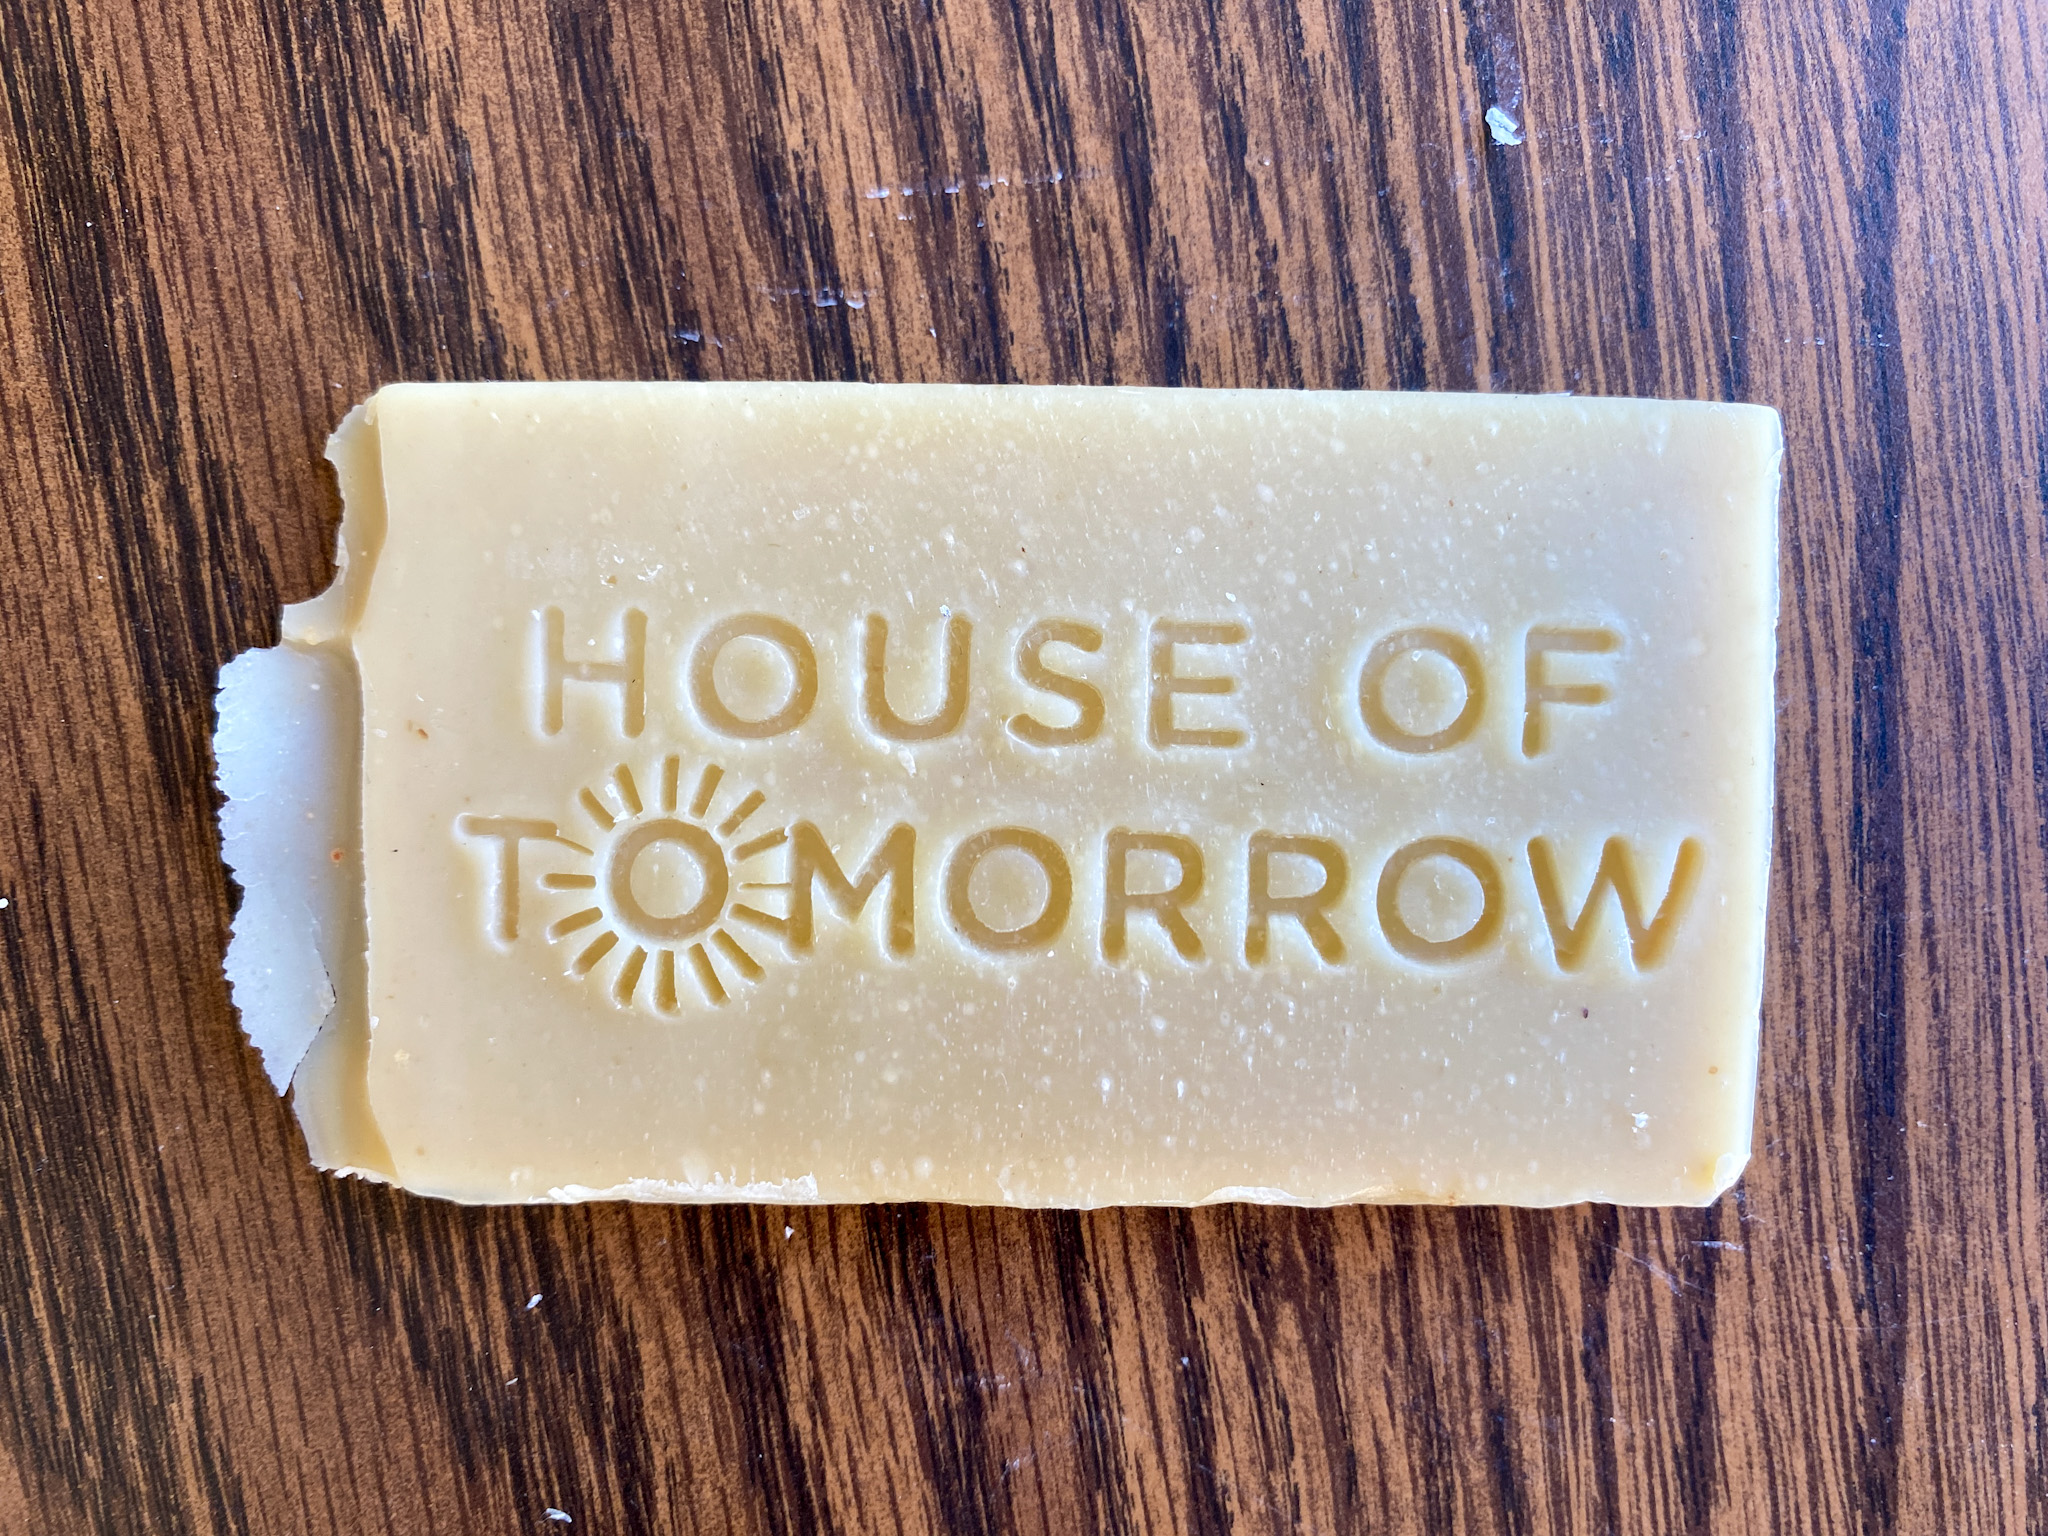
Other times you accidentally angle it, since the soap is so soft your design will be warped. You’ll see this happened to the sun rays at the bottom of my logo in the image below.
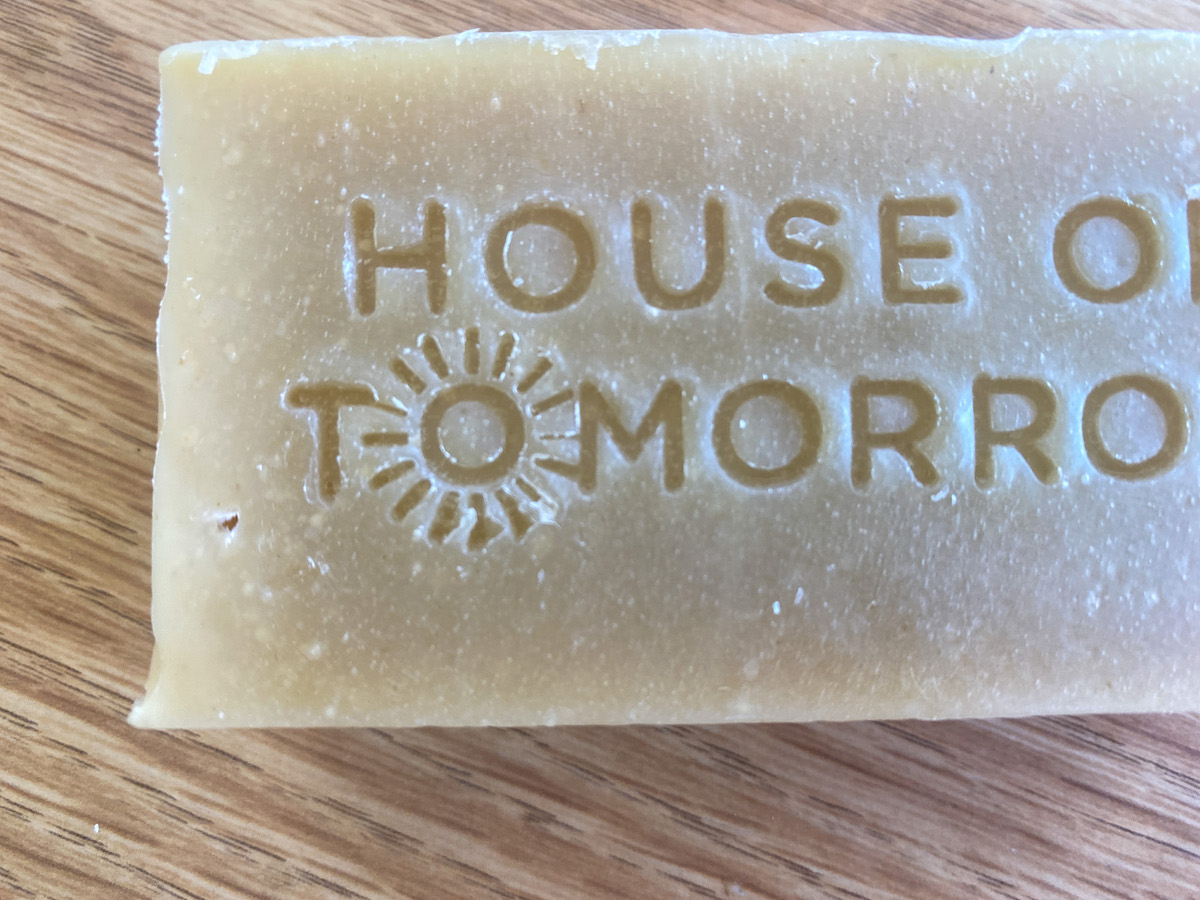
Another thing worth noting here is that soap sticks to the stamp a little more than if you had waited a bit longer since it’s soft.
STAMPING 1 DAY AFTER CUTTING
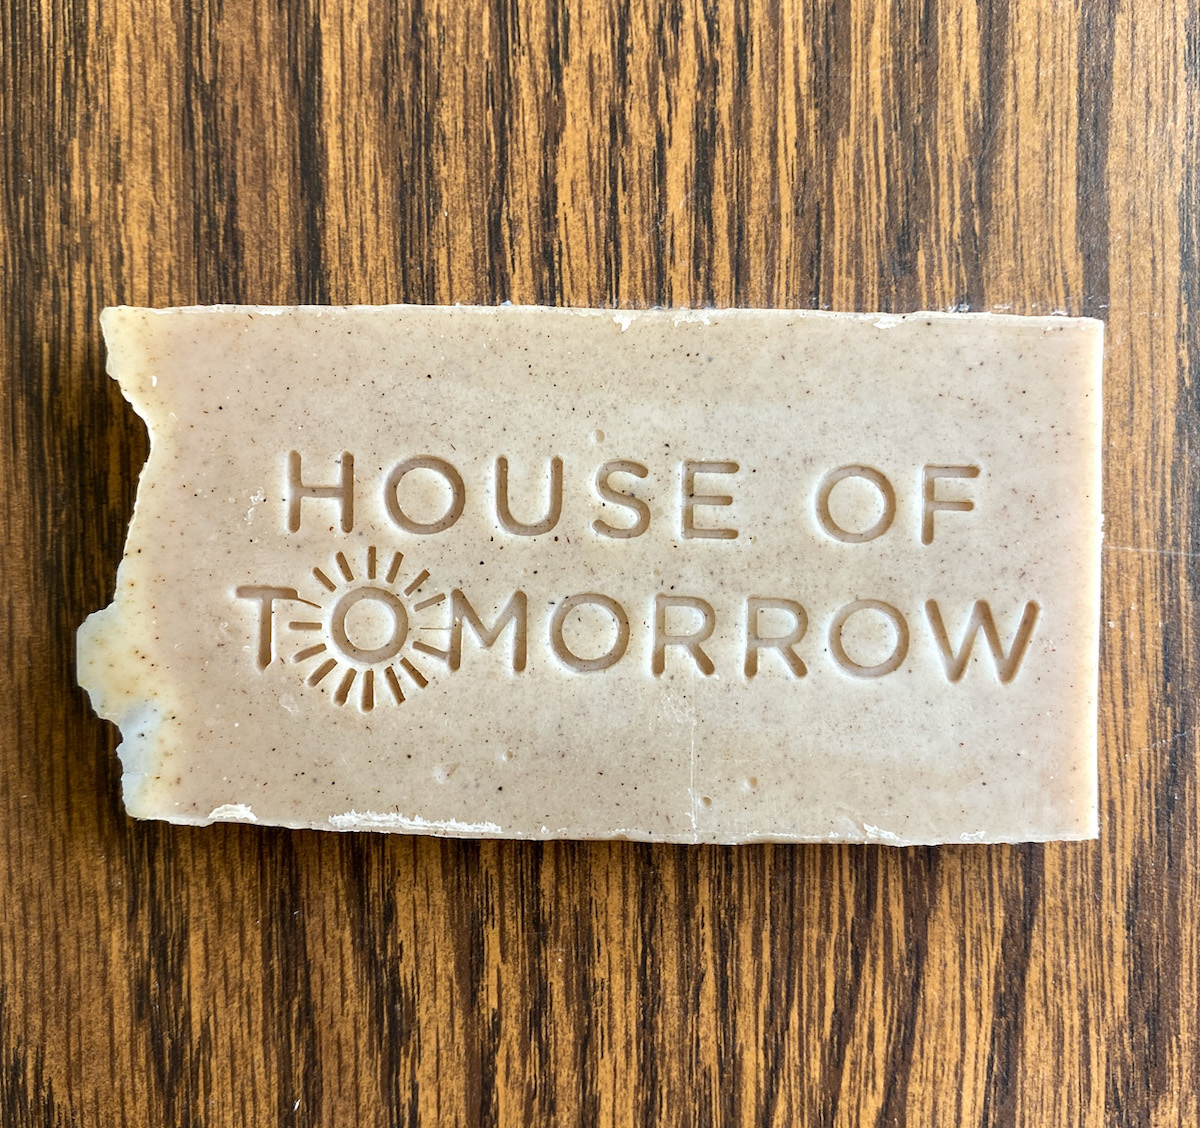
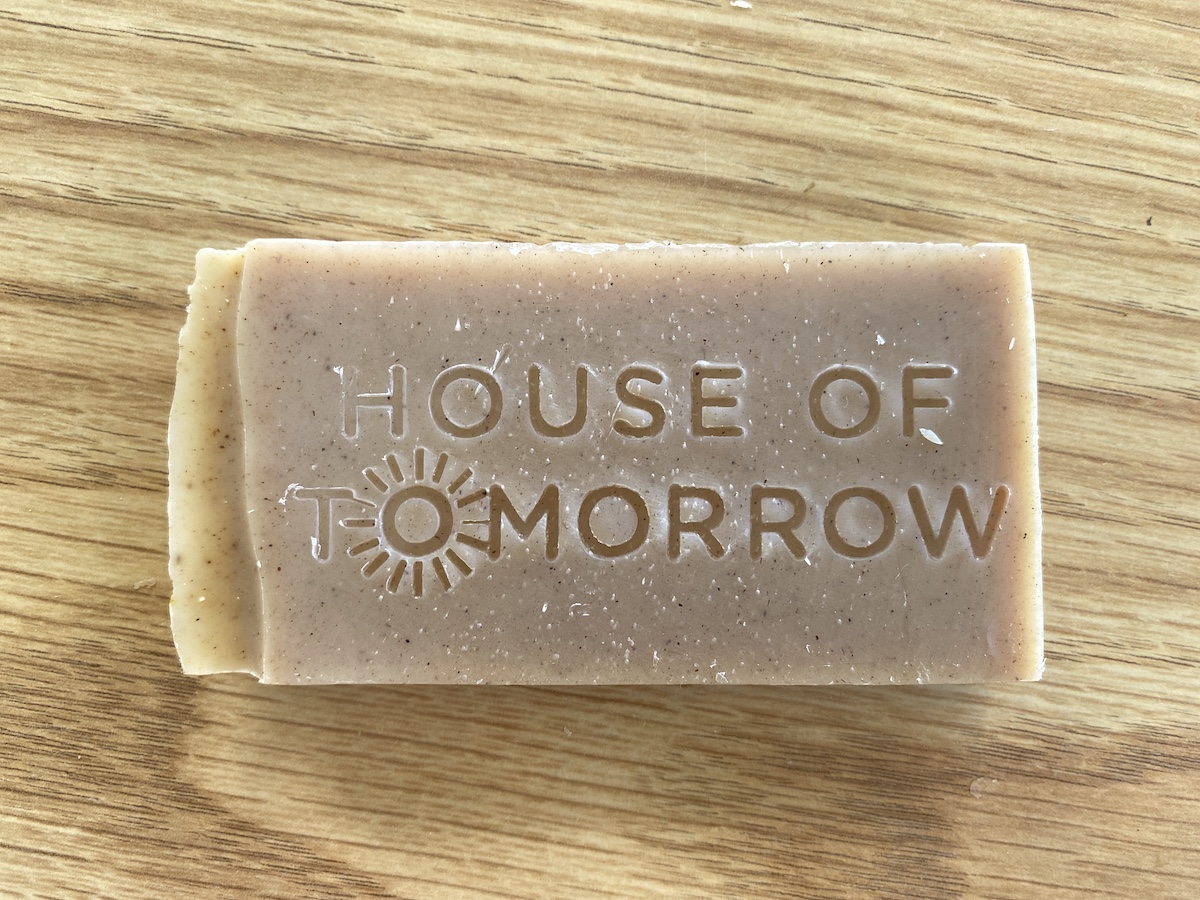
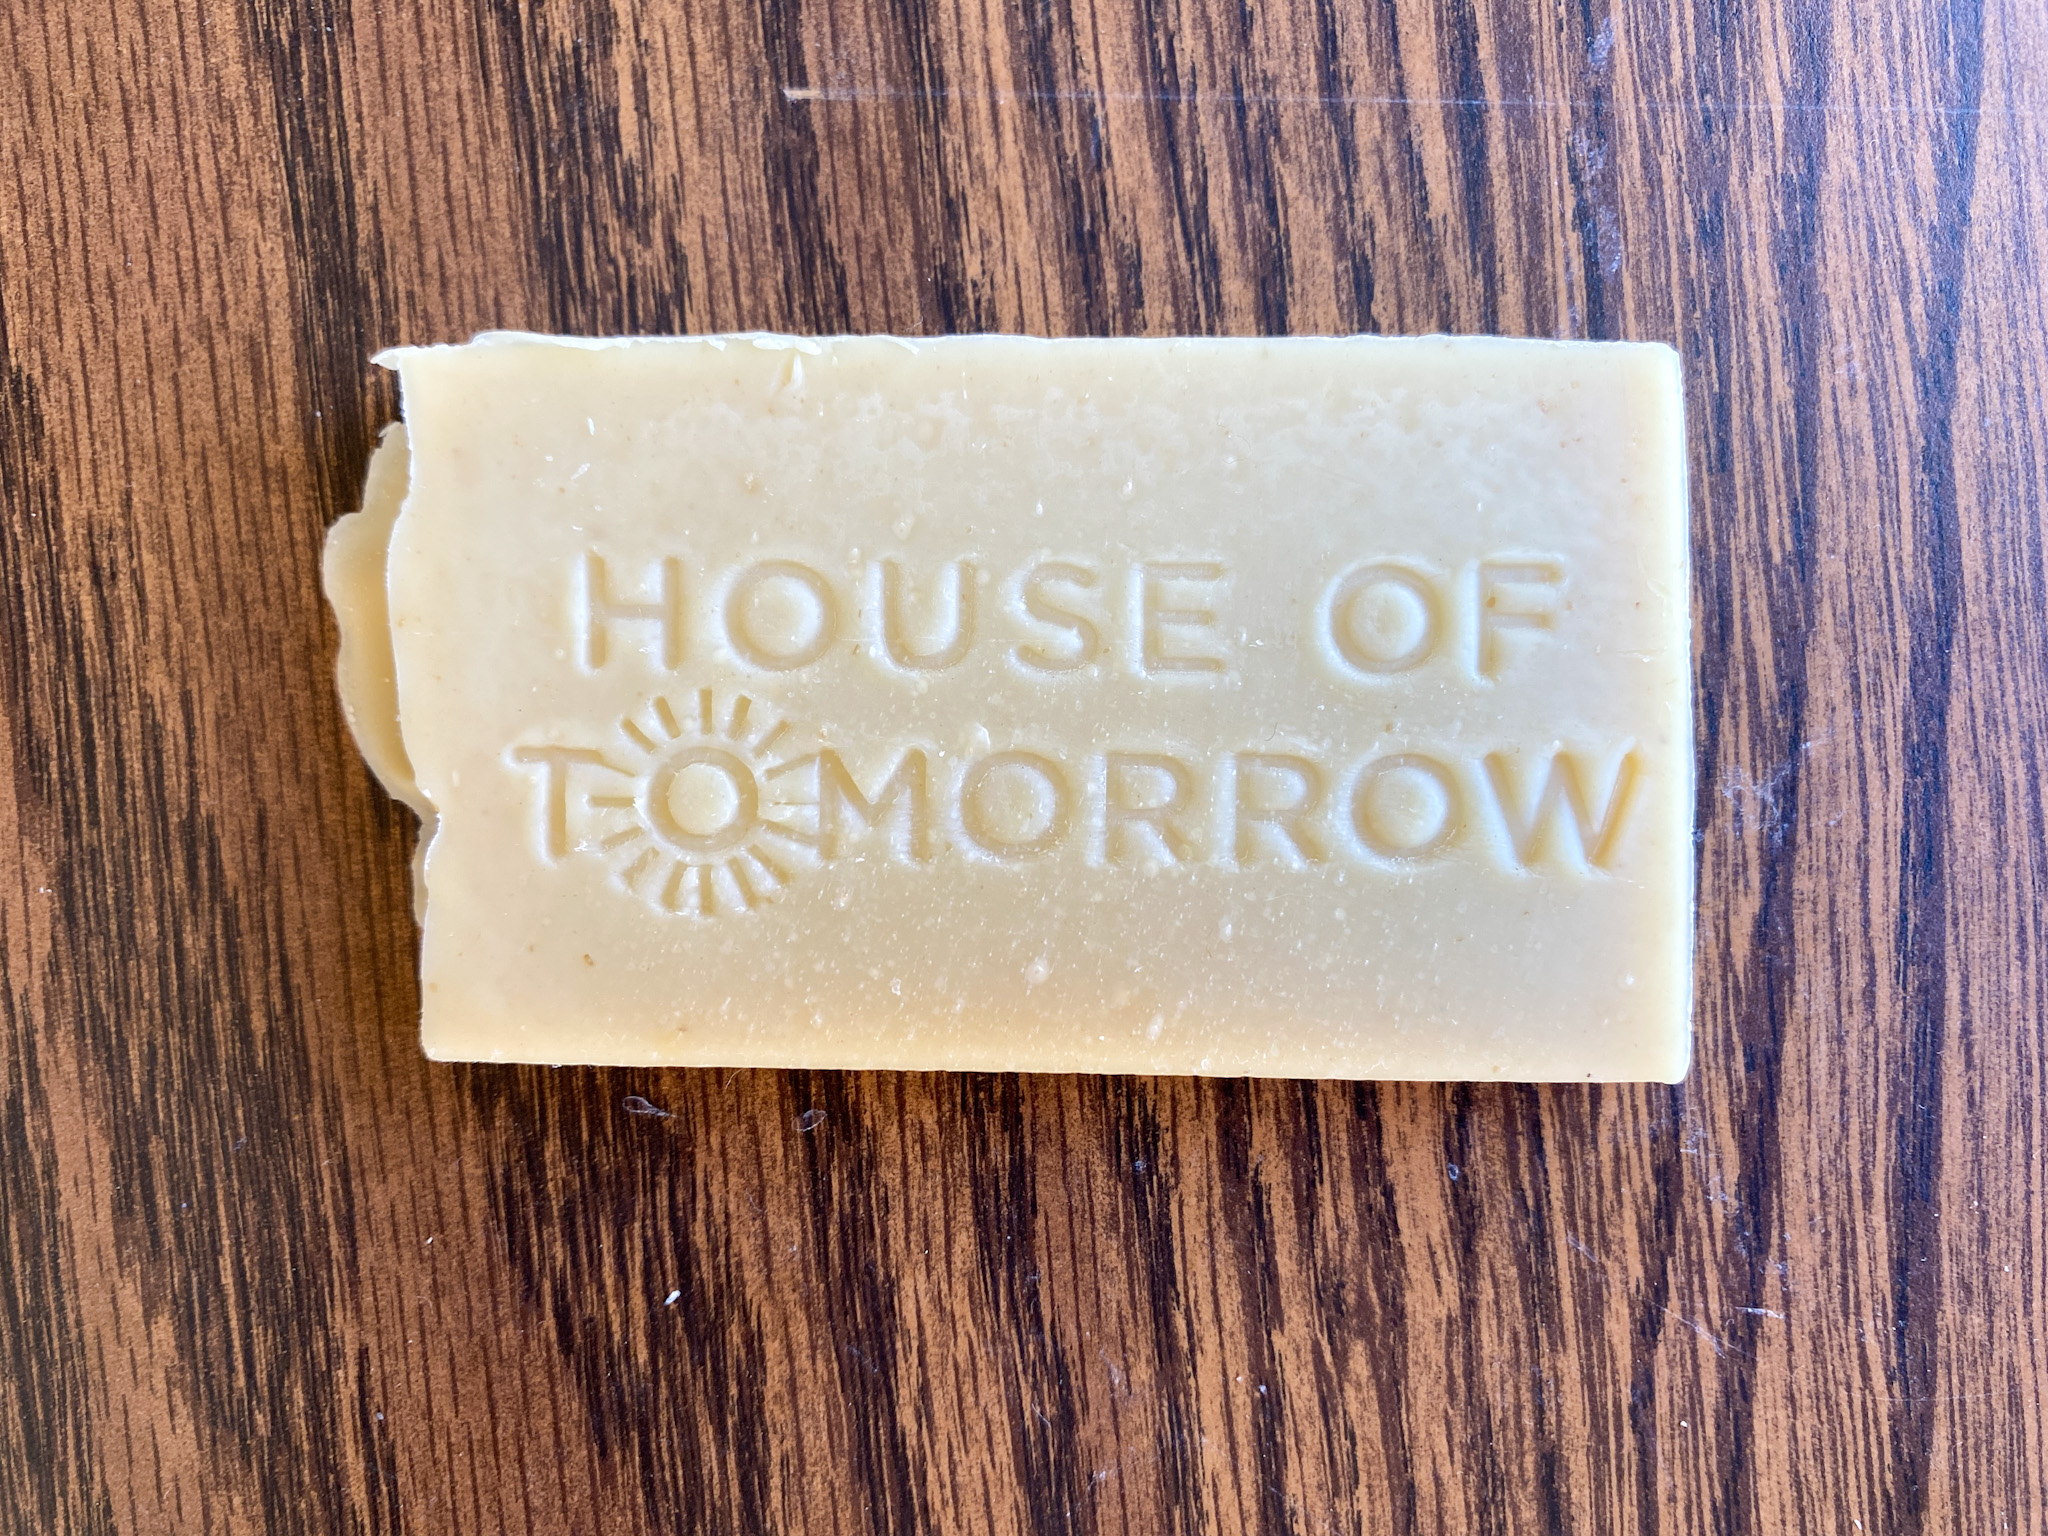
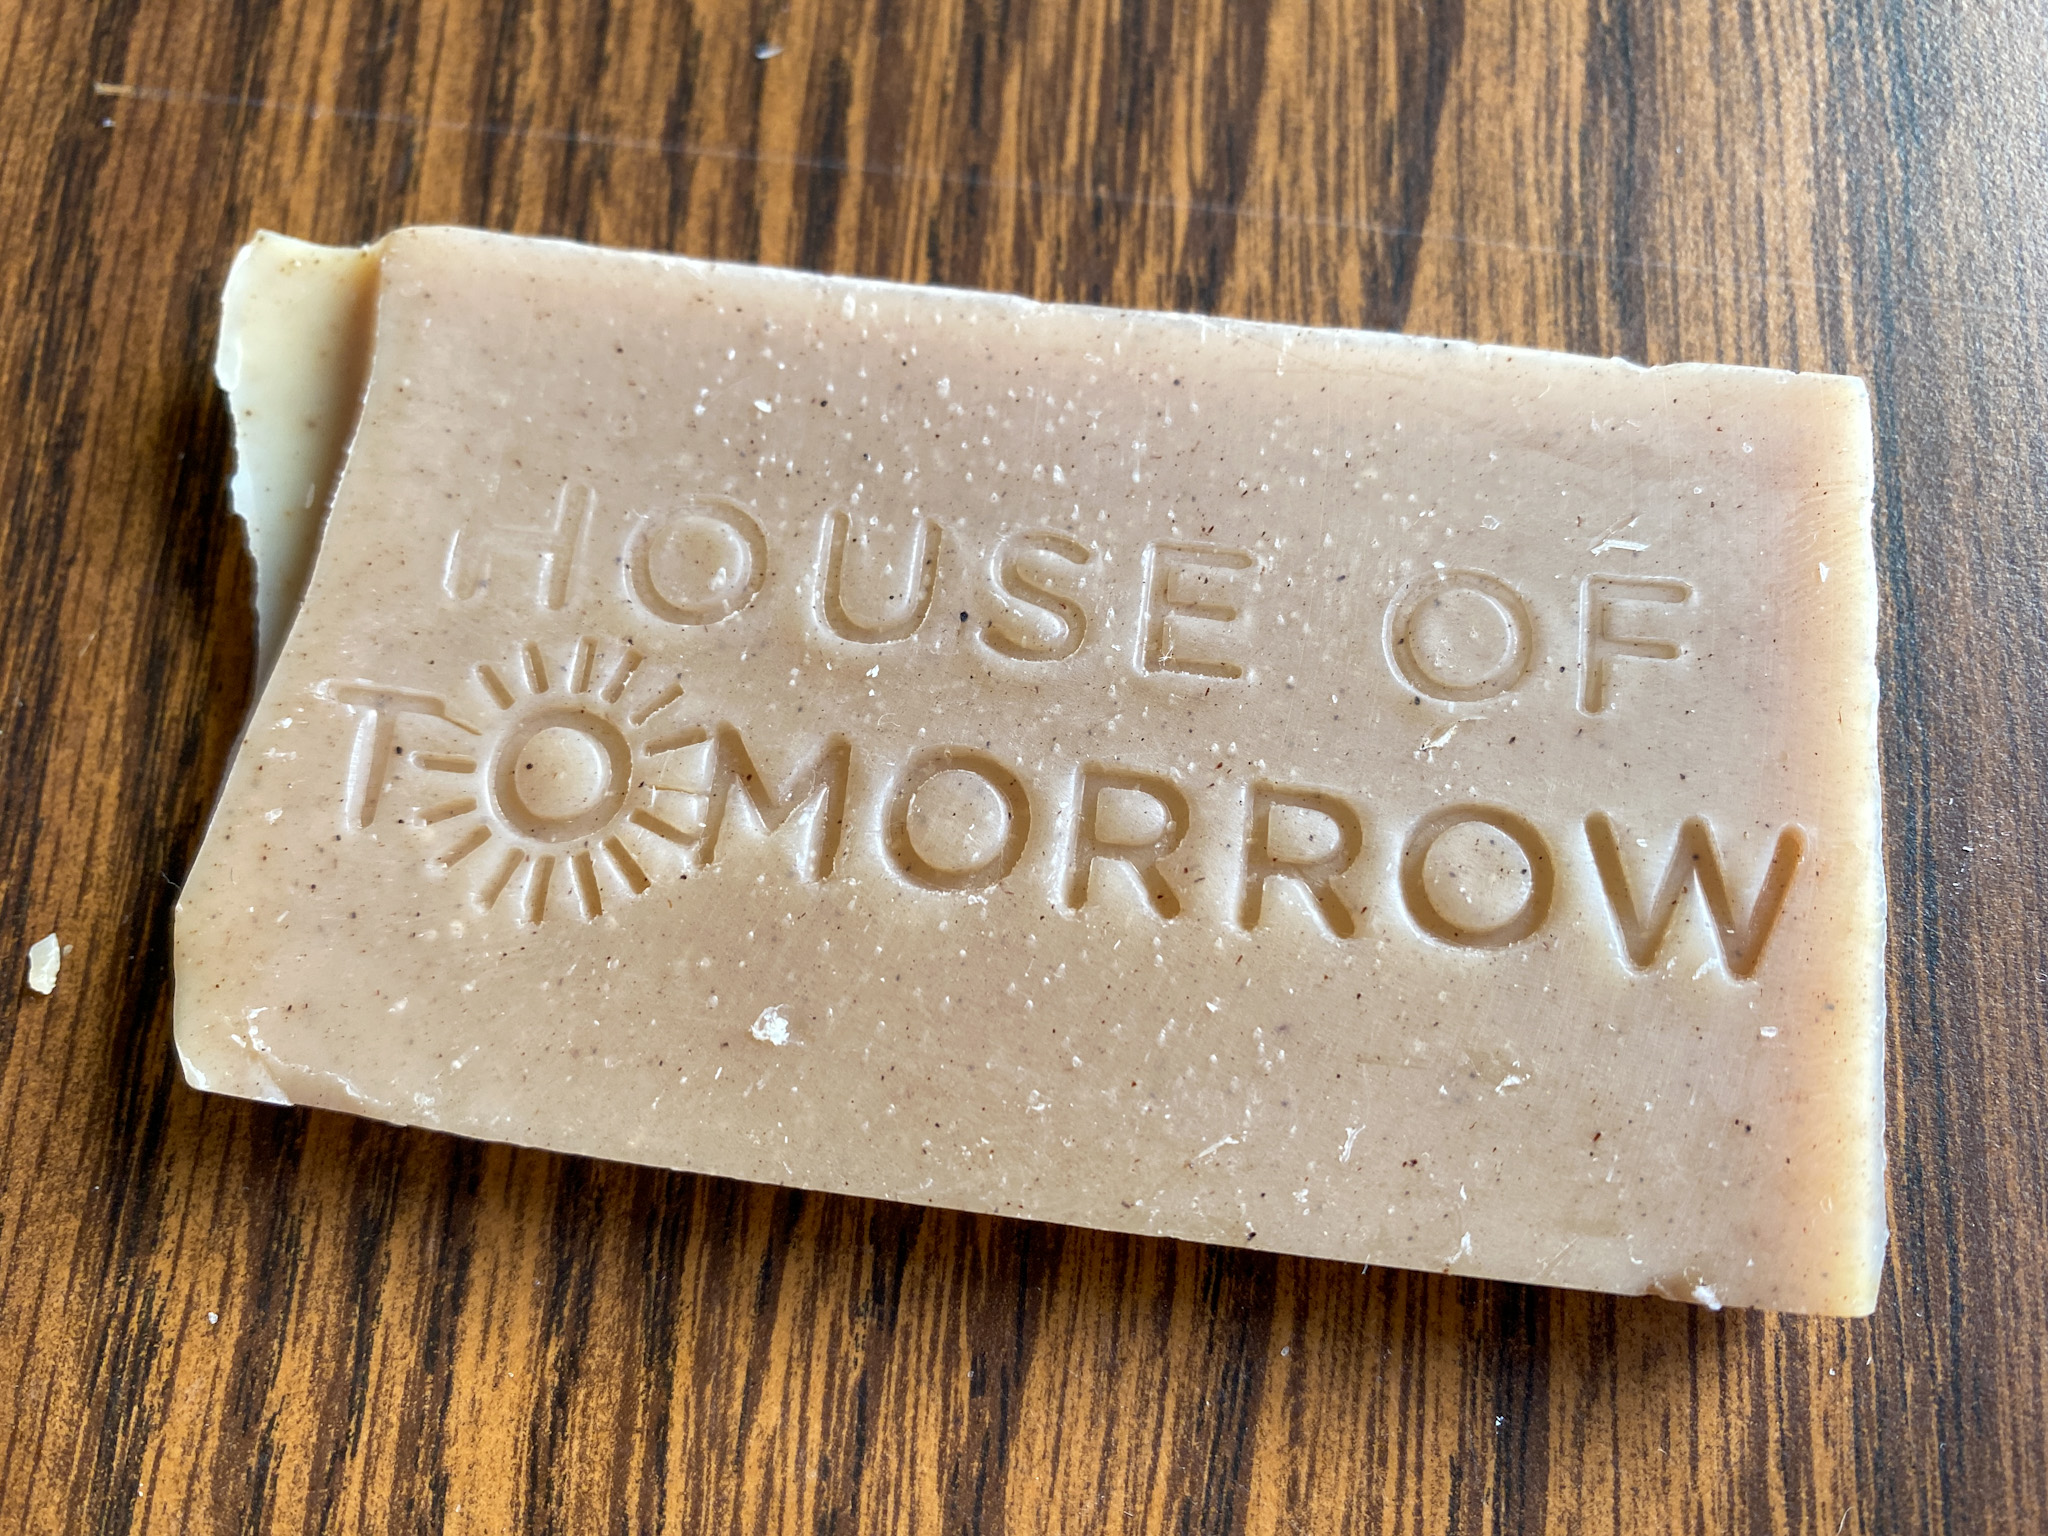
This is my favorite time to stamp. I feel like it’s just reached peak firmness – not too hard, not too soft. For the most part, the design comes out looking sexy and clean.
I also have fewer problems with soft soap sticking to the stamp than if I had tried to stamp earlier.
And it seems to me that stamping the next day after cutting results in a more even impression than I was getting some of the other days.
STAMPING 1 WEEK AFTER CUTTING
The pictures below that I took one week after the cut aren’t as cute. Sorry about it.
What happened was the end piece I stamped was slightly curved. This slight bending often happens to end pieces as they cure. This curve affected how well the stamp was able to make contact with the soap’s surface evenly.
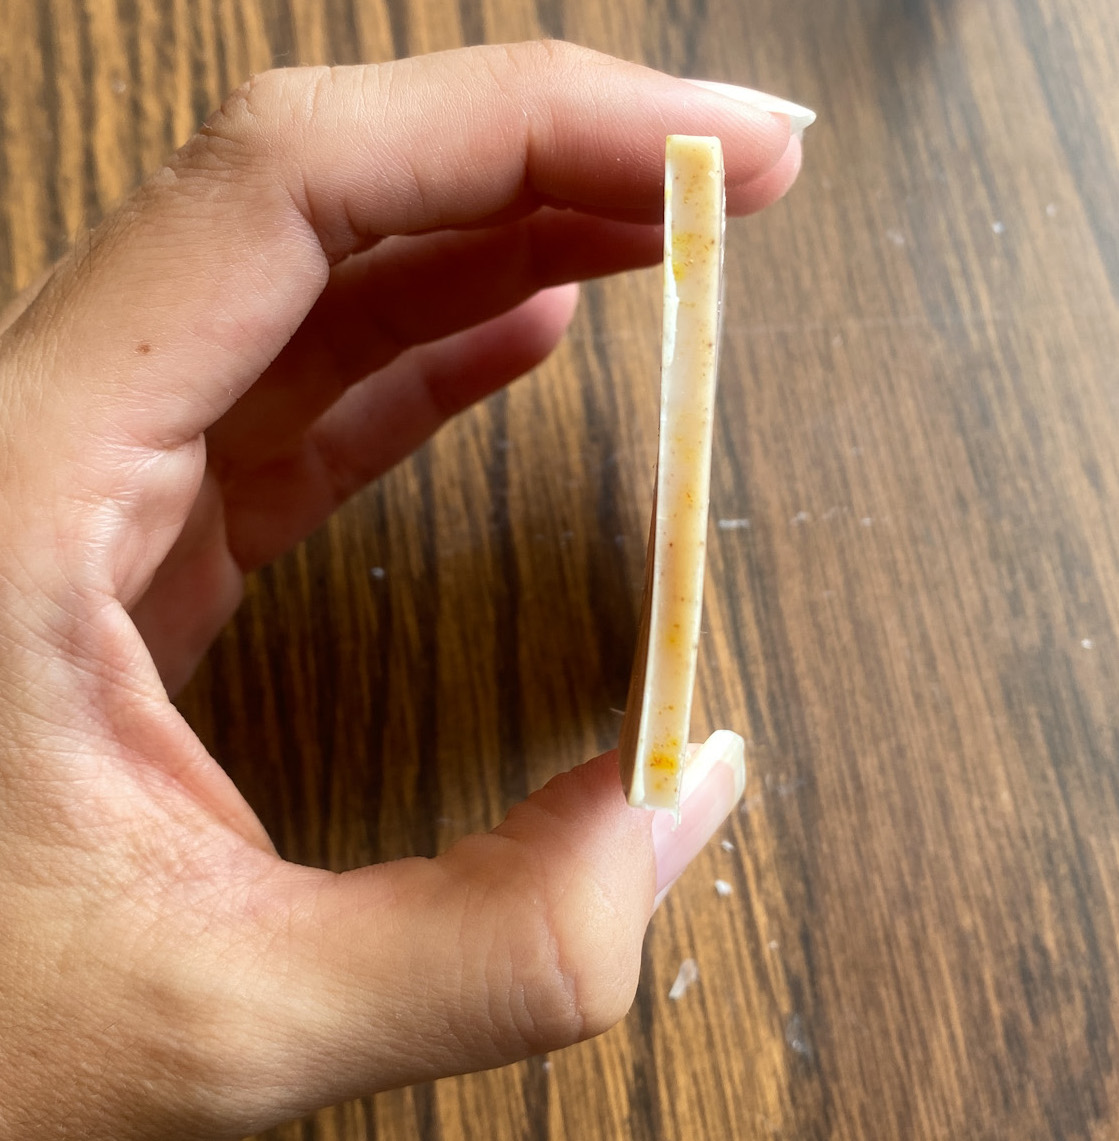
Because of this sight curve, my first attempt at stamping it ended up looking like this:
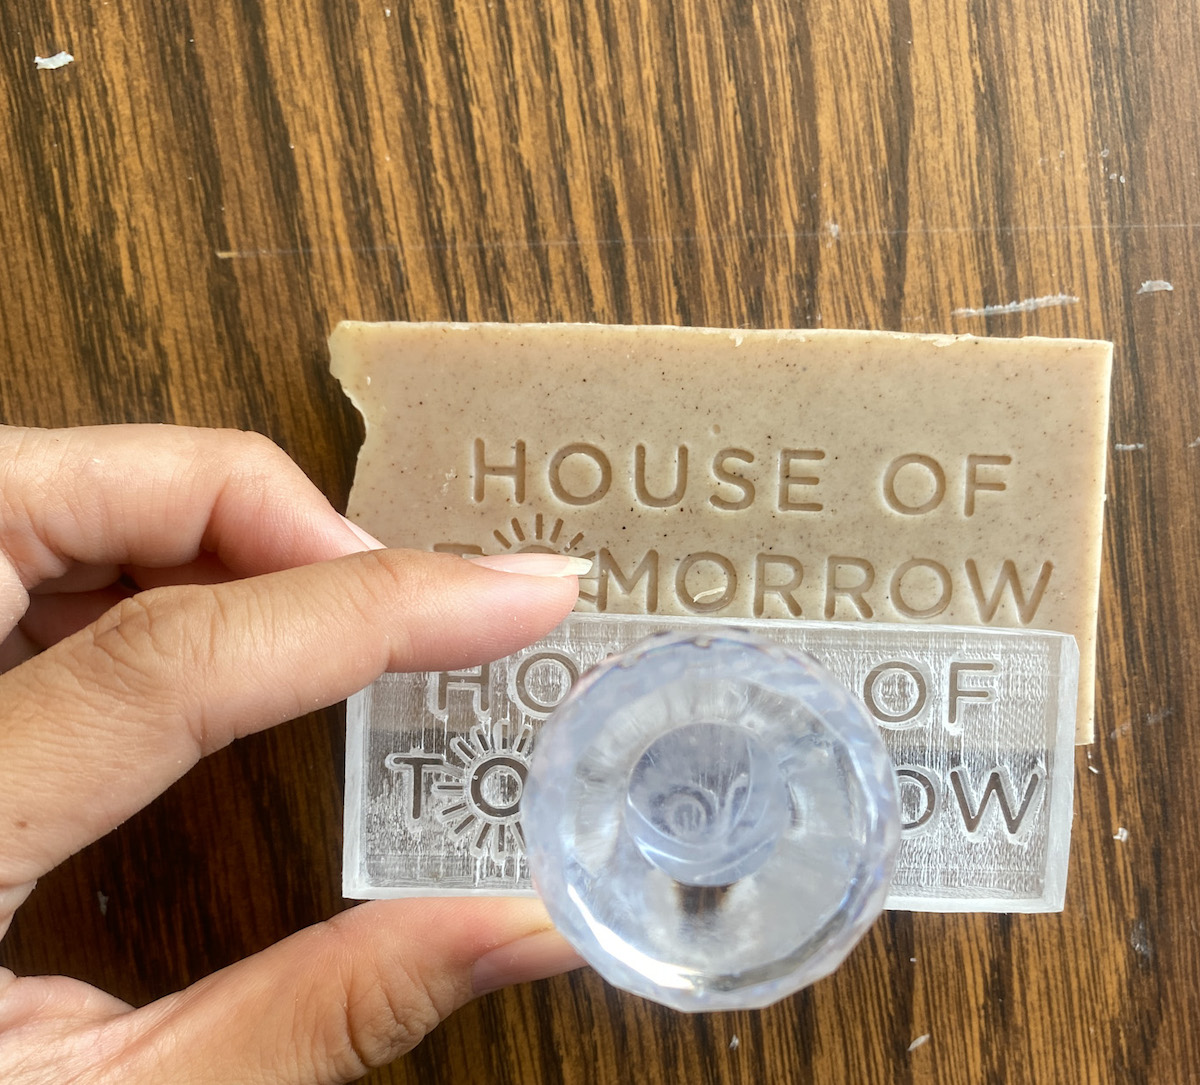
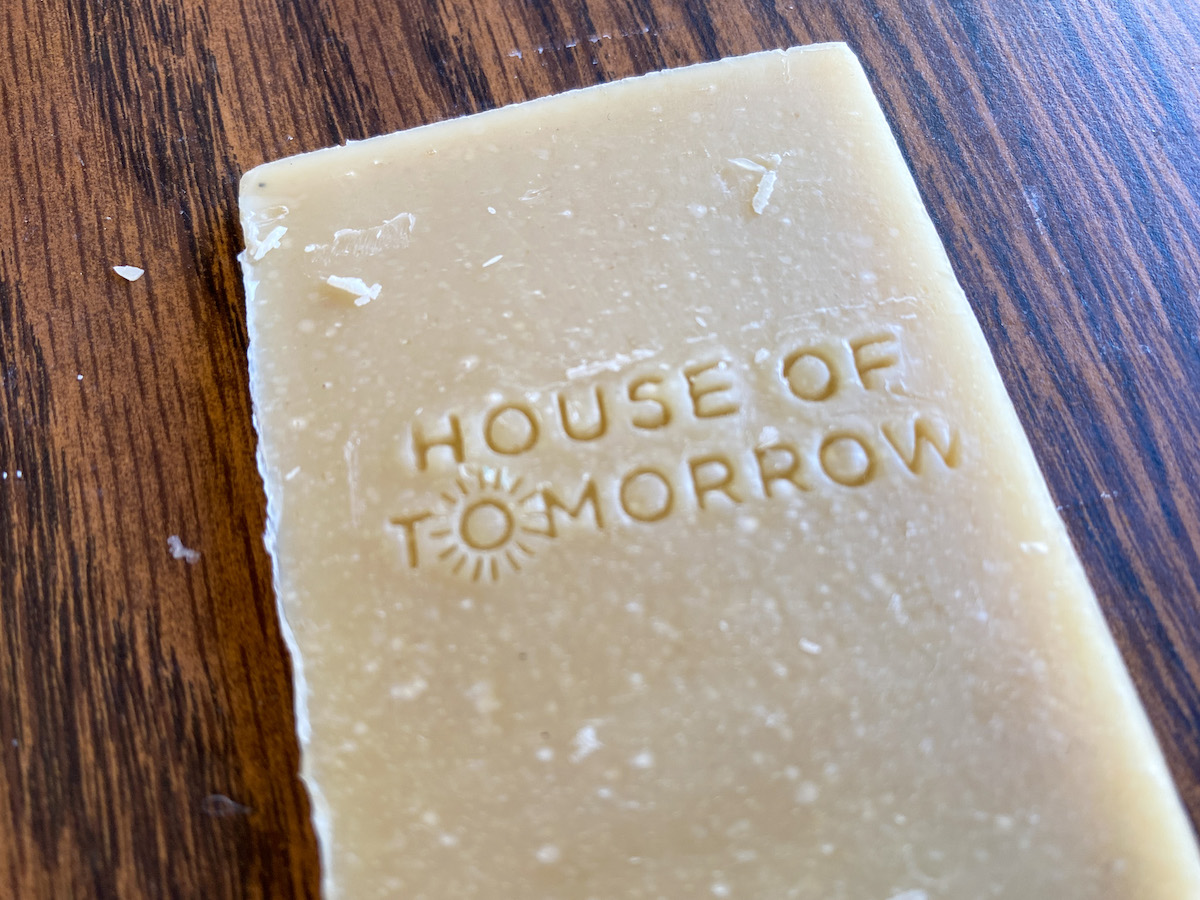
Since I didn’t feel that was an accurate representation of what soap looks like when stamped 1 week after the cut, I grabbed the closest piece of flat soap around.
It happened to be a soap already stamped last week, so just look at the bottom impression (not the middle of the bar which shows last week’s stamping results).
The bottom impression was noticeably fainter than the impression I got when stamping the day after cutting.
STAMPING 2 WEEKS AFTER CUTTING
If using a large stamp, I would try to find time to stamp before this point, because this is what it looks like to stamp (using my soap formula) 2 weeks after cutting my bars:
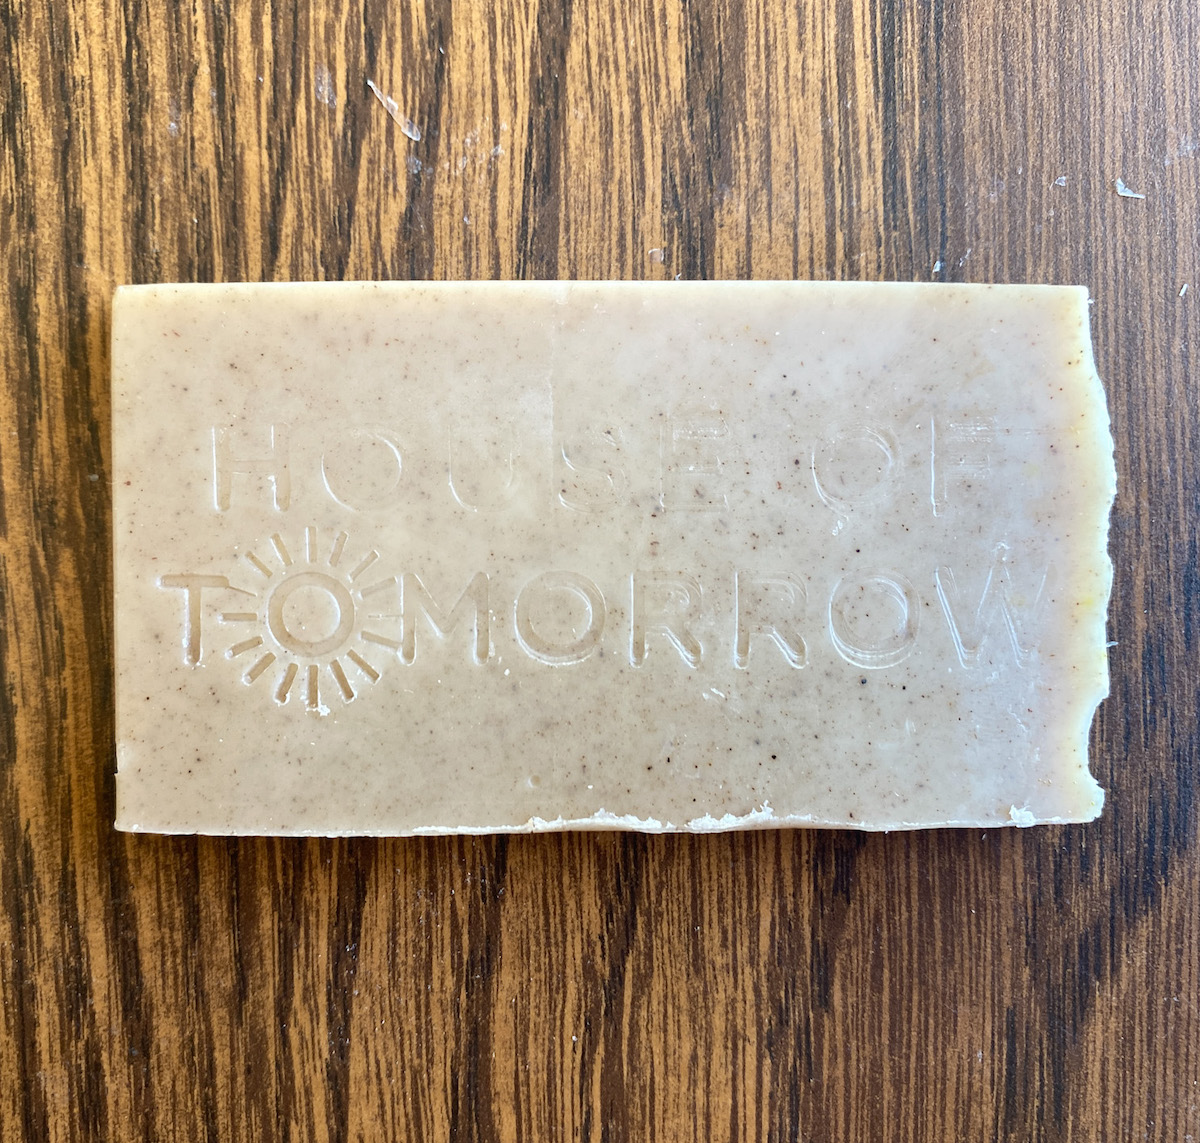
This scrap piece was also a little curved as it was in week 1, which definitely affected my results here. Yet I’d still suggest stamping earlier because even in the spots where the stamp left the deepest impression, the design comes out pretty faint.
STAMPING 3 WEEKS AFTER CUTTING
You can tell I put most of my stamping power on the right side of the soap. As I’m sure you already guessed, I’m right handed.
At 3 weeks after the cut, I feel I need to strike the hammer harder than when the soap was softer. I’m guessing this, plus my right-handedness, were big factors in how uneven this turned out.
STAMPING 4 WEEKS AFTER CUTTING
This is another curved end piece. I believe the reasons the bottom line of the logo had such a strong impression here compared to the top line is partially because of that curve in the soap end, and also because I hit harder on the bottom part of the stamp.
Based on these results, I’m sticking with stamping 1 day post-cut.
SHOULD YOU USE PLASTIC WRAP OR NOT?
Some soapers like to use a piece of plastic wrap between their soap and the stamp.
I personally don’t do this, but I tested it so I could share my results with you. I found that it helps me to pull my stamp out of the soap easier (it can feel pretty stuck in there when stamping directly onto soap). That’s the main upside.
The downsides are:
- Since plastic does so much damage to the environment, I don’t care for the idea of using it when it’s not absolutely necessary
- I feel like stamps don’t look as good when using plastic wrap. This is especially true of my larger stamps.
All the pictures you see above are soaps stamped with my acrylic straight on the soap, no plastic wrap protection.
Below are comparisons of soaps stamped with a plastic barrier at much of the same curing intervals.
It’s not technically plastic wrap, so my results may differ slightly than if I had used that. Instead of plastic wrap, I re-used a piece of thin plastic produce bag we ended up with when my mom gave us some extra veggies one day, which I think is a good enough substitute.
STAMPED ON THE SAME DAY OF THE CUT
STAMPED 1 DAY AFTER CUTTING
STAMPED 1 WEEK AFTER CUTTING
STAMPED 2 WEEKS AFTER CUTTING
STAMPED 4 WEEKS AFTER CUTTING
CONSIDER SIZE/DETAIL OF YOUR STAMP WHEN DETERMINING WHEN TO STAMP SOAP
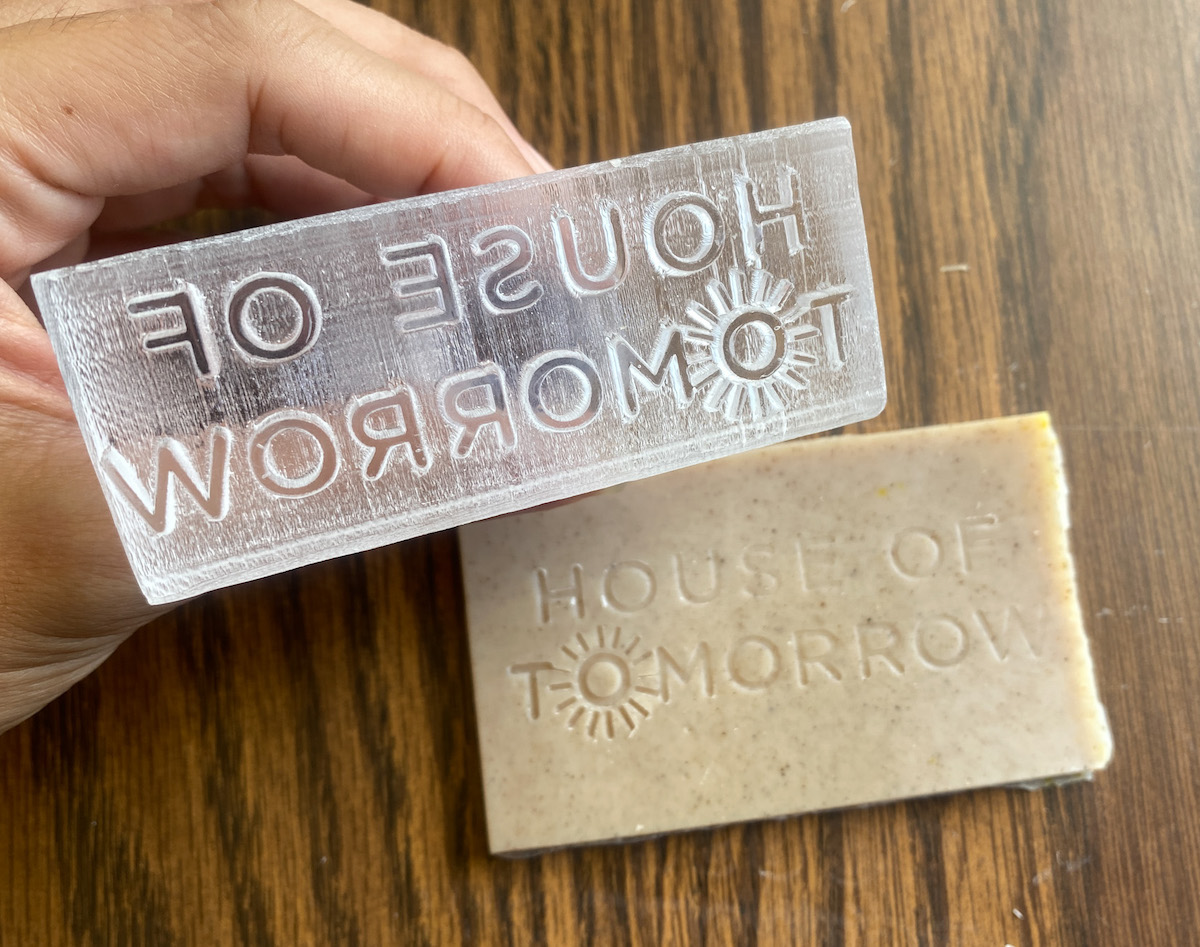
All examples above used my larger soap stamp (about 8cm wide). In general, larger stamps like these do better on bars that are earlier into their cure so that they’re a little on the softer side.
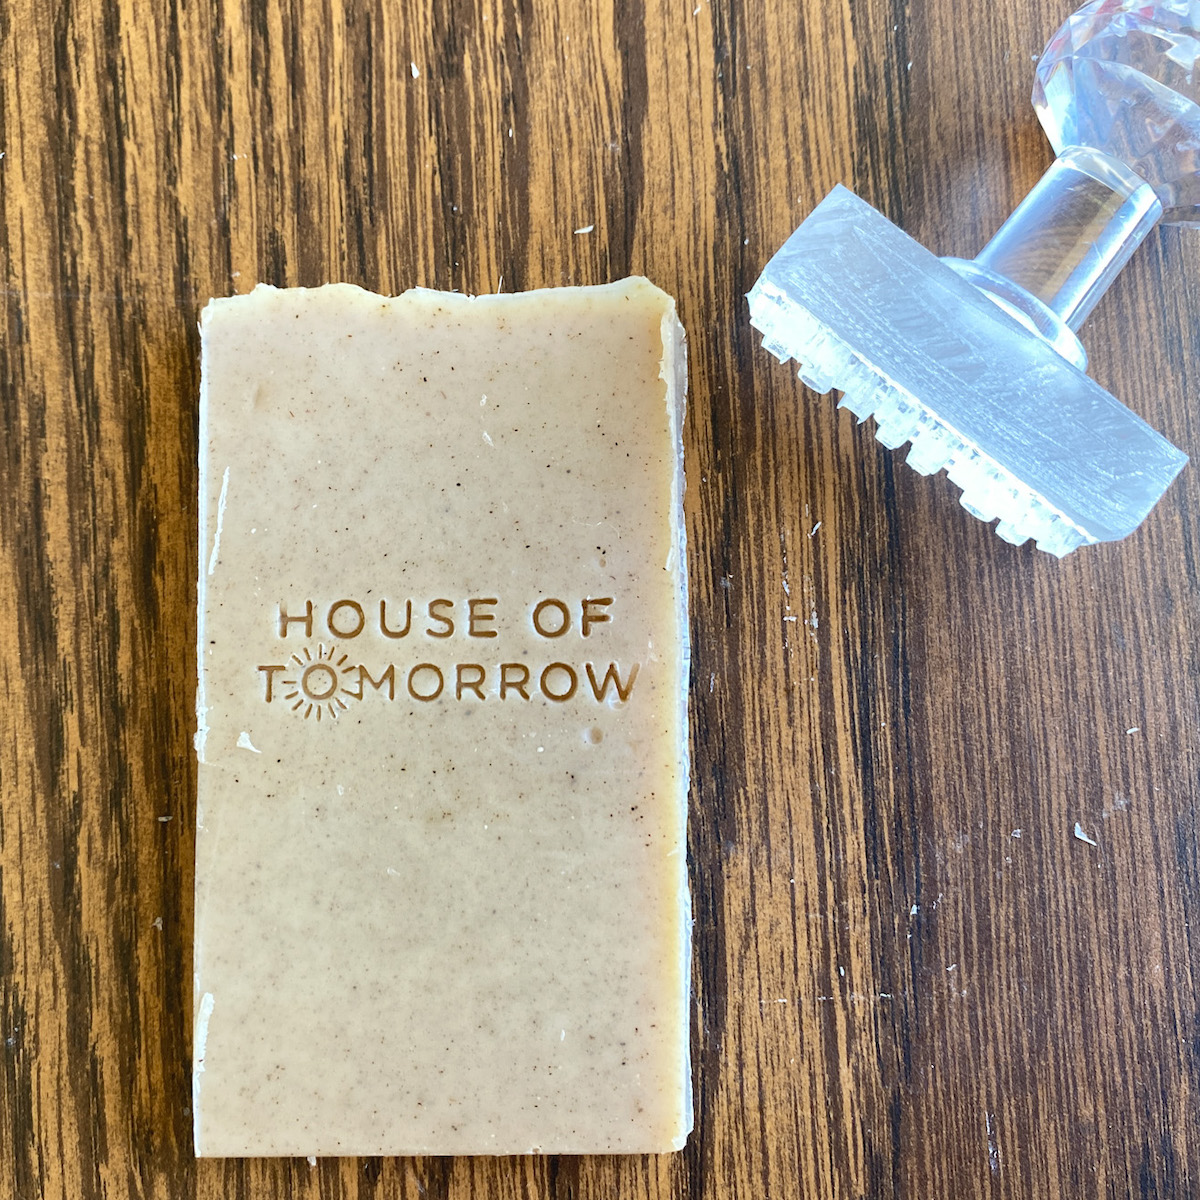
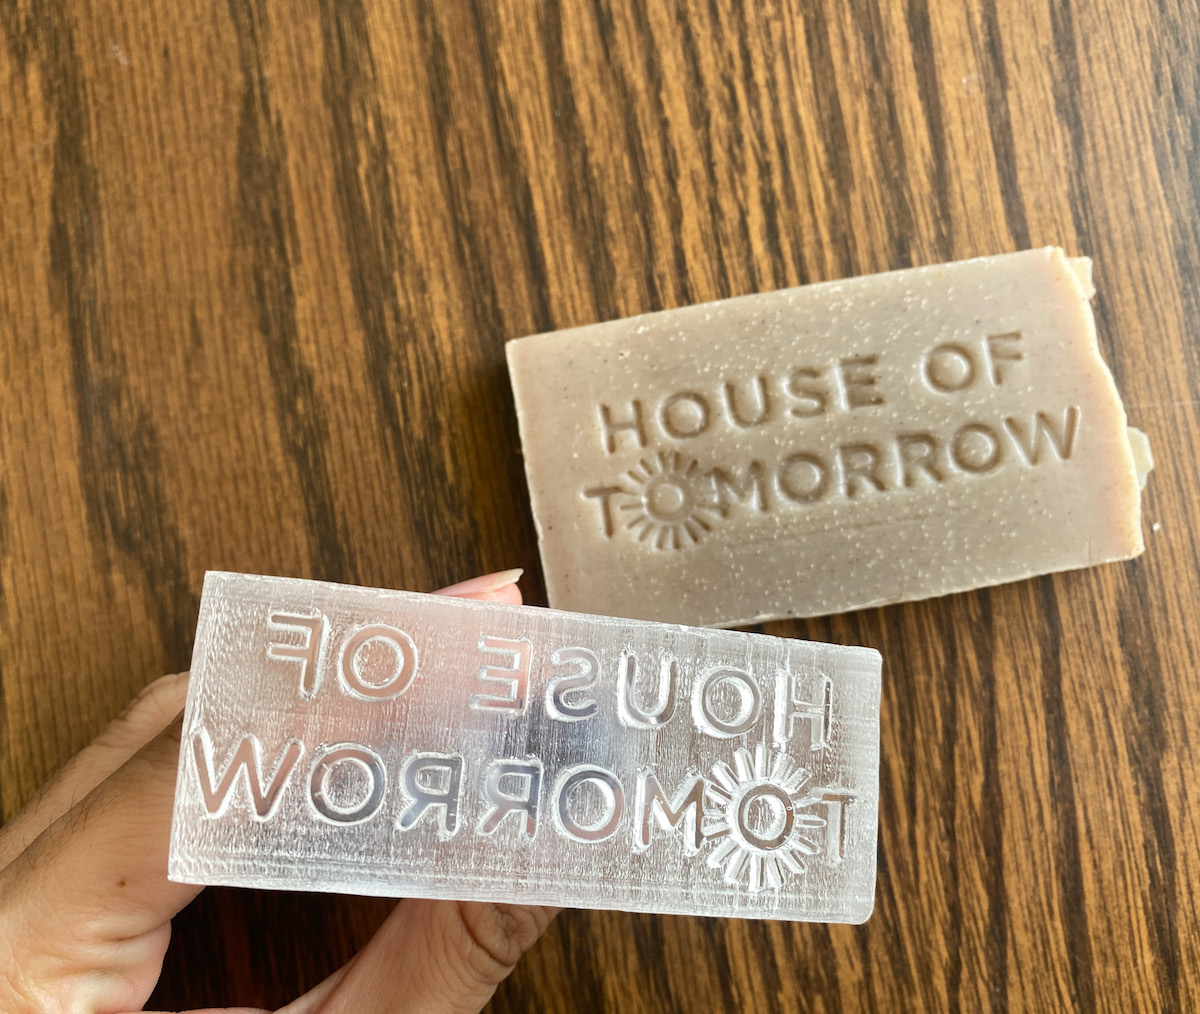
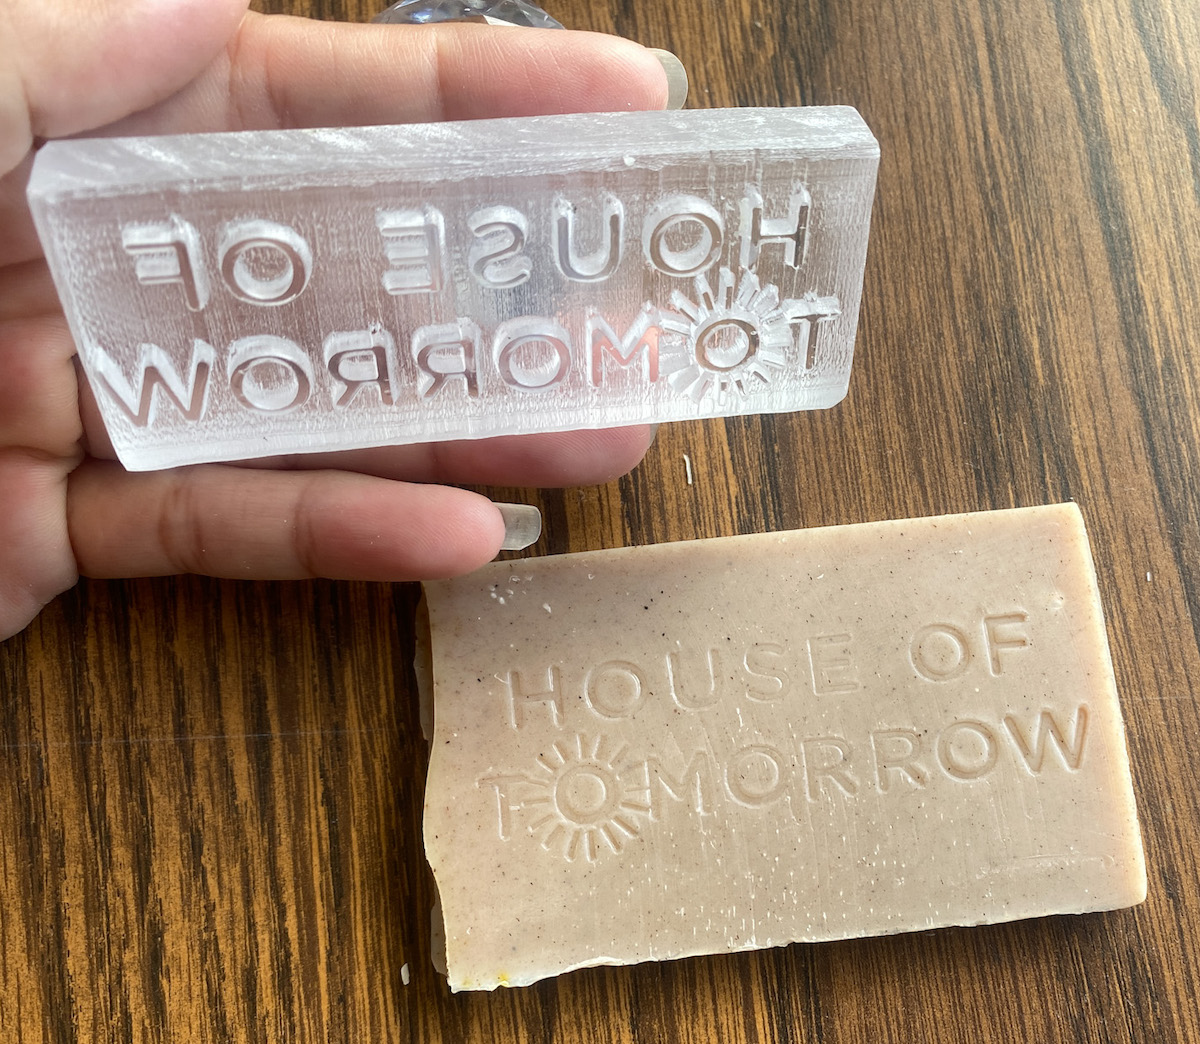
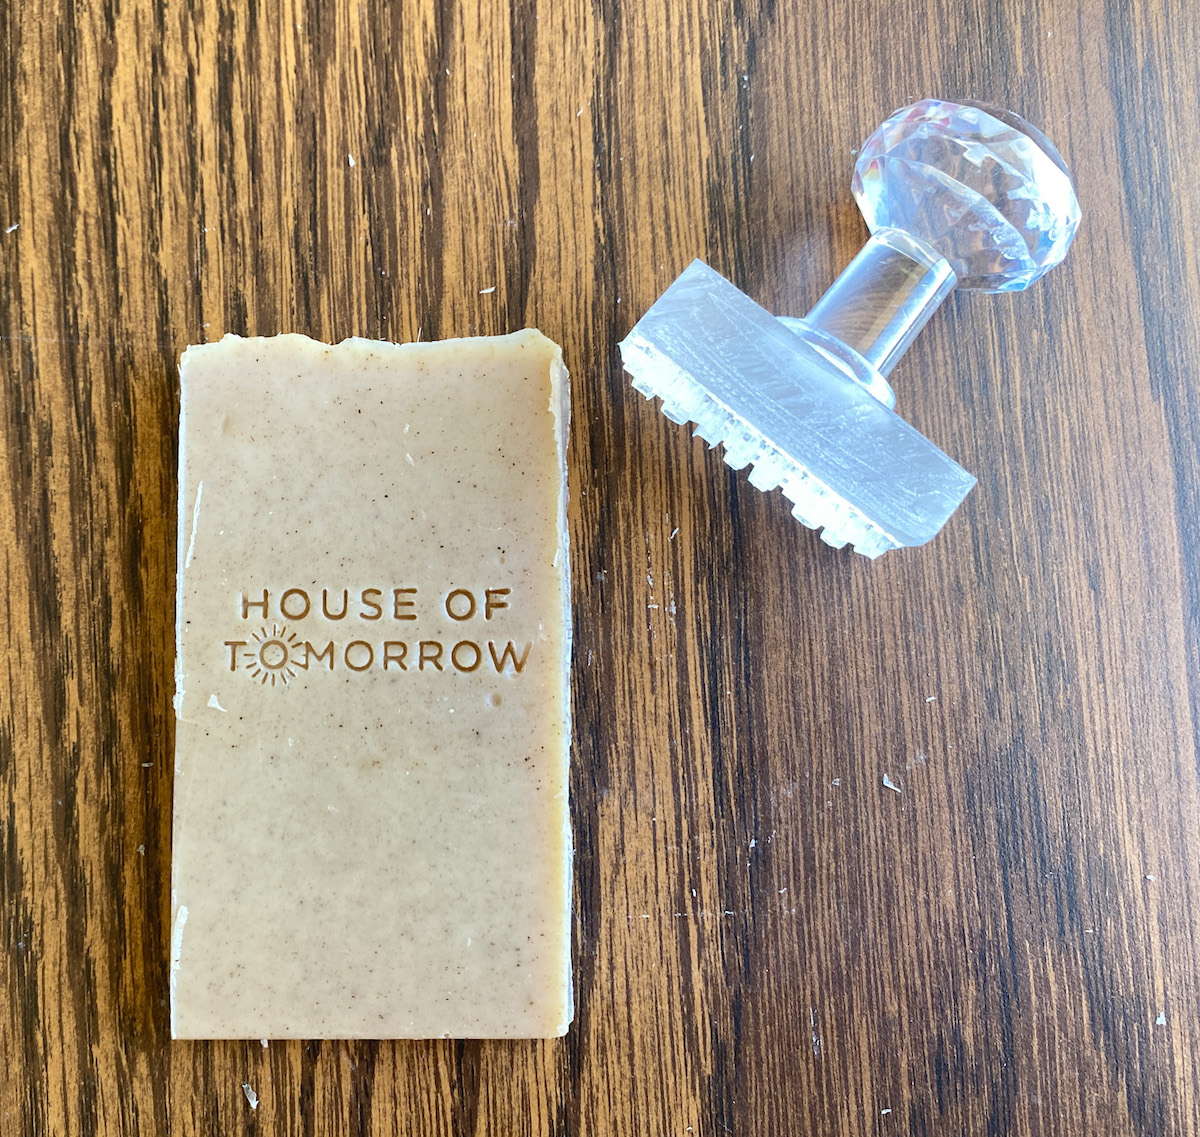
When it comes to more intricately detailed stamps (like my stamp below that’s approximately 4cm wide), you might find that you prefer to wait longer into the cure before using them on your soaps.
I personally really like how the smaller stamp looks on my soap at 2 weeks post-cut.
When working with a smaller stamp, I noticed tiny bits of soap tend to stick to the stamp more, which can gum up the design. I guess this happens because there’s less space between letters. This might slow you down if you stop to periodically clean the excess.
Here are the stamping experiments using a smaller and more detailed stamp with no plastic.
STAMPED IMMEDIATELY AFTER CUTTING
STAMPED 2 WEEKS AFTER CUTTING
I love how this looks at 2 weeks post-cut.
7 WEEKS AFTER POURING
I used a silicone mold for this soap with individual soap cavities, so I didn’t have to cut it. I simply stamped it 7 weeks after my pour date and here are the results:

MY PREFERRED METHOD FOR STAMPING & WHEN TO STAMP SOAP
After all this testing, picture taking, and documenting, I discovered that my preference is to use a large stamp 1 day after the cut without a plastic sheet (just my stamp straight on the soap). So far, I’ve found that’s my favorite time to stamp.
At the moment I use an acrylic stamp (cost effective and long lasting) but would love to try a wooden one once my acrylic stamp craps out.
On my smaller stamp I noticed that because the text was thin, one piece of my stamp chipped off. I don’t think I was rough with it, or that I was using it so long that I expected it to break. I actually expected it to last longer, but I guess that’s the risk you run when you use very thin text on your stamp.
I still use it even though I definitely don’t have that perfect logo look anymore, since my soap usually has a rustic flair to it anyway.
If you can afford it, using a sturdier material like metal means your stamp should hold up longer.
I like using a rubber mallet. I felt the slight softness and give of the rubber is gentler on my acrylic stamp, which has already chipped on me. Plus the noise of a metal hammer on your stamp can be jarring.