What Causes Dreaded Orange Spots (DOS) In Soap + EASY Steps To Prevent It
Knowing what causes dreaded orange spots (DOS) is your first step in the battle of preventing them. You’ll never have full control over every batch or bar of soap you make. In fact, part of the fun of soap making is seeing what you’re going to get and what the soap decides to become. Yet you can maximize your chances of reducing dreaded orange spots with a little bit of knowledge on your side.
What Are Dreaded Orange Spots?
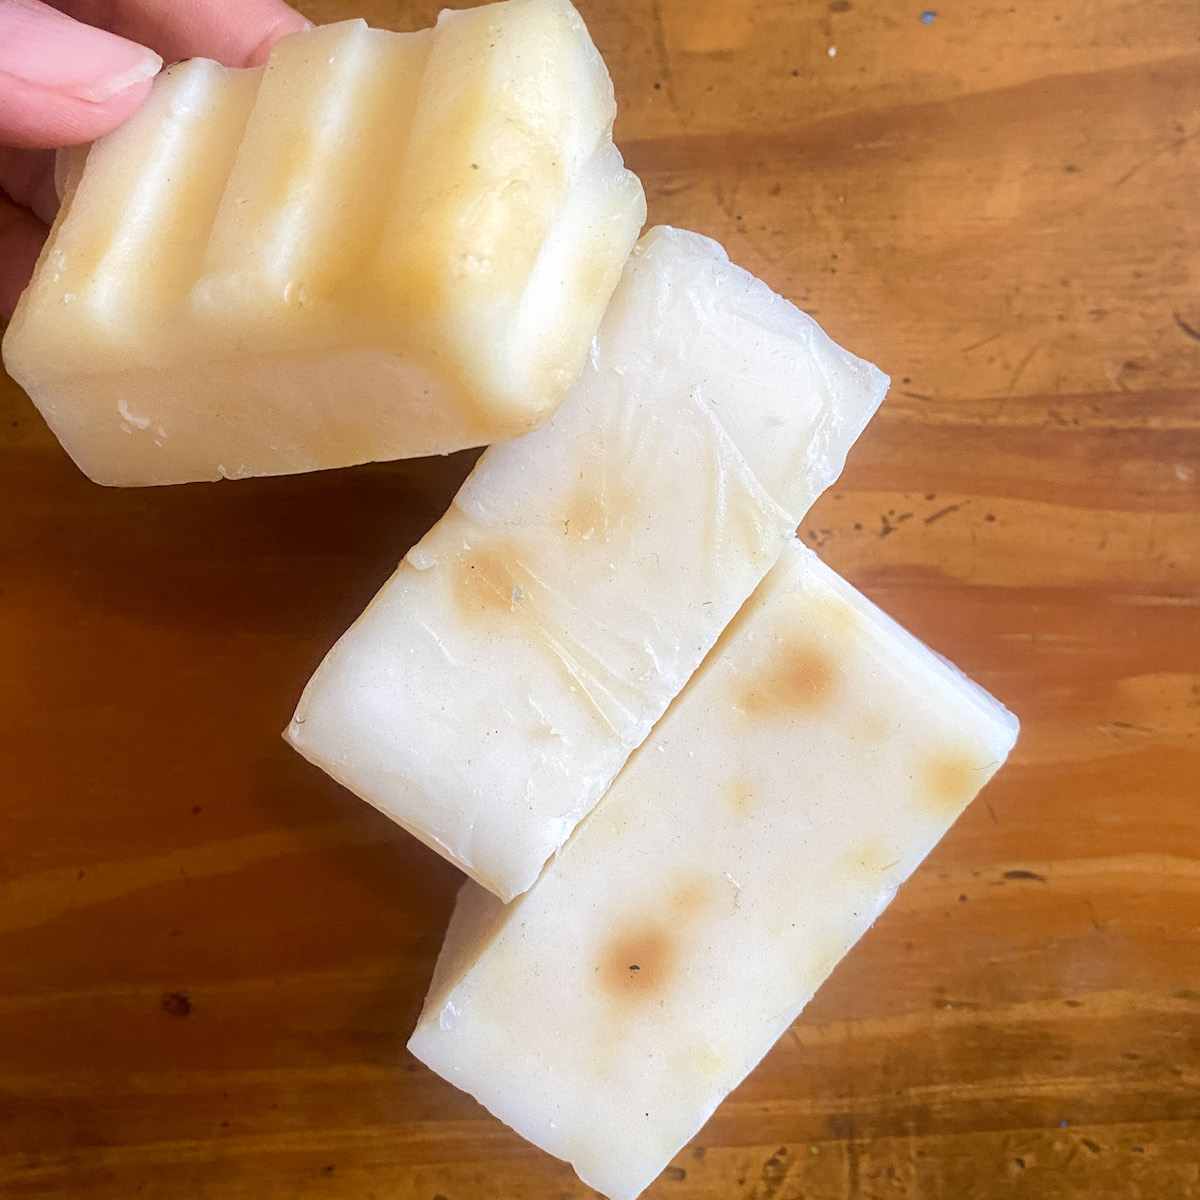
You can identify DOS in soap by it’s unsightly appearance. They’re blemishes on the surfaces of soap ranging in color from yellow to orange to brown.
Sometimes they affect just a small portion of the soap, appearing as one little isolated dot. In worse cases, they can completely cover the soap, freckling every surface.
Can You Still Use Soap That Has DOS?
Yes, you can still safely use soap that’s been affected by dreaded orange spots.
The only reason most soapers hate it is not because it makes their product unusable, its because it ruins the look of the soap and it often causes the soap to develop a stale odor.
And of course if you’re selling soap, it’s going to be a major detraction to the perceived value of your product. You better take it off the proverbial shelf.
What Causes Dreaded Orange Spots?
DOS is most commonly caused by some of the fats in your soap recipe going rancid.
Oils don’t last forever! Just as the vast majority of the food in your kitchen will eventually spoil, so will soaping oils. And when this happens the soap is affected too in a pretty visible way.
How To Prevent Dreaded Orange Spots
Choose the right oils
The best way to prevent dreaded orange spots is to find a brand or supplier of oils that works for you, and continue to stick with those oils.
Many soapers have found that using oils from their local grocery store results in soaps that develop DOS much quicker than expected. This may be due to the quality of the oils, or due to how long the oils have been sitting on the grocery shelf.
Choose fresh oils, as older oils made into soap still carry their age with them. Oils continue to progress on their natural lifespan, and when they reach the point that they’ve “gone bad,” it shows in your final product.
Also take some time to understand the shelf life of soaping oils you may be using in your own formulations.
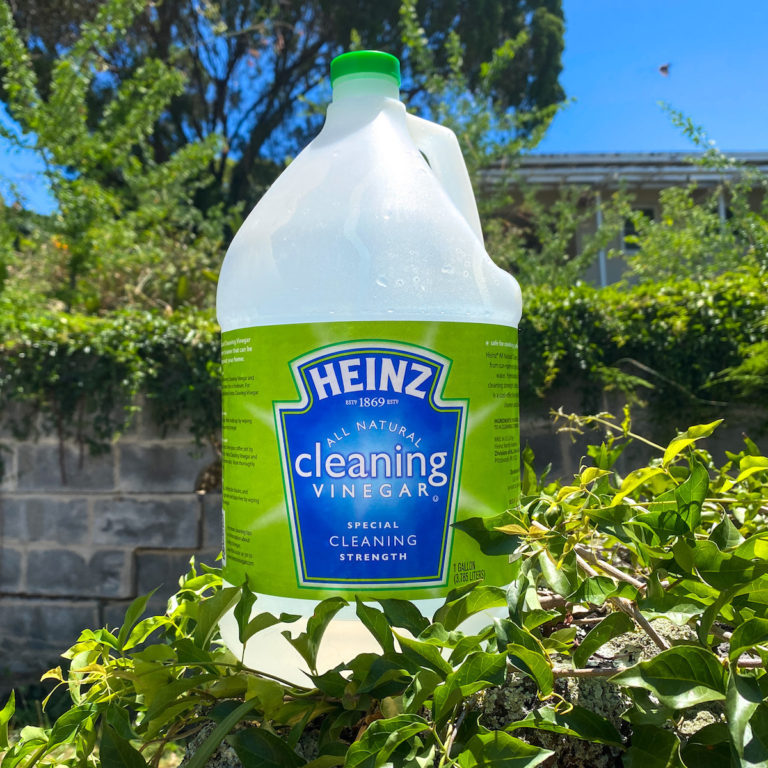
Use distilled water
Depending on the area you live in, your tap may contain impurities that taint your oils/soap and lead to DOS. It’s safest to use distilled water, which contains no impurities or solids.
Always be aware of expiration dates on oils
Check the expiration dates on your bottles, and don’t use oils that have expired or are close to expiring unless you don’t care that your soap may end up with DOS.
I also mark my bottles with the purchase date and factor that in to my decision about which bottle I’m going to use up first. So if two bottles of olive oil have the same expiration date but I bought one last month and one yesterday, I’m going to use up the one I bought last month first.
You’ll want to aim to buy just the amount of oils you think you can use in the next few months.
Knowing how much to purchase can be tricky for some soapers to balance because we’re all looking to maximize the bang for our buck. Buying in bulk is one of the best ways to do that. With some time, attention to purchase/expiration dates, and experience you’ll be able to strike that balance.
Storage of oils
Always store your oils in a cool, dark place. Exposure to light and heat speeds up the process of oxidation.
Some soapers will keep their oils in the refrigerator to really optimize the storage condition of their oils. This storage setup is about as good as it gets.
Yet that’s going to be hard for a lot of us to do, especially if we share the refrigerator with family or roommates. The next best spot in your kitchen is probably a dark closed cupboard.
Include additives that help slow oxidation
Rosemary Oleoresin Extract (ROE) is a favorite among soapers that have a personal vendetta against dreaded orange spots. It’s added to your oils before you put them into storage, and slows the degradation process, making your soap last longer.

The usage rate of ROE is very low (just 0.02-0.08%) so a bottle will last you forever. It’s pretty cost effective.
Weighing out such small amounts of ROE and adding it to each bottle is an extra step that I personally don’t love to do, but I feel its worth it to have the peace of mind knowing that your oils and soap have max protection against oxidation this way.
Earlier I mentioned that I mark my oils with the purchase date. I also mark the bottles with the date I add ROE to it. Ideally it’s the same as the purchase date, but you know, procrastination…
I think it makes most sense to add ROE only to liquid oils that may have issues with rancidity. I don’t add it to any butters or coconut and palm oils. I do add it to macadamia nut oil, castor oil, and olive oil.
Minimize impurities & ingredients that cause DOS
You may have noticed that in all my soap recipes (like this one) I recommend you used distilled water. It’s unlike me to recommend something like this because tap water:
- is cheaper
- doesn’t come encased in plastic
- is easier and more convenient to obtain
- doesn’t require any storage space in your home
Yet I only used distilled water in my soap because it helps to extend the soap’s shelf life. That’s because it’s completely free from impurities.
Moral of the story: eliminate or minimize possible extra gunk from ending up in your soap.
This means making sure your soap mold and soaping supplies are clean. And being aware that many additives have the potential to carry impurities with them.
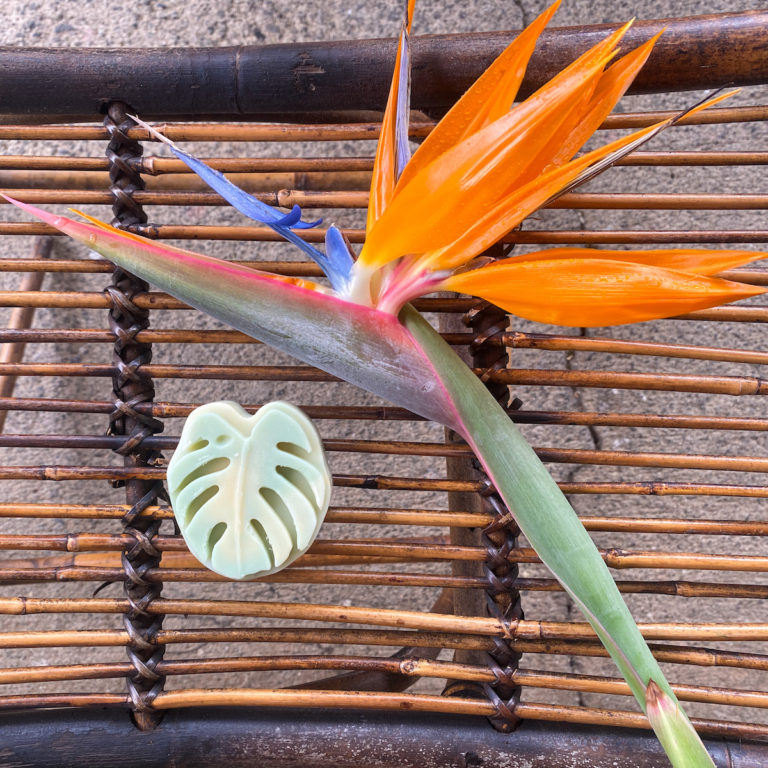
And be careful when topping your soap with petals, oats and the like. It’s fun to do, but these can hold moisture, potentially rotting and/or causing DOS.
Storage of soap
It’s not just your soaping oils that you have to be mindful of storing correctly, its also your final product.
Just like with your oils, you want to keep soaps in a cool, dark place. In addition, you also want to ensure that they have a little bit of airflow to them so that moisture present in or around the bar can evaporate.
This too, can by tricky to balance. You don’t want dust setting on your soap and you want to keep the scent of your soap from escaping the bar, but you want a little bit of air to be able to reach the soap.
Some good options include storing your cured soap in loosely closed paper boxes or paper bags. These still allow soaps to breathe while protecting them.
Consider What Causes Dreaded Orange Spots, Then Counter It
Now that you know what causes dreaded orange spots you can use that information to minimize the factors that cause it in your soaping process. These extra precautions are so worth it if you’re selling or gifting soap and want peace of mind that your soap will look and smell how you intended.