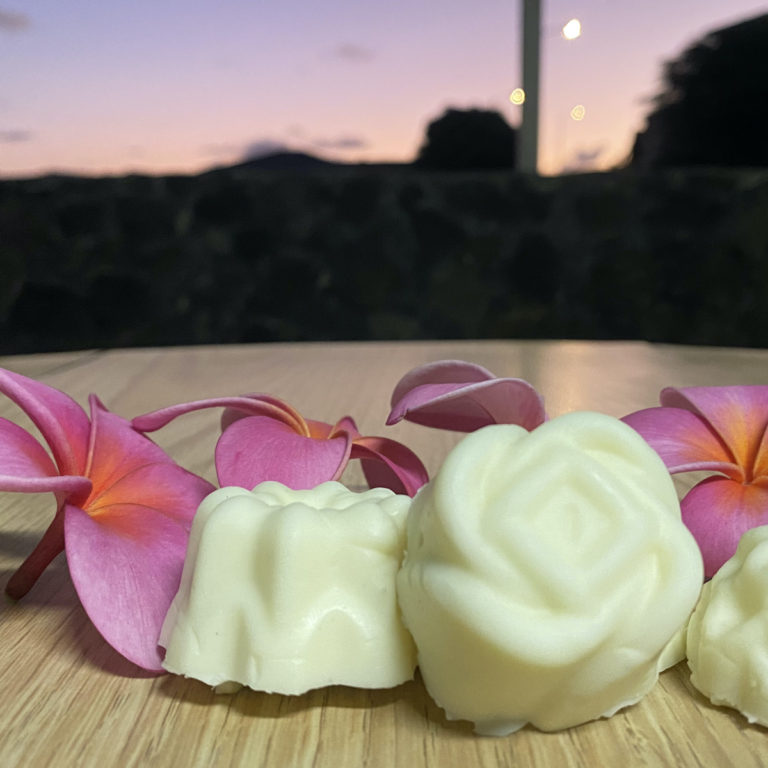
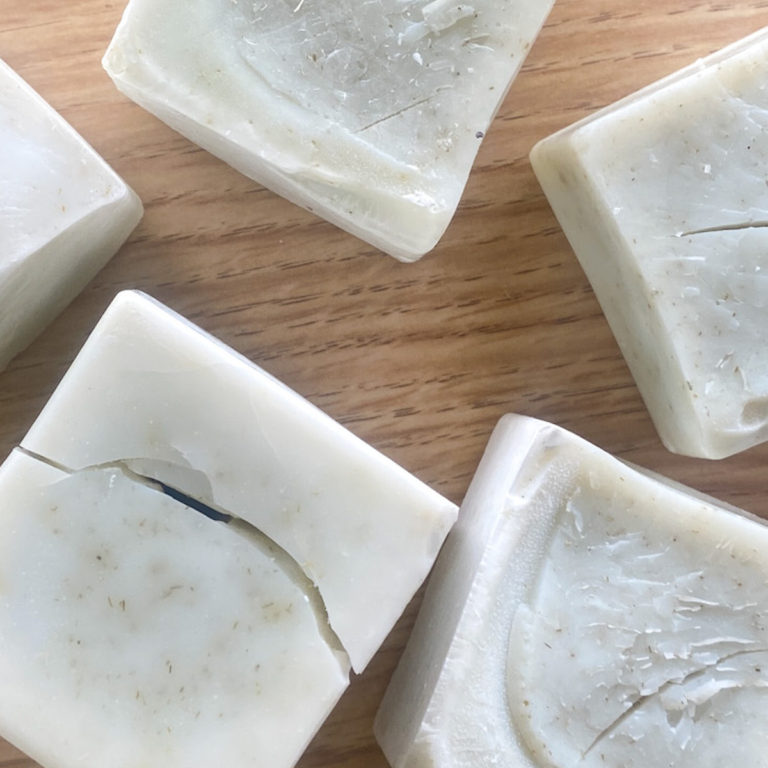
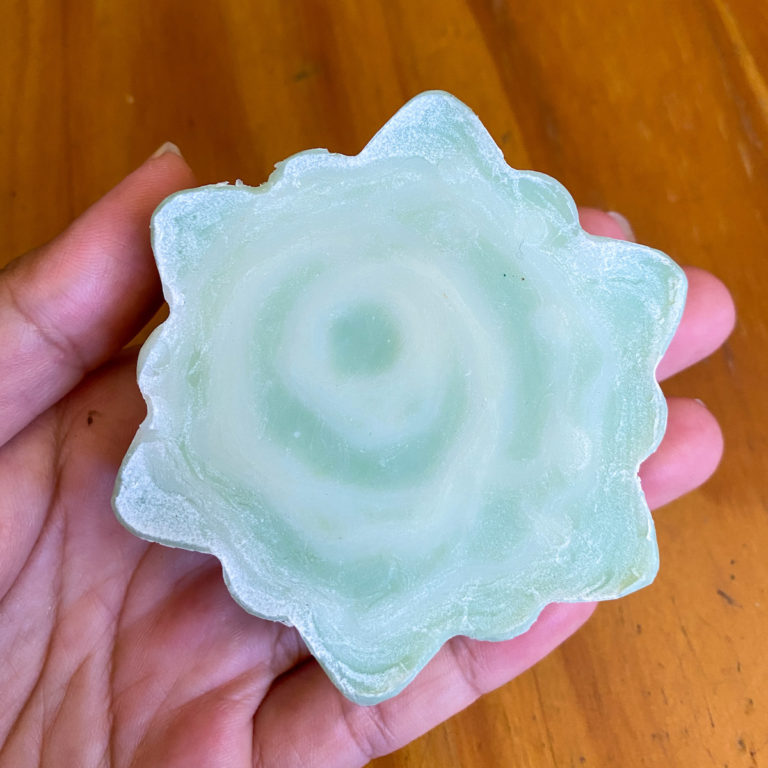
What Are These Bumps on My Soap?
Bumps on soap are not cute. If you aim for your soaps to impress, bumps have no place in your world. They’re unlikely to affect the actual quality of soap and are more of a cosmetics issue than anything else, so if looks don’t matter to you, don’t even worry about them. If you want to ensure your next batch doesn’t have them though, read on to learn about why they even formed in first place, and therefore how to prevent them.
Bumps on soap can usually be attributed to one of these factors:
- air bubbles
- length of time in the mold not being ideal
- stearic acid spots
- undissolved additives
- reactions caused by fragrance or essential oils.
Air Bubbles Are The Most Common Cause of Bumps on Soap
How do you know if air bubbles are your problem? Well bumps on soap caused by air bubbles are only visible when you cut your soap with a wire cutter. You can also take clues from the look of them. It’ll look like small bumps on the cut surface of your soap, but you won’t see air bubble bumps on the tops or the sides of your bars. You might see holes that look like air bubbles anywhere on your soap though, and if you do that’s an even bigger clue that air bubbles might be your problem.
If you notice bumps when you cut the soap, try cutting that same soap with a knife. If no air bubbles appear on the surface that was cut with a knife, that probably means the problem was due to air bubbles in combination with the texture of the wire. The smoothness of a knife blade kind of smears away air bubble bumpiness.
Another way to tell if its air bubbles that are your issue is to use the back of your nail or another smooth surface (like the blade of the knife or a countertop) to push down on the bumps. If they seem to disappear, that’s an indicator that air bubbles were your problem.
To prevent this from happening again, take extra care to minimize how much air gets into your batter. “Burp” your stick blender before you turn it on by holding it at a diagonal angle under your soap batter and tapping it against your pot to release any air stuck under the head of the blender.
Or skip the stick blender and just use your muscles to mix.
Pour your ingredients into your soaping pot as gently as possible to minimize the amount of air that makes it into the batter. Even when you pour your soap batter into your mold at the end, you should be gentle and intentional about it.
You should also tamp your mold after the batter is poured in. Tap your mold it on your counter or table top. Be gentle so you don’t spill or splash your batter. This tapping, although irritating on the ear, works great to encourage air bubbles to travel upwards, where it can reach the air and pop.
Length Of Time In Mold
Another thing that can cause bumps on soap, castile soaps in particular, is letting the soap sit in the mold too long before cutting. Castile can be finicky in this way. Some castile soap makers say 24 hours after pouring is the ideal time to cut, but as always, adjust that so that it works for you and your particular recipe.
Others who make non-castile actually find that waiting longer, like 3 days for example, actually makes for a smoother bar of soap and smoother cut.
Some say that that demolding soap and then waiting a few hours until cutting makes for a smoother cut face.
There are so many factors to experiment with here, so test, test, and test some more.
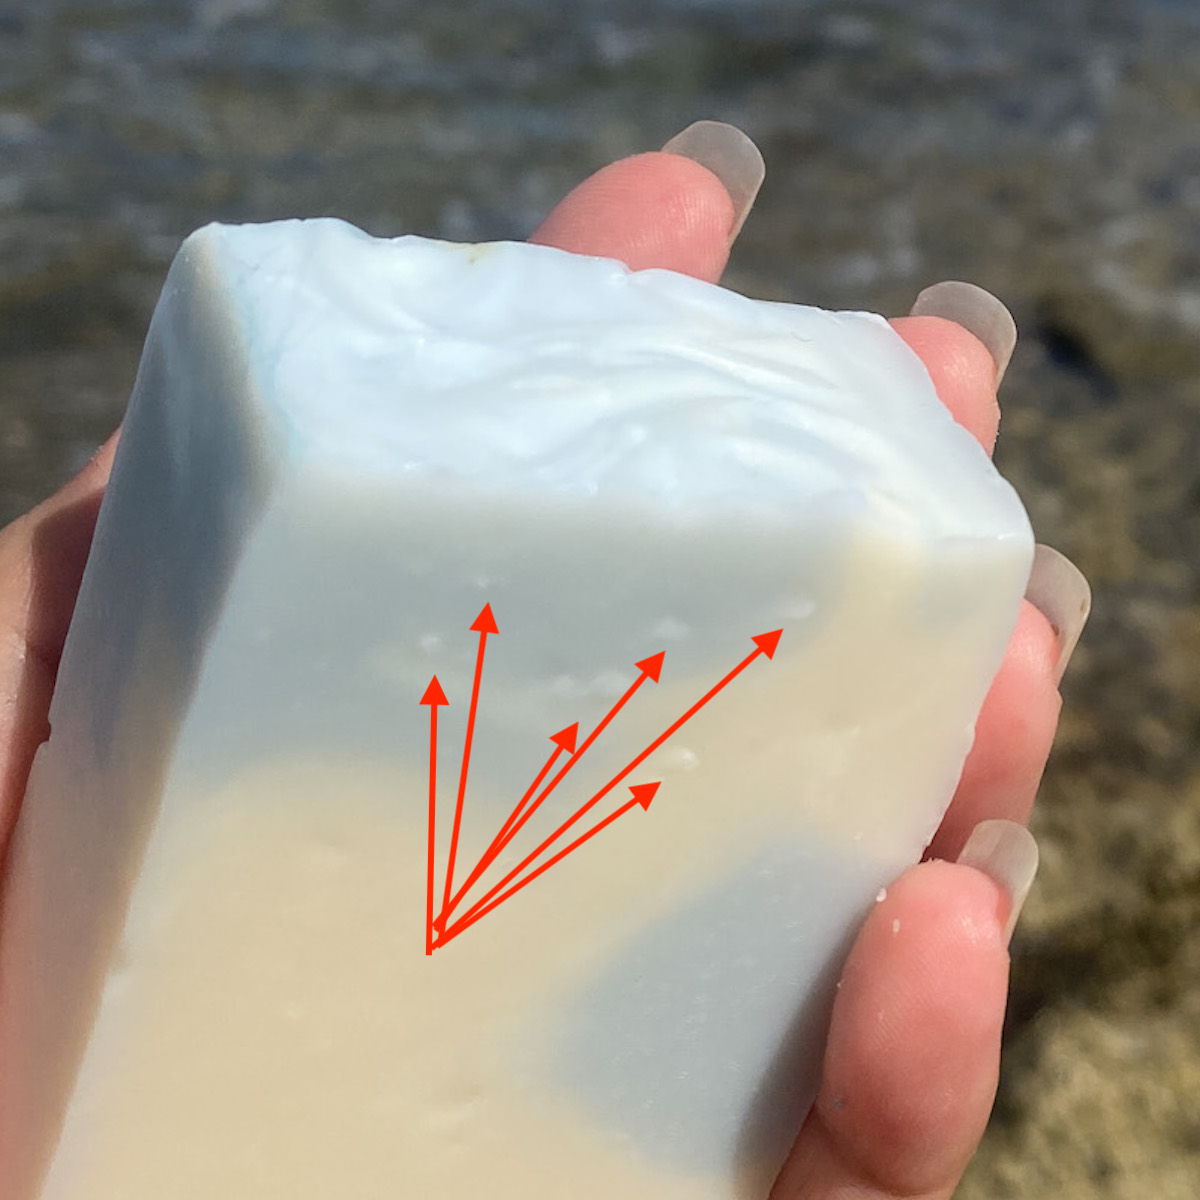
Stearic or Palmitic Acid Spots
Stearic acid spots (or less commonly palmitic acid spots) are another possible cause of bumps on soap. You can identify them by their color (they’re white or off-white) and cannot be smoothed away. No matter what you use to cut them (wire, knife, whatever), if you have them, you’ll see them. You won’t be able to smooth them away or plane them off, unlike with air bubble bumps.
If you dig out one of the bumps and rub it between your fingers, you’ll notice that they feel a bit waxy.
To prevent stearic acid spots in your soap, pay attention to the melting temperatures of any solid fats you use. Ensure they reach that temperature at a minimum, and are completely melted before you begin mixing in liquid oils or lye solution. Work quickly to blend your ingredients after combining them so that your solid fats don’t begin solidifying before they have a chance to thoroughly mix with the lye solution and emulsify.
Additives Causing Bumps on Soap
Additives can also cause bumps on soap if they’re not thoroughly mixed into your soap batter before saponification happens. Think clay, titanium dioxide, oat flour, stuff like that. These types of additives are thick, so any clumps of them that survive the blending process are essentially pockets of powder (or whatever your additive happens to be) that can cause your soap to look bumpy.
To identify if this is your issue, use a small sharp object like the tip of a knife to open one of the bumps. If you find a clump of your additive in the bump you just dissected, you know you need to do a better job of dispersing that additive next time around.
One highly effective way of doing this is to reserve a very small amount of the soaping oils or water you would have used in your soap recipe, and mix your additive with it before adding it into the larger pot. Or you can do the same thing by mixing your soap batter, then spooning out a small portion of it to mix with your additive.
Which of these options you choose will just depend on personal preference. For example, when I’m using oxides to color soap, I usually like spoon out a small amount of soap batter to mix with the oxides. And when it comes to incorporating clay into a recipe, I like to mix it with water that I reserved, as I find that gives me the best results
This pre-mixing will help you to incorporate your additive much more easily and thoroughly. This way you don’t need to overdo it with your stick blender in an effort to ensure its evenly dispersed. As you know, too much stick blending can lead to a thick trace which would make pouring the batter into a mold more difficult.
Fragrance Oil Reactions
Fragrance oils are notorious for causing acceleration and discoloring. Basically they can just cause your soap batter to act weird and “not right” which could result in funky things happening to your final product, like bumpiness.
The same is true of essential oils, though I feel to a smaller degree.
Every new thing you add to a soap recipe is a potential problem. That’s why it’s good to make small batches when trying something different. Think of these small batches as necessary tests you must run if you’re sharing or selling your soaps.
If a certain fragrance or essential oil causes bumps on soap to appear, its like just a cosmetic problem and can be used like normal, albeit probably just for personal use.