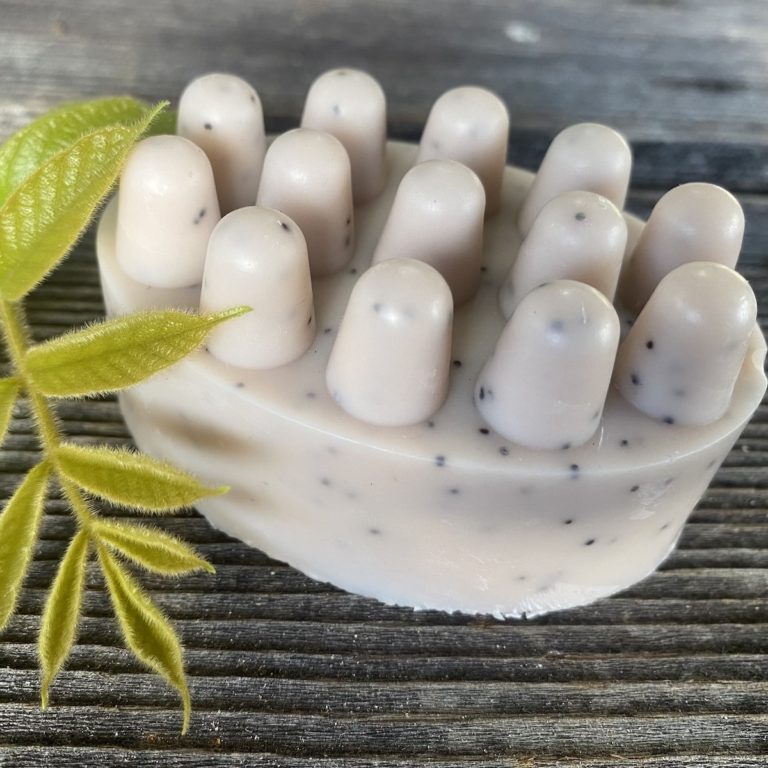
Kaolin Clay Soap Recipe – You’ll Love How Clay Improves Soap Instantly
This handmade kaolin clay soap recipe is luxury on the cheap. Trust me, you want this in your shower. It’s a simple recipe that results in a long-lasting bar of soap that feels nice and silky on the skin.
Benefits of Using a Kaolin Clay Soap Recipe
- Helps to “anchor” fragrance, meaning it helps the scent to last longer in the finished bar of soap
- Absorbs excess oil but doesn’t dry skin out because its a very mild clay
- Contains silica which is great for circulation and supports the synthesis of skin collagen
- Adding kaolin clay to soap formula really improves the feel of your bar by adding a slip that can be described as silky or smooth, turning something simple into a luxury handmade soap
- Kaolin clay is inexpensive as far as clays go, so it’s cost-effective
- If you’re selling soap, clays in general are a good marketing point because they make your soap more special than it would be if it didn’t have any additives
Other Effects of Adding This Clay to Your Soap
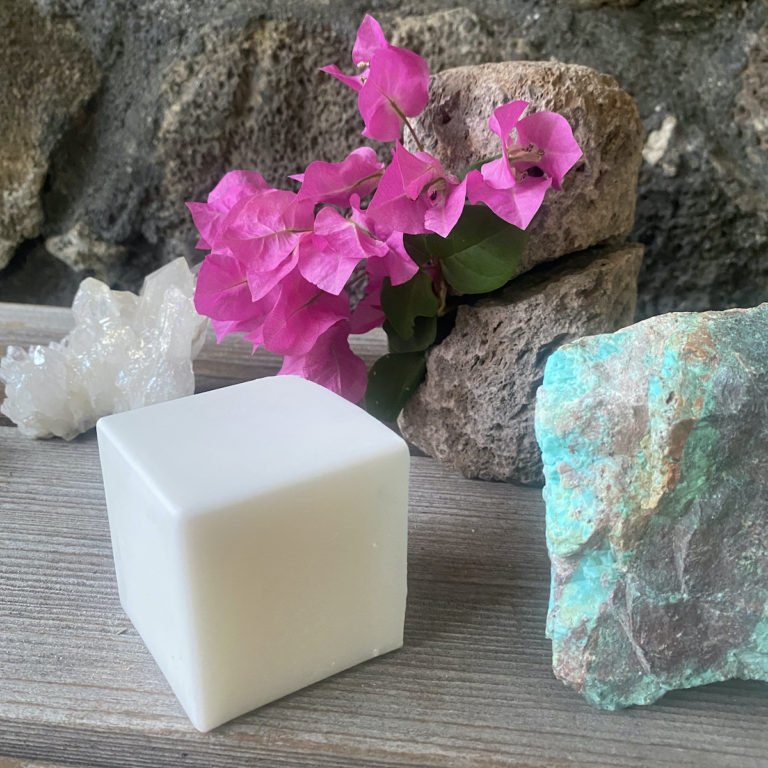
- Kaolin clay is a beautiful white, and it creates a whiter bar of soap, especially if added in larger amounts. This is something you may or may not want, depending on the look you’re going for.
- All clays absorbs moisture, and I believe its for this reason that kaolin clay tends to speed up trace in your soap batter. I personally don’t mind it unless I’m trying to do complex swirls.
Kaolin Clay Soap Recipe
I encourage you to try this kaolin clay soap recipe if you want to start incorporating clays into your soaps. It’s a great introduction to using clays because it’s simple and it’s not going to cost you much (kaolin is probably the most affordable of soaping clays).
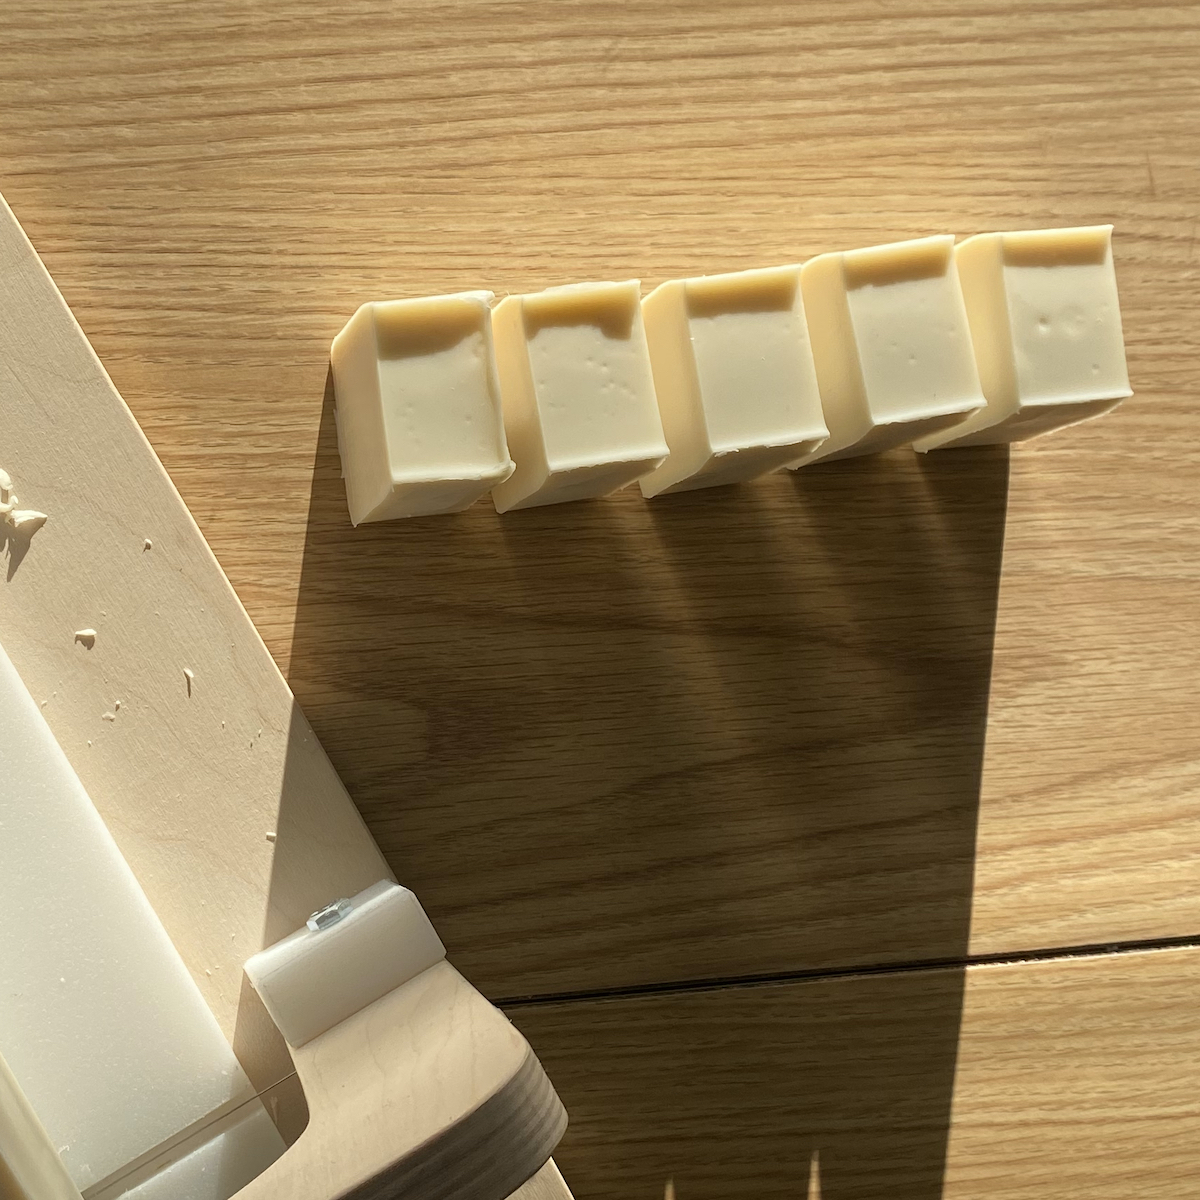
- 1 lb recipe (454 grams of soap batter which should fit perfectly in a standard 1lb mold, and will produce 317.8 grams soap once the excess water evaporates out)
- 5% superfatted
- if using essential oils as fragrance, the fragrance ratio is 0.3oz/lb
- usage rate of Kaolin Clay is 1 Tbsp per lb of oils (PPO)
TOOLS/EQUIPMENT
- Soap mold that can hold at least 1lb of batter, lined if applicable (or learn how to make soap without a mold)
- Scale that has the ability to measure in grams
- Digital thermometer
- Safety goggles for eye protection
- 2 lye-safe plastic containers (one that is large enough to hold the full amount of your lye + water)
- Sieve/strainer
- Stainless steel pot large enough to hold your entire batch of soap batter and still leave some extra room at the top to account for splashing
- Large container to measure soft oils
- Stick blender
- Rubber spatula
- Soap cutter, knife, or cheese cutter to slice finished soap
- Optional: gloves to protect your hands
INGREDIENTS
Note: ingredients are measured in grams
LYE SOLUTION
- Water: 67.9 g
- Lye: 45.2 g
HARD FATS
- Shea butter: 28.6 g
- Pure soy wax (such as Golden Brands 464): 28.6 g
- Coconut oil: 101.7 g
SOFT FATS
- Castor oil: 15.9 g
- Olive oil: 143 g
CLAY ADDITIVE
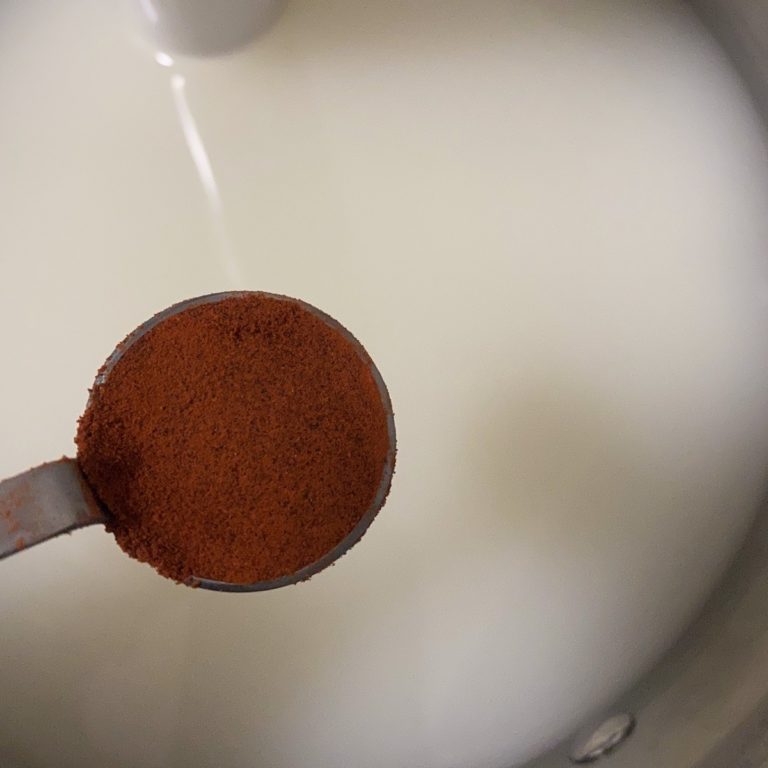
- Kaolin clay: 1 Tbsp
OPTIONAL
- 9.5 g essential oils of your choice
INSTRUCTIONS (USING THE COLD-PROCESS METHOD)
NOTE: Lye (sodium hydroxide) is used to make soap and this stuff is serious. Before anything else, read up on lye safety for soap makers ASAP, and refer to it over and over until you’ve got it down pat.
What you’ll find below are basic instructions for those who have a little bit of experience with soaping.
If you’re new to soaping, please carefully read my most detailed step-by-step instructions (a guide for beginners) in this post about the cold process method of soap making.
- Gather ingredients and equipment
- Measure out your kaolin clay
- Measure your distilled water into a lye-safe plastic container
- If you’re using essential oils, measure them out and mix the clay into it so the essential oils soak into the clay, which will help to anchor the scent. If you’re not using essential oils, take a small amount of the distilled water you just measured, to soak your clay in (just enough to get it to the consistency of a thick milkshake)
- Measure out lye into a separate lye-safe plastic container
- Slowly add your lye to your water, stirring to dissolve the lye
- Set lye solution aside someplace safe until it cools down to 100-120 degrees Fahrenheit
- Measure out your hard oils into a pot and heat it on low until melted. Upon oils melting, remove immediately from the heat source. Set it aside to cool to 110-130 degrees Fahrenheit (check with your digital thermometer periodically) while you move on to the next steps.
- Measure out your soft oils and set them aside. Add them to the pot of melted hard oils when the melted hard oils are between 110-130 degrees.
- Slowly pour your lye solution through your sieve, into the pot of oils
- Use your stick blender (set to OFF) to stir to begin combining the lye solution and oils for about a minute
- With the head of the immersion blender still fully submersed, turn the blender on and stir/blend for about a minute
- Let the soap batter rest and thicken up for about a few minutes
- Again stir with the blender set to OFF for a minute, blend for a minute, then rest for a few minutes. Repeat until your batter has reached your desired level of trace, adding your clay mixture prior to your desired level of trace being reached (remember clay speeds trace)
- Carefully pour your soap batter into your lined mold
- Set your soap aside someplace safe.
- Wait 24-36 hours before unmolding and cutting.
- Cure soap for 4-6 weeks before use by setting it somewhere cool and dry. This is important because it will allow the soap molecules to crystallize and water to evaporate, leaving you with a nice hard bar of soap that’s gentle on skin and creates a great lather.
Final Thoughts On This Kaolin Clay Soap Recipe
Kaolin clay is a great clay to start with because it’s easy, affordable, and makes such a nice difference in the feel of your soap. A small bag of clay will last you a long time. You don’t need it to create great soap, but if you want to experiment with additives, kaolin clay is a great one.

