Cold Process Method of Soap Making – A Step By Step Guide
This is a super-detailed step-by-step guide covering the cold process method of soap making. It’s perfect for beginners to refer to until they’ve got several batches under their belt, and good for intermediate soap makers to read as there may be little bits of info in here that serve as good reminders are tips to up-level your soaping game.
We’ll cover:
- All of the supplies and materials you need to get started
- A simple step-by-step tutorial for the quickest, best results
- Safety tips when dealing with lye and hot liquid
1. Gather Your Soaping Supplies & Set Up Your Soaping Area
It’s best to have everything you’ll need gathered. If you fail to take this first step, you may end up scrambling and looking for something you need in the middle of soaping, or even having to take off all your safety gear and head to the store.
Soap making involves a lot of “stuff”. Let’s break it down into 3 parts.
SUPPLIES PART 1 (SAFETY):
- Safety goggles (protects you)
- Sieve (protects the user of your soap)
- 2 lye-safe plastic containers labeled #2 or #5 (protects the surfaces of your home that you will use for soaping, and protects you by ensuring your lye is safely contained in a vessel that can handle the extreme heat, and not melting all over the place).
- One container should be large enough to hold the combined amount of your lye + water (also known as your lye solution)
- Optional: reusable gloves to protect your hands from lye, lye solution, or raw soap batter
SUPPLIES PART 2 (SOAPING TOOLS):
- A soap mold large enough to hold the amount of soap batter you’ll be making
- This can be a professional, DIY, or makeshift mold.
- Something to line your soap mold unless you’re using a silicone mold
- Scale that has the ability to measure in grams
- Digital thermometer
- Stainless steel pot large enough to hold your entire batch of soap batter and still leave some extra room at the top to account for splashing
- Large container to measure soft oils (I prefer glass, as I find it easier to clean oil off glass than anything else)
- Stick blender
- Soap cutter or knife to cut finished soap
SUPPLIES PART 3 (SOAPING INGREDIENTS):
- All the ingredients listed in the soap recipe you’ll be using. This is what your actual soap will be made of. Ingredients may include:
- lye
- water
- various fats/oils
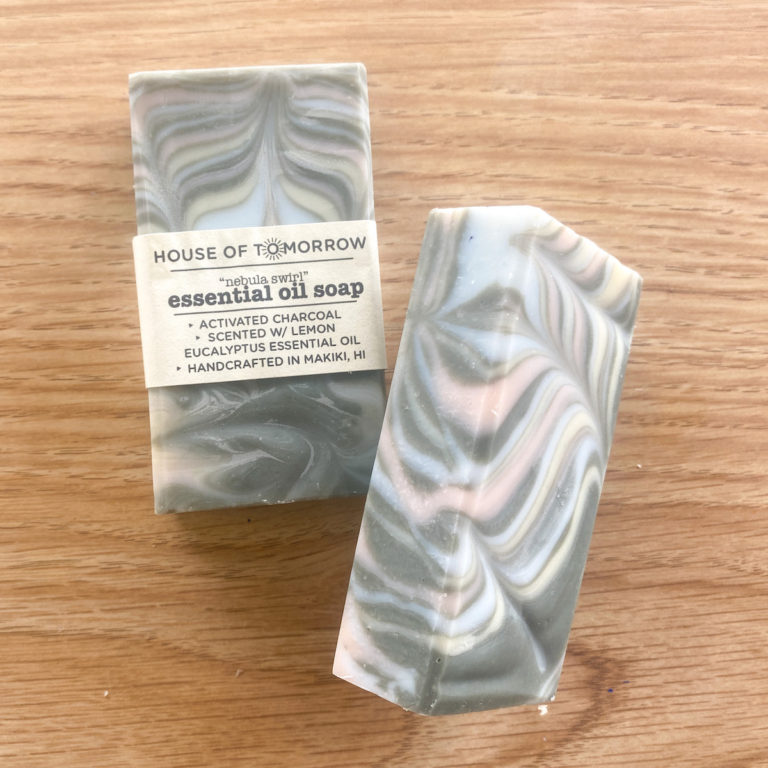
- fragrances (I prefer essential oils)
- colorants (I prefer natural colorants or oxides and ultramarines which are nature-identical)
- additives which may include:
- clays
- herbs
- activated charcoal
- oats
- dried flower petals
Always weigh and measure your ingredients carefully to get exact amounts. Slight alterations can change the entire composition of your soap which could affect hardness, how long it lasts, and in extreme cases, even skin safety.
When it comes to colorants, additives and botanicals used to top soap, you generally don’t need to be as precise, as these come down to a matter of preference and the vision you have for your soap.
Sometimes in soap making you’ll find yourself needing to move fast, so it helps to have the things you’ll need within arms reach.
The space and structure of the room each soaper has available to them is different from one person to the next, so there’s no standard soap making room layout. Just think about the soap making process covered here, and think of how it makes sense to lay things out. Over time, your setup with evolve (mine is still in process and I’ve been soaping for years).
PRO TIP: part of your set up procedures should be lining your mold ahead of time so it’s ready right when you need it
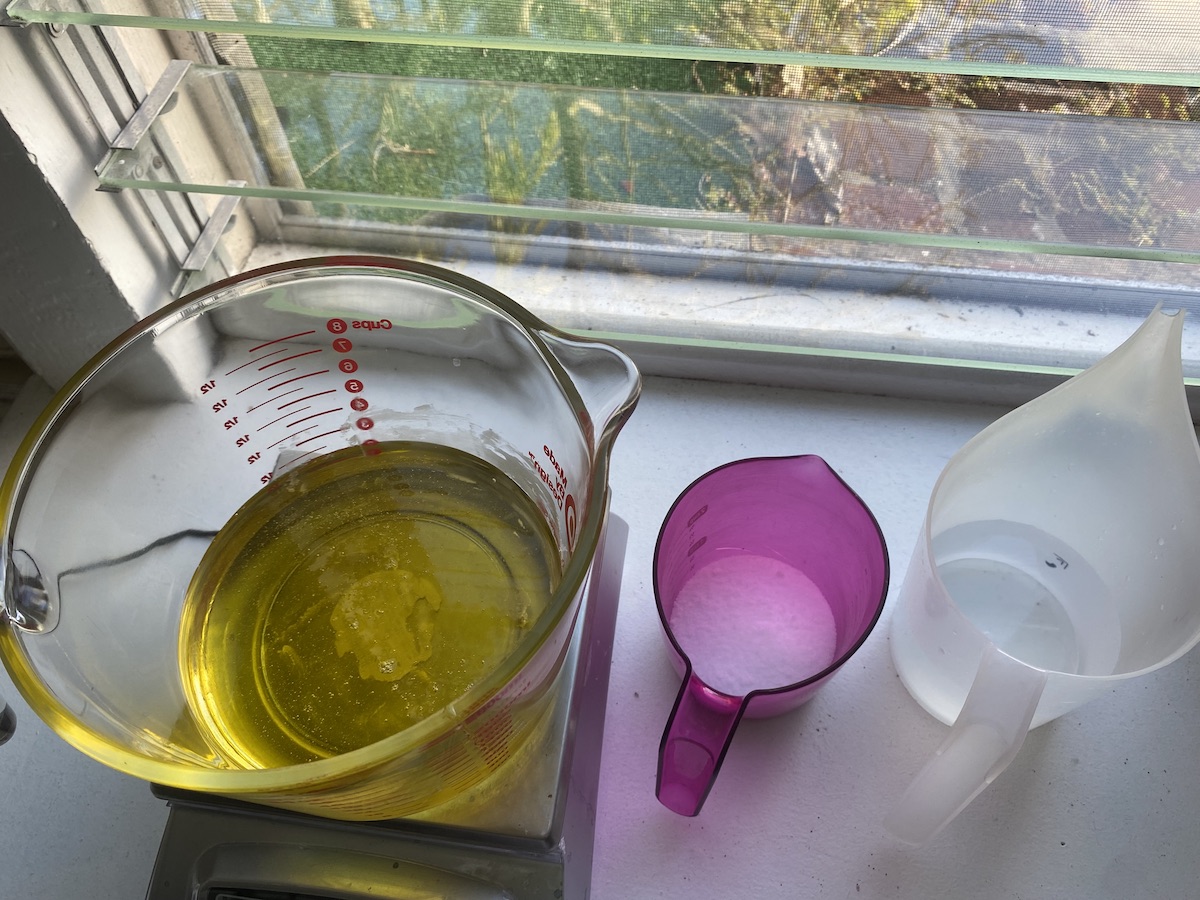
2. Measure and Mix the Water and Lye
If you’re new to working with lye, it’s important you understand that it is highly caustic and must be handled with care. Take me seriously here, please. Read up on lye safety in soap making and refer back to that post as many times as needed.
Using your scale, weigh your lye and your water separately, each in a lye-safe container.
For safety reasons, you must always pour your lye into your water, never the other way around. So because of this, what you want to do is measure your water into a plastic container that is large enough to hold the entire amount of your lye solution.
When pouring lye into water, do so slowly with a lot of control, to make sure the solution doesn’t splash at you.
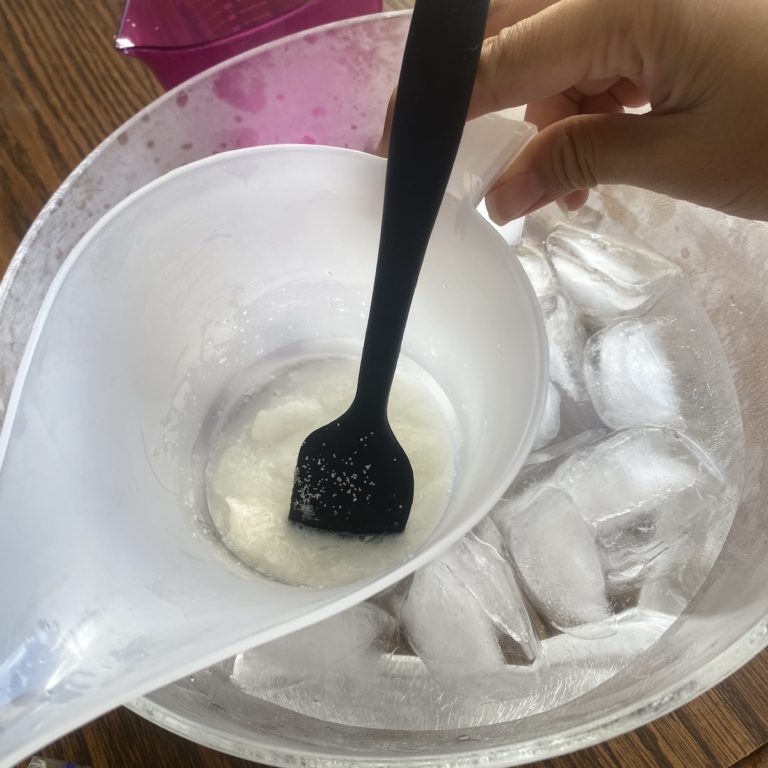
Slowly stir the lye and water with a lye safe utensil (I use a small silicone spatula), mixing frequently (with short breaks of less than a minute) until lye has been thoroughly dissolved.
Remember, lye is still dangerous at this stage, so take extra caution during this step.
Set lye solution aside someplace safe until it cools down to 100-120 degrees Fahrenheit (check with your digital thermometer periodically).
3. Weigh Fats, Melt As Needed
Do this step while your lye solution is cooling down. Always use a scale that can give you accurate and precise measurements.
Start with your solid (hard) oils and butters and any waxes you’ll be using. Fats that fall into this category include, but are not limited to:
- shea butter
- cocoa butter
- mango butter
- palm oil
- soy wax
- in some climates, coconut oil and babassu oil
- and although its not technically a fat, if you’re using beeswax, this is also the stage at which you’d melt it
Place your hard oils into a stainless steel pot and heat it on low just until melted. Upon oils melting, remove immediately from the heat source. Set it aside to cool to 100-120 degrees Fahrenheit (check with your digital thermometer periodically).
Heating your solid fats until they’re melted prepares it to blend with your lye solution. If you skip this step, it won’t mix properly and your soap might even be dangerous due to unsaponified lye remaining in the final bar.
As your hard oils are cooling down, measure out your liquid (soft) oils. Any essential oils you may be adding are NOT part of your soft oils, keep them out. I’ll talk about those later in the instructions.
4. Combine Fats & Lye Solution
Check your lye and oils again. Are they between 100-120 degrees Fahrenheit?
In general, you can’t mess with the temperature of your lye solution once you mix your lye and water together, but you can try to control the temperature of the oils (which I find tends to cool down quicker than the lye, and that’s why I had you measure out and melt your oils only AFTER the lye solution started cooling).
To adjust the temperature of your oils as needed, you can very slowly reheat your oils for a short while if it’s getting too cool, or find a spot for it in the refrigerator if it’s staying too hot.
If you don’t care about being that precise, it’s be fine to just assure that when you combine your lye and your oils, neither of them are at a temperature so cold that it drops the total mixture lower than the melting point of your hard oils. You need those to stay liquid. So average out the temperatures of your lye solution, melted hard oils, and soft oils. If the average is higher than the melting point of your hard oils (or if you waited for your hard oils and lye solution to both reach betwen 100-120 degrees Fahrenheit), you can combine your fats and lye solution.
What I like to do is carefully pour the liquid oils into my pot of melted hard oils.
Before pouring, give your liquid oils a quick stir to ensure they’re evenly distributed (you’ll want to do this because some liquid oils that happen to be very thick/dense will sink to the bottom).
The temperature your pot of melted hard oils will drop due to the room temperature liquid oils being added. This is fine.
Use a rubber spatula to scrape every last bit of your soft oils into the pot, since soap recipes are formulated to work based on exact amounts.
Very carefully add your lye solution to your pot of oils, pouring it through a sieve or fine mesh strainer to catch any bits of lye that didn’t fully dissolve. Take care not to splash here.
5. Emulsify/Trace Your Soap Batter
Trace happens when your soap batter is properly mixed. Be patient here and pay attention to the consistency of your batter.
Start by using your stick blender (set to OFF) to hand-mix and begin combining the lye solution and oils for about a minute.
Now hold your stick blender at an angle about 45 degrees, submerged under your mixture. Tap it against the bottom and/or sides of your pot so that any air bubbles trapped under the head of the blender are released. This is called “burping” your blender.
With the head of the immersion blender still fully submersed, turn the blender on and stir/blend for about a minute.
Let the soap batter rest and thicken up for a few minutes. It’s a mistake to think that you constantly have to run your stick blender to make soap. These rests save you and your blender from unnecessary work.
Again stir with the blender set to OFF for a minute, blend for a minute, then rest for a few minutes.
Repeat until your batter has reached your desired level of emulsification or trace.
Soap batter often only needs to be emulsified to become soap. But you’re taking a little bit of a gamble by only bringing your soap batter to a state of emulsification. Sometimes soapers do this and find out too late that they didn’t mix their batter well enough and they’re left with pockets of lye. It’s safer to bring your soap to what we call “trace”.
You can tell you’ve hit trace when the batter has thickened up to the point that if you lift your stick blender and let the batter run off onto the surface of the remaining batter sitting in your pot, it leaves a little bit of a visible trail on the surface of the batter in your pot.
Here’s a video that shows what you’re looking for:
There are different stages of trace: thin, medium, thick.
You don’t want to go overboard and mix until you have an extremely thick trace, because the batter will be harder to work with and won’t pour nicely into your mold. One of the beautiful things about cold process soap making is it allows for a batter that’s thin enough for easy workability, and a greater ability to be used in designs.
6. OPTIONAL: Add Essential Oils and Fragrances
Essential oils are loaded with numerous health benefits. Below, we’ll dive into a few reasons you might want to use them.
- They offer pleasant scents ranging from citrus to herbal smells. You could use lemon, lavender, tea tree, and many other oils to achieve the desired smell.
- Essential oils have quite a few health benefits when you use them in soap. Healthline shows essential oils can calm, soothe, energize, heal, and rejuvenate if you use them properly. They’ve been used for many years, making them a proven, reliable additive for your soap process.
- If you’re selling soaps, essential oils are a good marketing point.
You’re free to use fragrance oils instead of essential oils as well, or a blend of essential oils and fragrances. I never use fragrance oils myself so I don’t have much to share from personal experience, but I do know that both essential oils and fragrance oils can affect soap batter in different ways. Some cause soap batter to take longer to reach trace, some cause soap batter to trace much more quickly, and some can discolor soap batter.
As is the case with every other measurement in your soap recipe, ensure you measure your essential or fragrance oils precisely.
Add it to your soap batter upon reaching a thin trace and thoroughly blend it in, assuring even distribution.
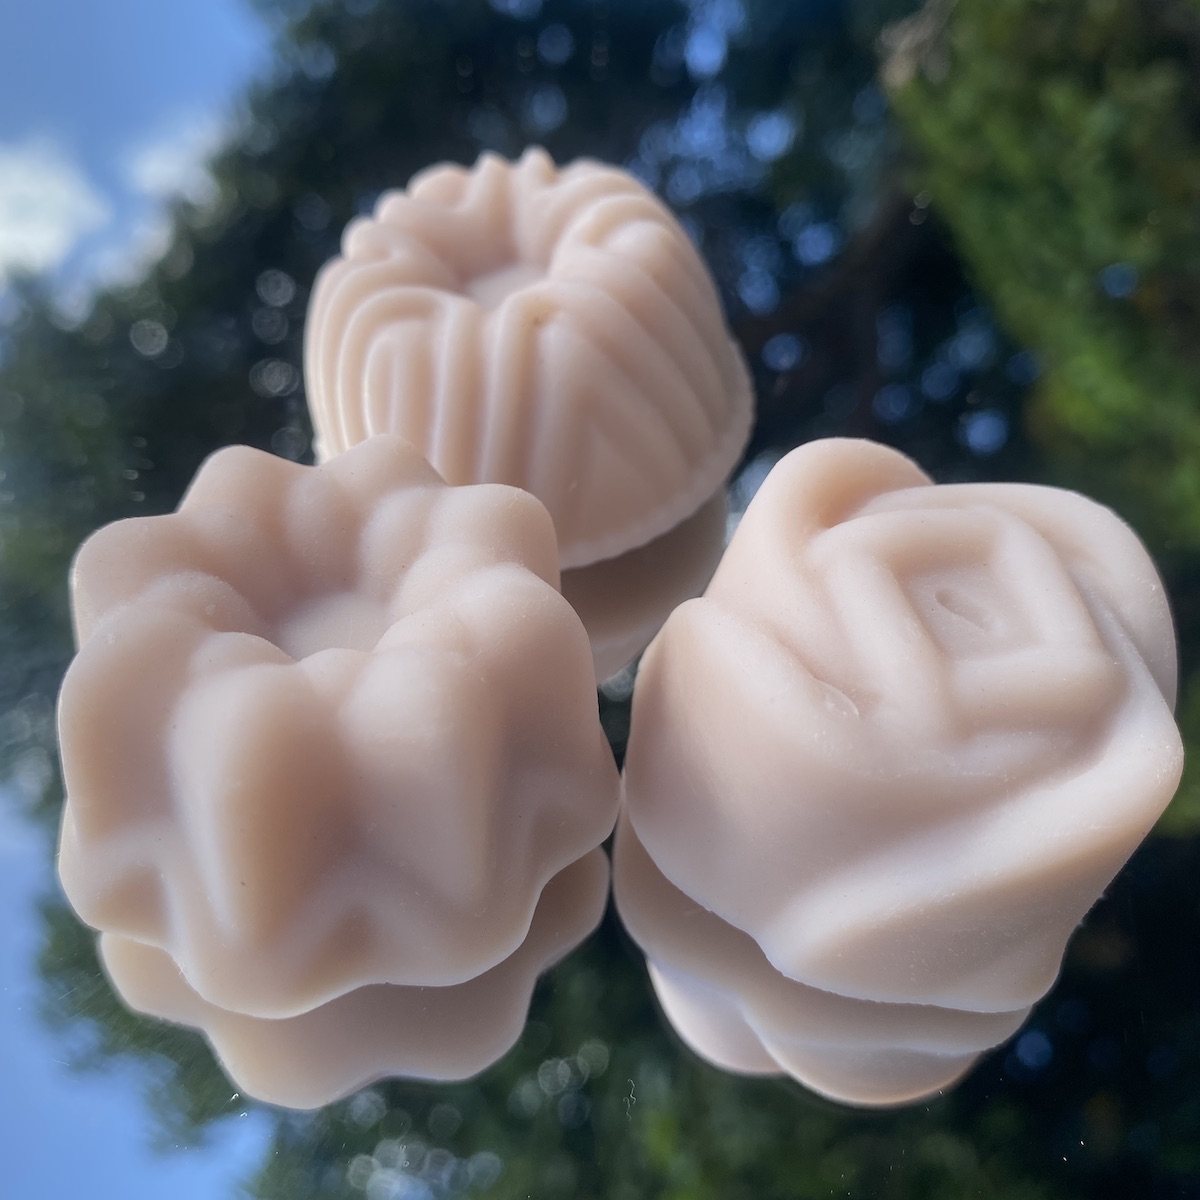
7. OPTIONAL: Mix Colorants & Additives Into the Soap
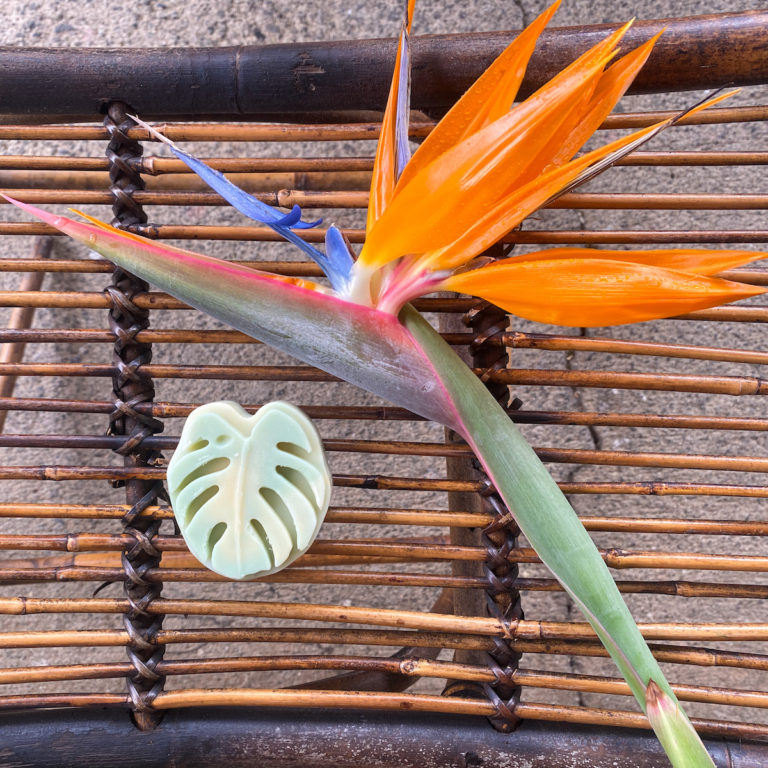
My favorite additives are botanicals, especially those that add some elements of visual interest like color or texture.
There are so many additives to choose from. We’re talking colorants, oatmeal, dried flowers, coffee grounds, cocoa powder, aloe, activated charcoal, pumice, loofas, pumpkin puree, and so much more. Certain additives may help to heal, soothe, or energize skin. They also affect the color, texture, and sometimes scent, of your bar, so consider how that will affect your finished product.
The quantity of additives such as the ones listed above are the one area you normally don’t have to be as exact. Just try not to overdo it, as adding too much of anything can affect how your bar holds together. Up to 3 Tbsp of additive per pound of soap batter is usually safe.
Consider what your additive is when determing how much you want to use. I tend to add closer to 3 Tbsp when I’m dealing with oats or certain “fluffy” herbs like calendula.
When it comes to very concentrated colorants like oxides and ultramarines, you need very miniscule amounts.
Other additives normally fall somewhere inbetween, with highly pigmented colorants like activated charcoal often requiring less.
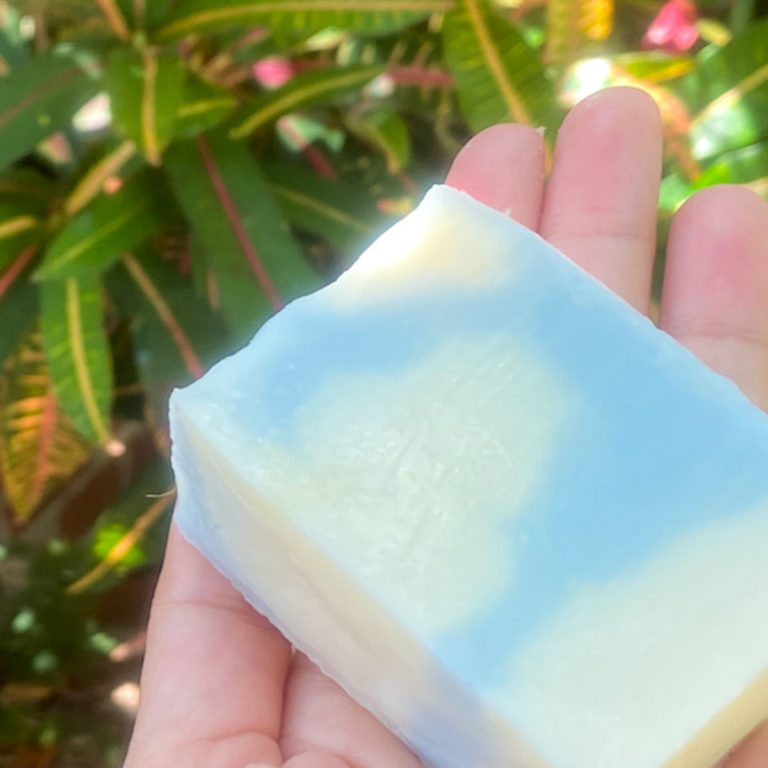
8. Molding Your Soap
There are plenty of soap molds on the market to use with the cold process method of soap making. Like so, so, soooo many.
You can choose ready made or customized molds, or just use things around the house if you want to make soap but don’t have a mold. You’re basically just aiming for the end product to be the right size to hold in your hand.
Carefully pour your soap batter into your lined mold (or your silicone mold which doesn’t require lining).
With as much control as possible, tap the bottom of your mold down on the counter/table a handful of times to force any air bubbles trapped into the batter, up and out.
Set your soap aside someplace safe to cure. You may choose to use one of the many methods out there to force gel, or not.
Wait 24-36 hours before unmolding and cutting. 24 hours is a timeframe I would reserve for advanced soapers that know their formula well and how quickly it sets up. 48 hours is fine if you used a wooden mold lined with paper. Waiting 36 hours is better if you used a silicone mold or silicone mold liner, as those take longer to firm up in the mold.
Removing soap from its mold too early can result in squished up bars with finger indentations. I love the rustic look, but soap removed from its mold too early is not rustic-looking, it’s sloppy-looking.
And by the 48-36 hour mark, (assuming you made your soap correctly) the vast majority of the lye you used in your recipe has reacted with the oils you mixed it with, and been saponified. This means its no longer dangerous to handle.
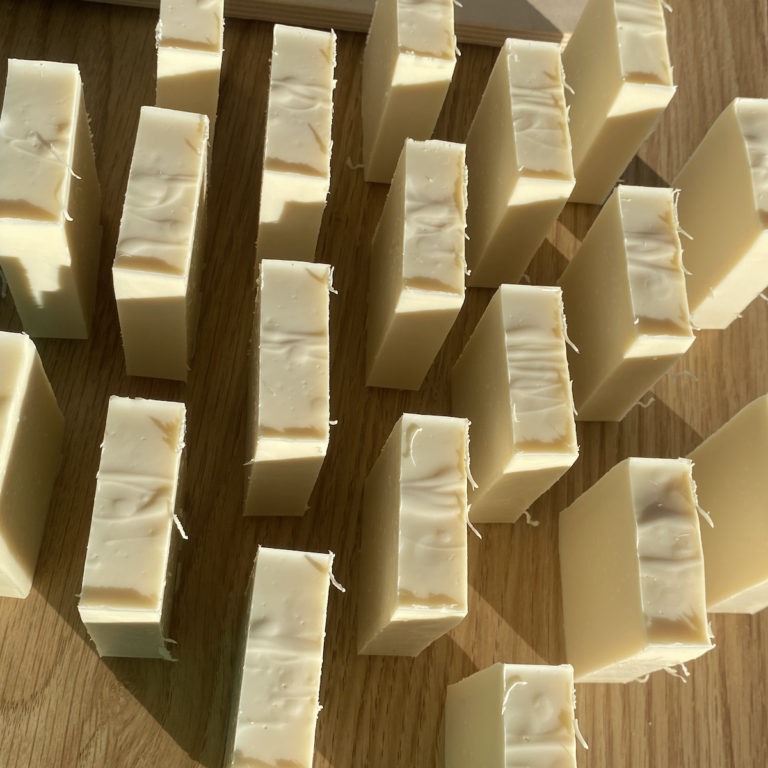
9. Slice the Bars
If you poured your batter into molds small enough that your finished bars can be used without cutting, skip this step.
There are three primary methods of slicing finished soap bars after you’ve used the cold process method of soap making to create a batch.
- Use a sharp knife to cut the soap. Put it on a cutting block and use a measuring tape or a ruler to cut even soap bars. If you don’t care too much about precise measurements and enjoy the charm of imperfect looking soap, just cut as you please.
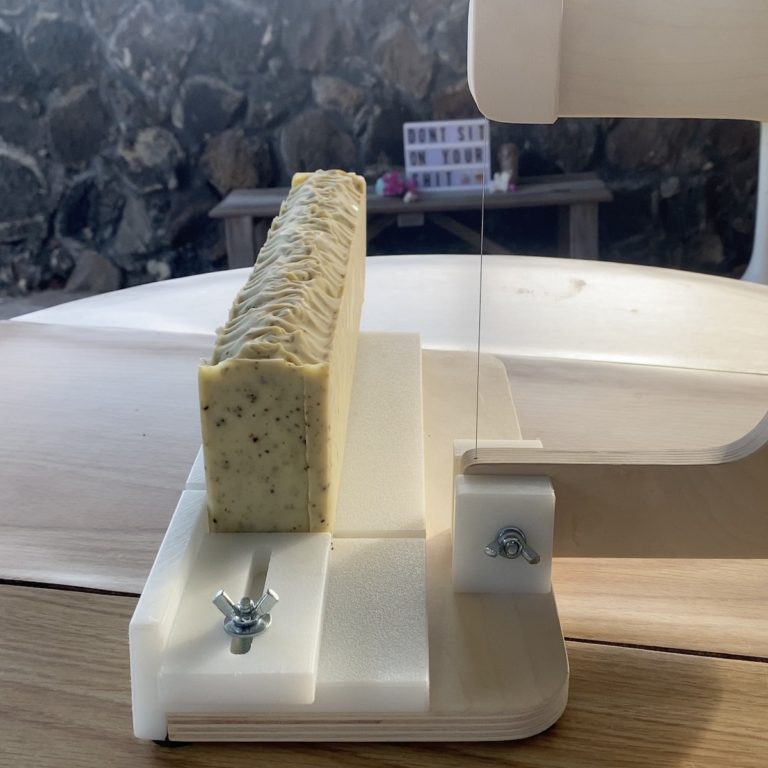
- Try a cheese cutter or wire. Cheese wire is made of thin metal that easily cuts through most materials, including soap bars. If you prefer this method, ensure your cheese cutter is durable, so it doesn’t bend or snap. You could also use cheese wire to mark the soap for the knife to glide through.
- Use a soap cutter. There are tools specifically designed to cut soap. Most of them have wooden, or metal handles with a textured grip for maximum support. Slice through the soap to create smooth, even bars.
The Cold Process Method of Soap Making – A Recap
Here’s a quick recap of the most important (in my opinion) notables to consider in the cold process method of soap making:
- Be careful, pay attention to what you’re doing
- Have your materials prepped and ready to go
- Use precise measurements
- Always add lye to water, never the other way around
- Do things in the order that makes sense (for example, mix your lye solution before melting hard oils, since lye solution takes longer to cool down)
- Pay attention to temperature guidelines for best results
- Take steps to avoid air bubbles when using your stick blender
- Don’t remove your soap from it’s mold too early