How To Add Color To Homemade Soap – The ULTIMATE Complete Guide
Creating your own soap is one of many satisfying (and potentially money-making) activities you can engage in while homebound during quarantine time. Customize homemade soaps by adding fragrance, dried flowers, or color to them. But how do you add your preferred hues?
To add color to homemade soap, use skin-safe liquid dye or colored blocks of melt-and-pour soap base. You can also mix soap with oil and natural powder, pigment powder, or mica. Another way is to paint on soaps with acrylic, mica, or cosmetic-grade pigments.
Read on for the specifics of the methods above. But first, familiarize yourself with the various colorants used in making homemade soaps more vibrant.
Coloring Options
Mica
Mica is a silicate mineral occurring in nature as crystals or shiny particles in granite and other rocks. Mica adds color but not a lot of luster to cold process soap. Some micas are natural, and others aren’t, depending on their FDA-approved FD&C (Food, Drugs, and Cosmetics) dye content.
Mica is useful for rare colors. For more natural ones, use powdered spices and herbs. Strictly organic soap makers don’t recommend mica because they believe it’s colored with mysterious or questionable material.
Pond View Farm’s owner adds mica to her goat’s milk soap with a simple cold process. She demonstrates the procedure in this video:
She adds palm oil and coconut oil to her soap bars to make them firm and to ensure they produce ample lather. The type of oil she uses is from a supplier member of the Roundtable on Sustainable Palm Oil. The price ranges from $3 for a pound to $54 for 35 pounds (15.87 kilograms).
She gets mica colorants from Bramble Berry. Their colors range from hot pink to lavender, buttercup (lemon yellow), sunset orange, and kelly green.
Cosmetic-Grade Pigments
The soap industry considers these pigments nature-identical because they don’t contain synthetic dyes and have the same chemical structure as the earth’s platelet minerals. However, they’re made in a lab to discard toxins like arsenic and lead, making them safe to use on the skin.
Bleeding Colorants
These are dyes or FD&C colors that seep into soap layers over time. They are useful for designs that integrate bleeding. If you don’t like these effects, use non-bleeding colorants instead.
Food Coloring and Crayons
Some soap makers use food coloring to color their soaps in place of dyes. Experts don’t recommend it despite it being safe because the color fades and doesn’t hold well. Also, multiple colors tend to seep into one other.
Other soap makers use melted crayons, but experts also don’t recommend them because they are made from unknown pigments, wax, or excess paraffin from the petroleum-creation process.
Natural Ingredients
DIY Natural’s Debra Maslowski uses natural soap colorants from Mountain Rose Herbs. She explains that even though these colorants don’t exude the vivid shades of artificially colored commercial soaps, they produce subtle natural tones.
Some natural colorants produce just color, but others offer benefits like Vitamin C, alpha-hydroxy acids, exfoliation, and antioxidant properties. Many natural ingredients soap makers use similar to those used in coloring textiles or hair.
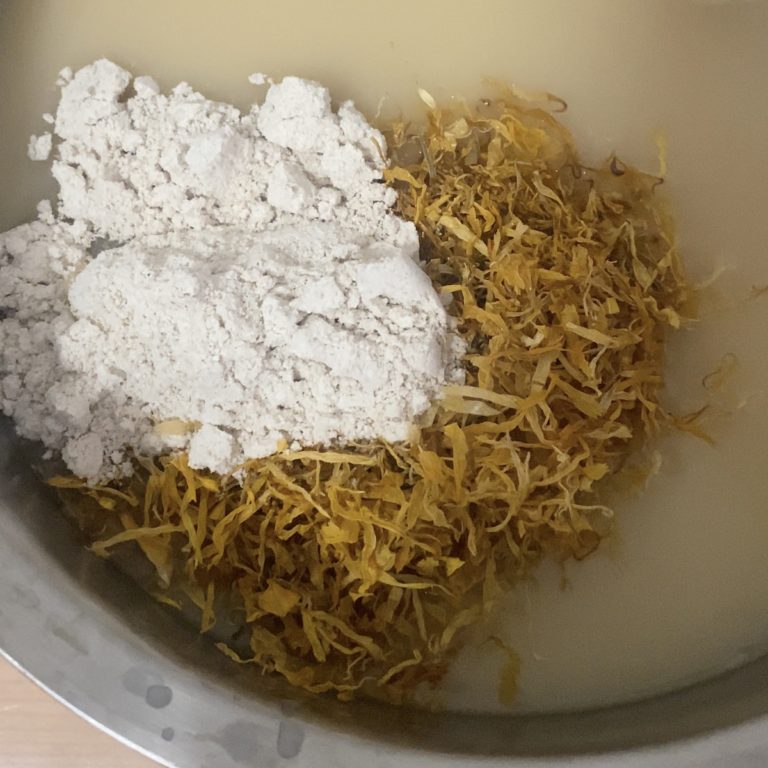
It’s okay to experiment, but don’t use some erratic materials because of the hassles involved. Maslowski sticks to the tried and tested, mainly spirulina (green), calendula (yellow), and chocolate or coffee (brown).
Plant, Mineral, or Earth-Based Pigments and Dyes
For natural soap making, Maslowski and the experts at wikiHow and Lovely Greens recommend these ingredients to achieve specific colors:
- Beige to yellow: powdered, dried chamomile, sandalwood powder
- Beige to brown to orange: milk
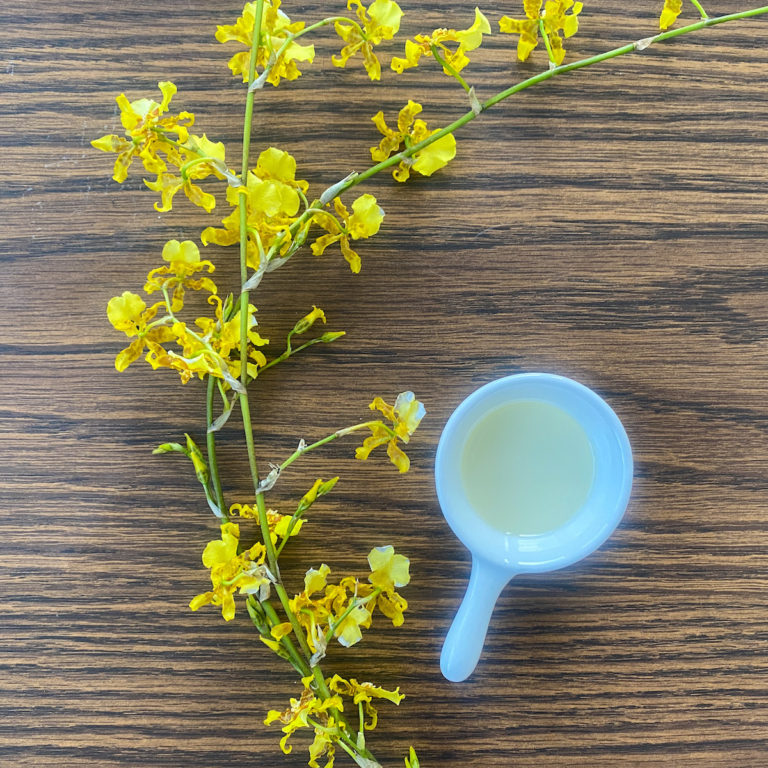
- Yellow: saffron, turmeric, safflower powder, cornmeal (has exfoliating properties), calendula (has medicinal properties; use either powdered for all-over color, or petals or whole dried flowers for yellow streaks and spots)
- Muted yellow: ginger
- Squash yellow: powdered beetroot (has antioxidants)
- Yellowish orange: ground raw carrots (contain beta carotene)
- Yellow to orange: oil-infused annatto, safflower petals
- Beige to light orange: orange juice (decreases soap pH; mix with lye)
- Orange or salmon: oil-infused and strained paprika, cayenne pepper, fresh tomato puree
- Pink: rose clay
- Coral pink: oil-infused Lady’s Bedstraw root
- Pink, green, brown: tree lichen (results depend on variety)
- Green: powdered chlorophyll (has deodorizing properties), kelp (contains trace amounts of iodine and minerals), dried ground alfalfa, French green clay, dried wheatgrass juice, powdered dandelion leaf, oil-infused burdock leaf, oil-infused comfrey leaf
- Light green: German chamomile essential oil (aka blue chamomile), dried ground spinach
- Mid-green: dried ground alfalfa
- Olive green to greenish-brown: henna
- Green to bluish-green: spirulina (aka kelp)
- Green to brown: dried ground sage or spearmint
- Brownish green: powdered green tea (has antioxidants)
- Brownish red: powdered sandalwood
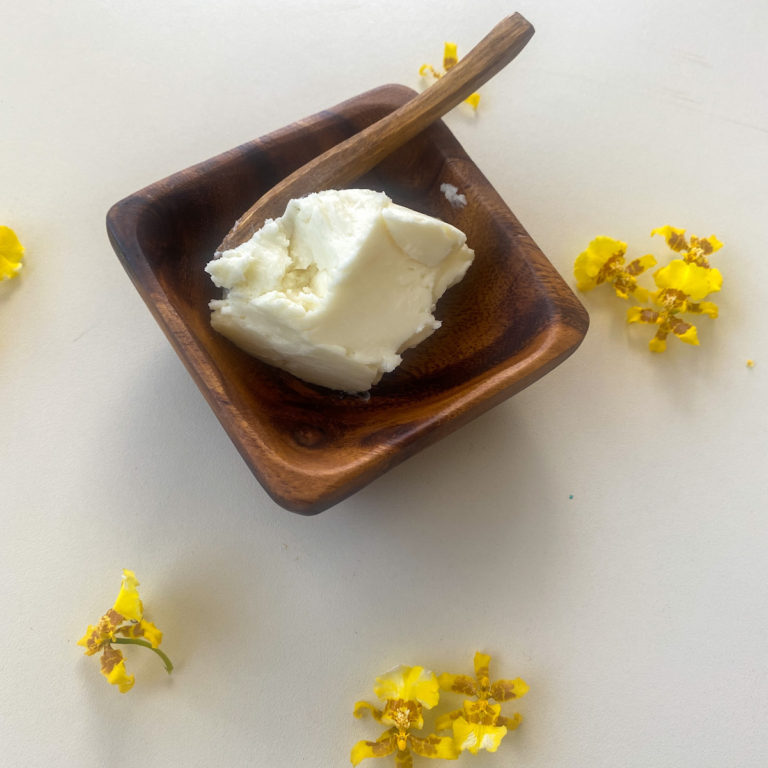
- Brown: powdered cocoa, melted chocolate bars, nutmeg, and allspice
- Dark brown: ground cloves (not suitable for sensitive skin)
- Light brown: powdered cinnamon (not suitable for sensitive skin; don’t use the oil variety because it burns the skin), lye with elderberries (have a high antioxidant content)
- Maroon to brown: ground rose hips (has Vitamin C)
- Brownish pink: rose-pink clay (filters gunk off the skin)
- Gray to brown: beetroot powder (its pink color doesn’t last when mixed with lye)
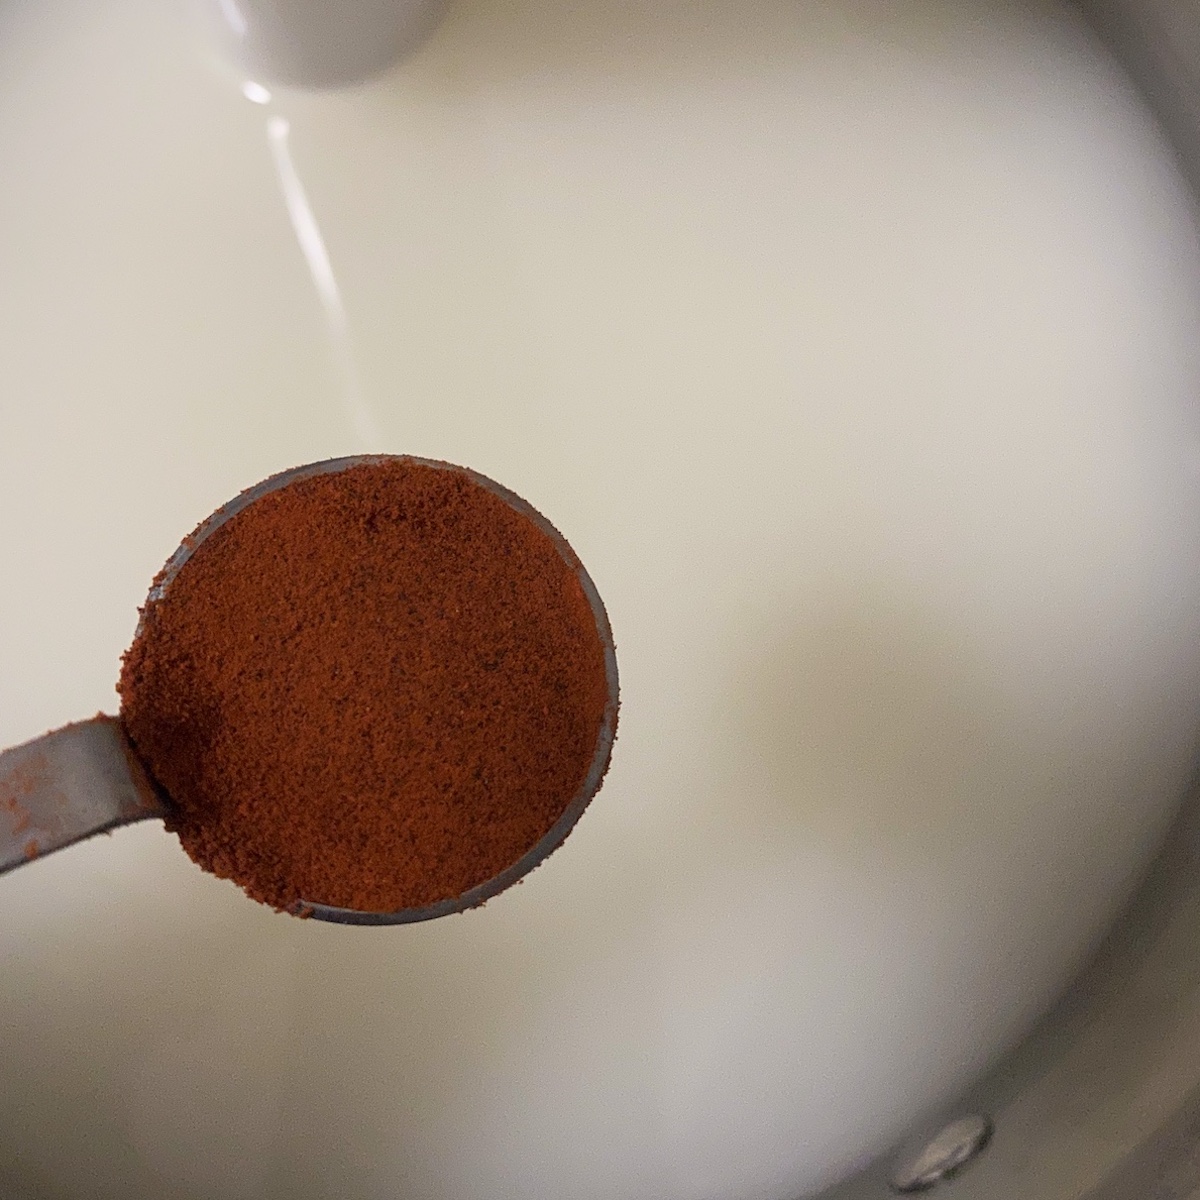
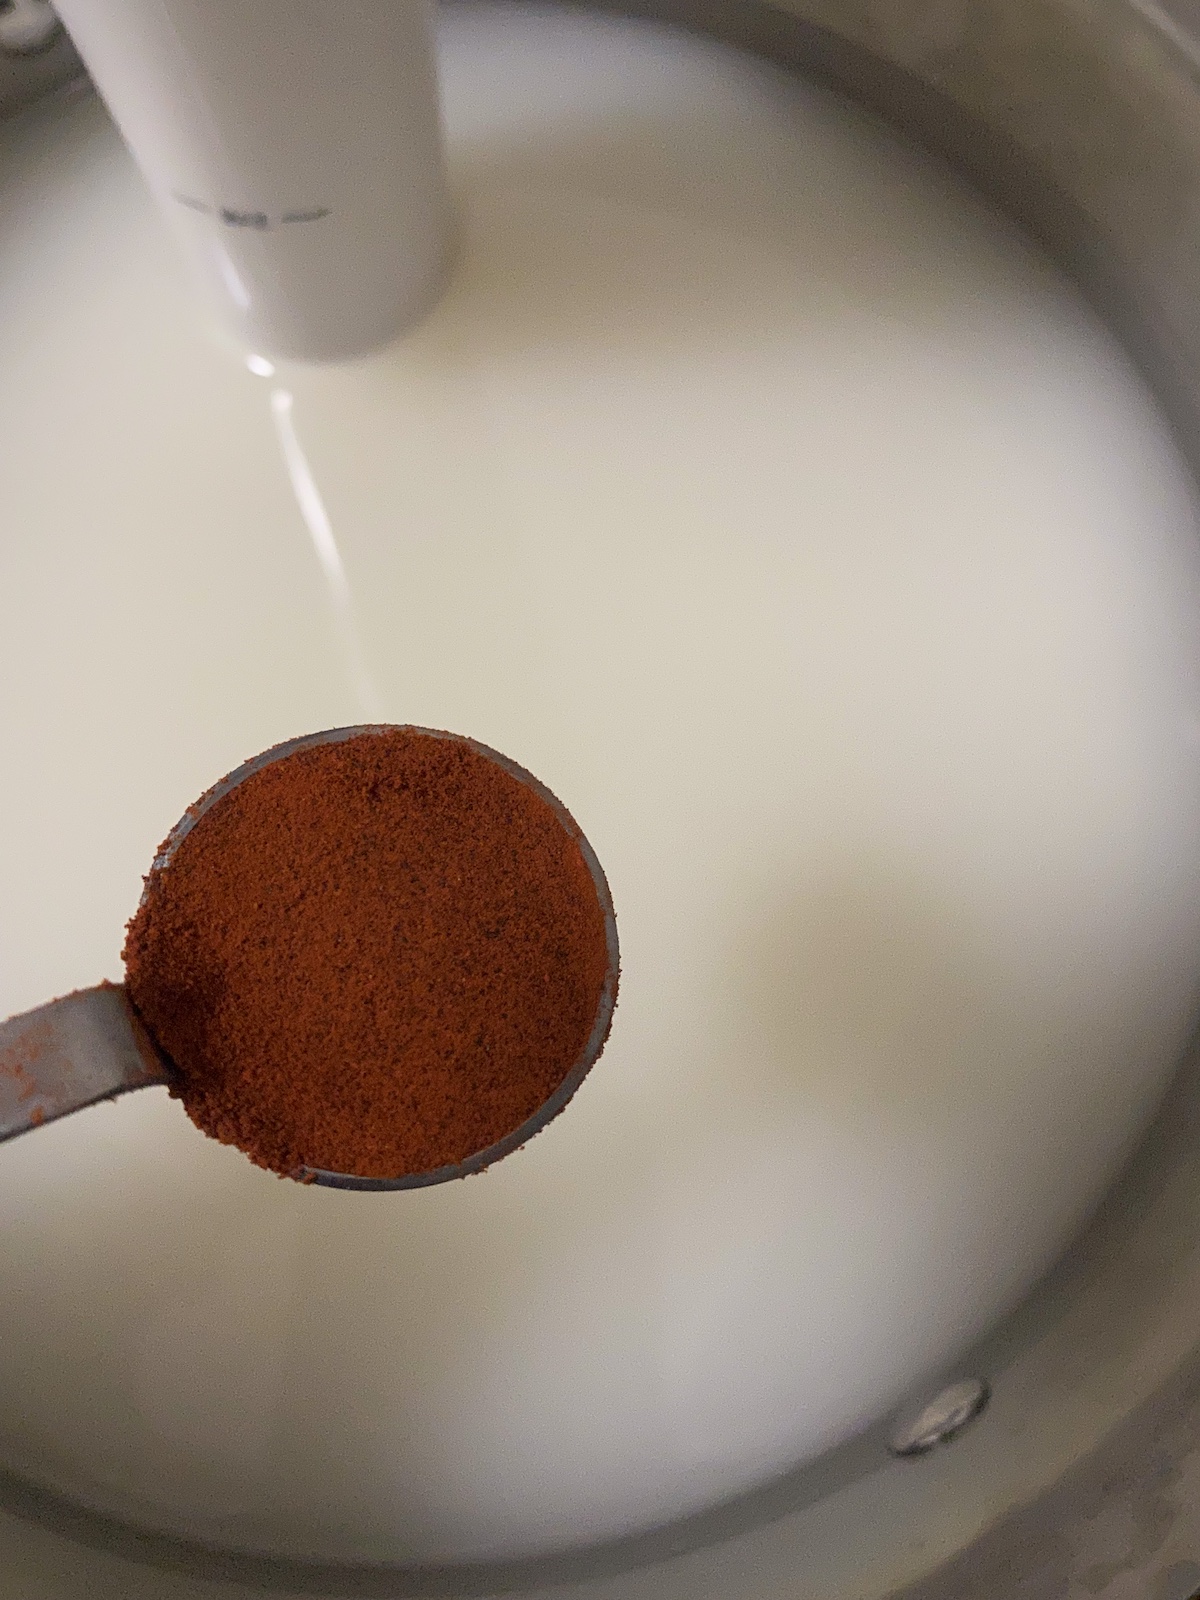
- Brown to black: coffee—either instant (creates dark brown specks; doesn’t smell like coffee) or finely ground. Both varieties have exfoliating, odor-eliminating, and antioxidant properties.
- Black: poppy seeds (have exfoliating properties)
- Solid black: activated charcoal (adds black to blue or gray depending on concentration; some coarse variants offer exfoliation and detoxification, so they’re great for zapping acne)
- Gray: pumice (has exfoliating properties)
- Varying shades of blue: woad powder (from a plant of the cabbage family with yellow blooms but produces blue dye; beware of stains)
- Intense blue: powdered indigo (beware of stains)
- Purple: hibiscus powder
- Deep purple to bluish-purple: oil-infused alkanet root powder (good for acne and other skin conditions; soak it in oil before adding at trace)
- Purple to black: dried ground black walnut hull (produces dark purple specks; has exfoliating properties)
- Purplish blue to brown: blue cornmeal
- Purple-red: red sandalwood powder
- Red to purple: madder root produces a range of pinks to magenta and red
- Red: powdered sandalwood, madder root (from subtle pink to explosive red, depending on the concentration; add at trace)
- Brick red or orange-red: Moroccan red clay (gets rid of skin grime)
- For whitening: titanium dioxide, kaolin clay
Custom Additives
Maslowski uses non-standard ingredients to make her soaps more interesting. These include strawberry jam (has Vitamin C and fruit acid), oakmoss (doubles as a fibrous sponge), whipped cream, pumpkin (the vegetable and its spice), and turbinado (light brown cane sugar).
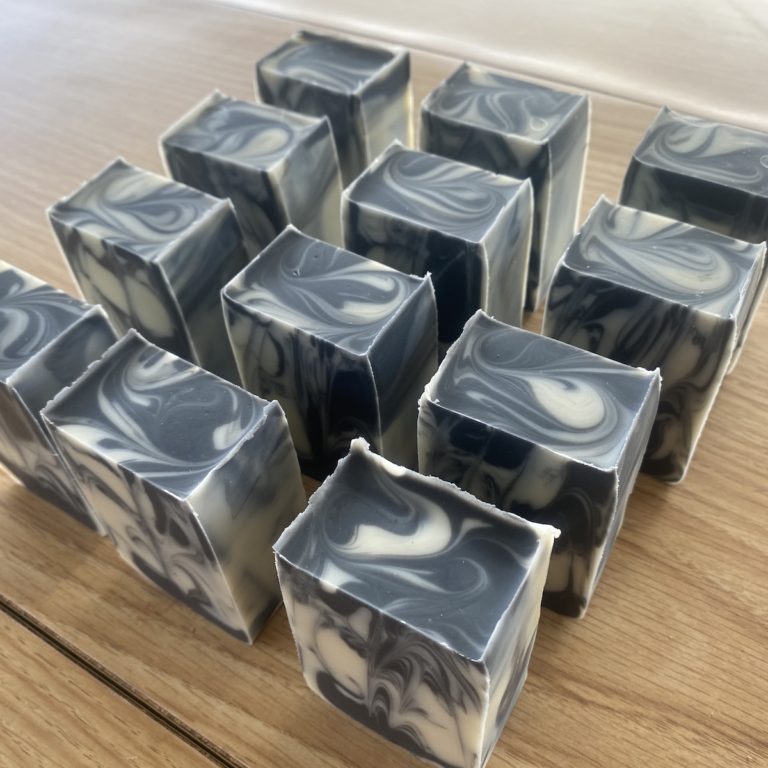
She also does swirls on soaps. If you want to learn how to swirl color in soaps, take Kat’s swirling class at Otion Crafter’s Corner, Bramble Berry’s official retail outlet in Bellingham, Washington.
Natural Substances Unsuitable for Coloring Soaps
Some organic ingredients aren’t suitable for soap making, like veggies and fruits, either fresh or dried. Lye isn’t suitable either because it undergoes transmogrification—it changes the composition of the materials it mixes with. Also, it rots fresh foods, is messy, and ruins soap. (Some soap makers don’t agree with this.)
Mints may turn soap bright green but will turn it brown in a few weeks. Rose petals get brown within days. Lavender remains purple for a few days, but afterward turns green, then brown. You really can’t get around this natural color change. That’s why most soap makers use essential oils instead of plant matter. Some novice soap makers soak dried herbs in Vitamin E oil, a natural preservative, but the results are short-lived.
Many consider the scarlet cochineal or carmine dye (used in producing a pink color) natural. Still, organic soap makers balk at using it because of the convoluted process of harnessing it from the South American oak kermes insect.
Now, how to color soap? The folks at wikiHow and Desert Cloud Soapworks, makers of handmade soaps, suggest these methods:
Painting
Paint on soap with mica or cosmetic-grade pigments.
Ingredients and Equipment
- white melt-and-pour soap base
- clear base
- mica or pigments
- rubbing alcohol (90-99%)
- plastic container
- glass measuring jug
- silicone mold
- brushes, chisels, or X-Acto knife
Procedure
- Melt the soap base in the glass jug.
- Pour the liquid into the mold up to three-fourths full in each cell.
- After the soap has hardened, paint or chisel in your design on its surface.
- From a plastic container, pour a small amount of clear base onto the top of your design.
- Spray each cell with rubbing alcohol.
- After the soap has set, pop it out of the mold.
Using Liquid Dye
Use dye specific to soap making because it’s safe to use on skin, unlike the kind used to make candles or color fabric.
Ingredients and Equipment
- soap making dye
- mold
- rubber spatula
- steel or heat-resistant spoon
Procedure
- Prepare the dye according to the instructions on the box. Some dyes need mixing with distilled water beforehand.
- Prepare soap in batches according to packaging instructions. Leave it in the mixing container.
- Cut melt-and-pour soap into chunks, throw into a glass container, and heat in one-minute intervals until it turns into liquid. Use a microwave or double boiler. If you’re using a cold process, wait for “trace” status. Trace is the stage achieved after the oil and lye are blended, and the soap mixture has thickened enough that you can scratch lines on its surface.
- Add fragrance with soap-specific fragrance oils or essential oils.
- Add a few drops of dye into the soap with a dropper—0.10 teaspoon for one pound of soap.
- Mix the dye into the soap, adding more while doing so (if the color isn’t dark enough). Stop mixing halfway for a swirly design.
- Add other extras like dried petals, moss bits, or exfoliants.
- Pour the resulting mixture into the molds. Let it dry and cure. The duration depends on the soap type. You can use melt-and-pour soap right after it hardens (usually in two hours), but cold process soap needs curing time (approximately a week to harden and four to six weeks more to saponify and dry completely). Saponify means to transform into soap by reacting with alkali. Wait for the soap to cure before using or selling it.
Using Color Blocks
Use colored melt-and-pour soap base in block form. Don’t use this method in a cold process because the color blocks have already cured and the rest of the soap hasn’t.
Ingredients and Equipment
- clear melt-and-pour soap base
- colored soap blocks
- molds
- knife, blade, or veggie grater
- spatula or spoon
Procedure
- Microwave the melt-and-pour soap base in a glass container until it liquifies.
- Add a drop or two of soap-specific fragrance or essential oils. Check labels for exact measurements if unsure. Stir the fragrance into the soap.
- Shave a few flecks off a color block over the melted soap. Keep doing this until you reach the desired amount of color.
- Stir until you achieve a consistent color. Stop stirring halfway for a marbled or swirl effect. Add extras like petals.
- Pour the fluid into molds. Leave to dry and cure, then take the hardened soap out of the molds.
Powder-Oil Solution
Mix natural powder, pigment powder, or mica with oil.
Ingredients and Equipment
- soap base
- mica or pigment powder—synthetic (created in a lab) or natural (clays, spices, oxides)
- light oil
- isopropyl alcohol (99%) as an alternative to oil
- mold
- bowl
- spatula or spoon
Procedure
- Prepare a batch of cold process soap by blending one tablespoon of oil and a teaspoon of pigment in a bowl until all lumps are gone, and you achieve a consistent color. This is adequate to color three pounds of soap. Use sweet almond or avocado oil instead of a solid oil like coconut oil. Use distilled water (not filtered or tap) if you’re using clay.
- Skip step one if you’re using melt-and-pour soap. Instead, mix one teaspoon of pigment with one tablespoon of rubbing alcohol until you achieve a balanced texture and color.
- Slowly stir the dye into the soap until you achieve your preferred shade. Use a teaspoon of dye for every pound of cold process soap or ¼ teaspoon of dye for every pound of melt-and-pour soap.
- Add fragrance, essential oils, or extras to the melted soap mix.
- Pour the soap into molds, then wait for the soap to harden and cure. The hardening time depends on the recipe and room temperature. Melt-and-pour soap hardens in a few hours with no curing time. Cold process soap hardens in a couple of days.
- Cut hardened cold process soap, then leave it on a wire rack for two weeks to cure.
Things to Note When Adding Color to Homemade Soap
- Add whatever amount of color you prefer, but don’t go overboard, as it may get on your skin when you use the soap.
- Bold colors from some dyes may stain. Skin stains don’t last, but linen ones may stay.
- If you use straight mica with melt-and-pour soap, bubbles may form. Eliminate them by spraying them with rubbing alcohol. If the soap becomes speckled, mix the pigment into it with an immersion blender.
- Water clumps pigments. Use liquid veggie glycerin instead for a smooth texture. Also, mica mixes well with it.
- Spirulina is blue-green algae with a fishy scent, so mix lime or peppermint essential oil to hide its smell. Some soap makers buy spirulina in capsule form, open the capsules, and sprinkle their contents into soap.
- Soap that creates colored lather has too much dye in it. Use light-colored oils or mix titanium dioxide pigment with soap to lighten it.
- Over time, color from natural ingredients fades a tad, so add more color when you first mix it with the soap base.
- Color fades in just a few hours, depending on the hue and dye used. Don’t expose soap to direct sunlight to prevent color fading.
- Oil color affects dye color. Olive oil, for instance, casts a greenish-yellow hue to soap.
- Don’t use fragrance oils or dyes meant for candle making because they aren’t skin-safe.
- Empty all containers, especially squeeze bottles, but instead of cleaning them immediately, leave them for a few days, then soak them in hot water. Utensils are easier to clean when the residues in them have turned into soap.
- Go easy on the blending. A few flicks will do. Over-mixing muddies colors.
- Always monitor all ingredients, especially their quantity or measurements. Record the details on each batch of soap in a digital spreadsheet or index cards. This not only ensures consistency but also allows room for future innovation or experimentation. It’s also a form of quality control.
- Experiment in small batches to prevent waste. Don’t discard the soap you’re disappointed with. Use it to make homemade laundry soap or donate it to homeless shelters.
Conclusion
Now that you know the different methods and colorants used to color soaps, you can choose what works for you. You may discover that combining methods or colorants can yield unexpected but interesting results.
Remember, though, that even if experimentation has its rewards, it may also reap unpleasant outcomes. As this is unavoidable, practice due diligence beforehand. Research the side effects of mixing ingredients. When making soaps for sensitive skin, use non-toxic, non-allergenic, non-comedogenic (won’t cause blackheads/whiteheads/pimples or clog pores), preferably dermatologist-tested materials.
Here’s to a fruitful and fulfilling soap making endeavor.