Soda Ash On Handmade Soap – How To Prevent It or Get Rid Of It
Let’s get right to the point here. The best way I’ve found to prevent soda ash on handmade soap is to use a water discount when making cold process soap. This one little adjustment solved it for me. I personally used 1.5 parts water for every 1 part lye I use in my recipe (1.5:1).
Another thing experienced soapers suggest is ensuring that you soap above 100°F/37.778°C, meaning both your oils and lye are a little higher than that temperature when you combine them and begin mixing/blending.
And as an additional safety buffer, after you pour your soap into the mold, spray the top with the highest strength rubbing alcohol you can get. Wait about 10 minutes then give it another spritz with the same alcohol. This barrier over the top of your soon-to-be-soap prevents contact between the lye in the soap batter and the air in your soaping environment from reacting to each other, which causes the soda ash in the first place.
Even if you take all these steps, nothing in life is guaranteed, and there’s a small teeny tiny chance you’ll get soda ash anyway.
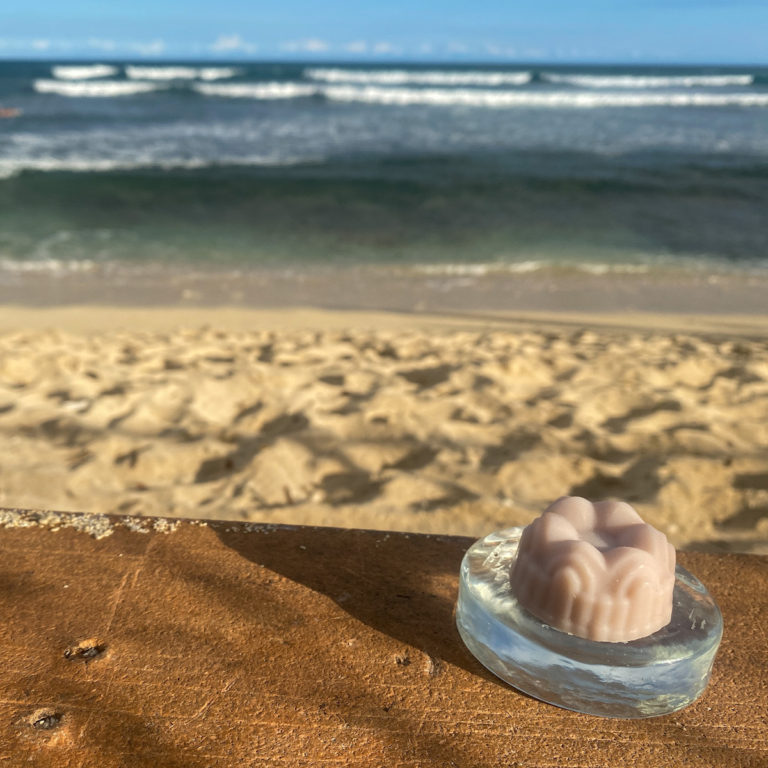
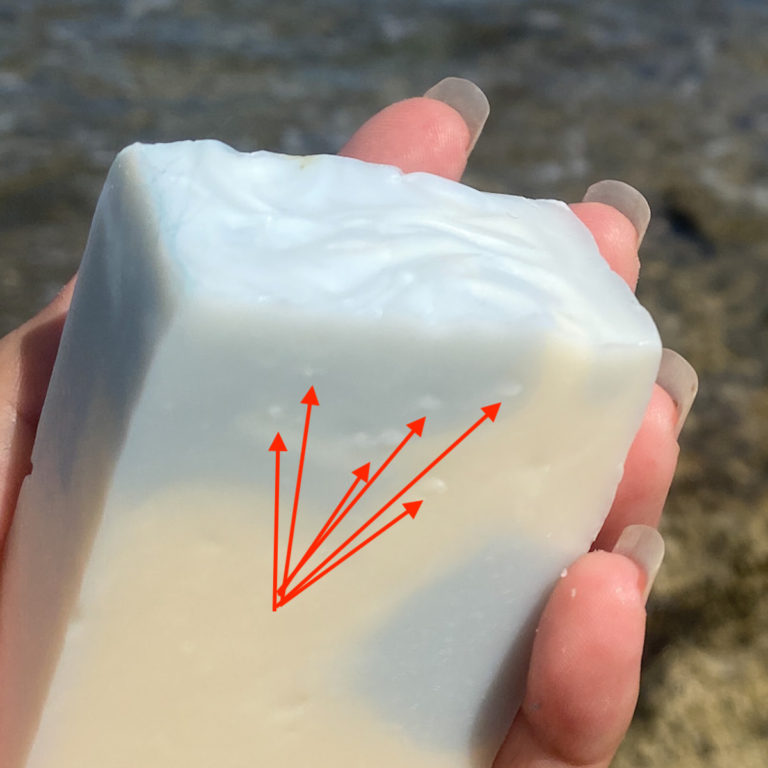
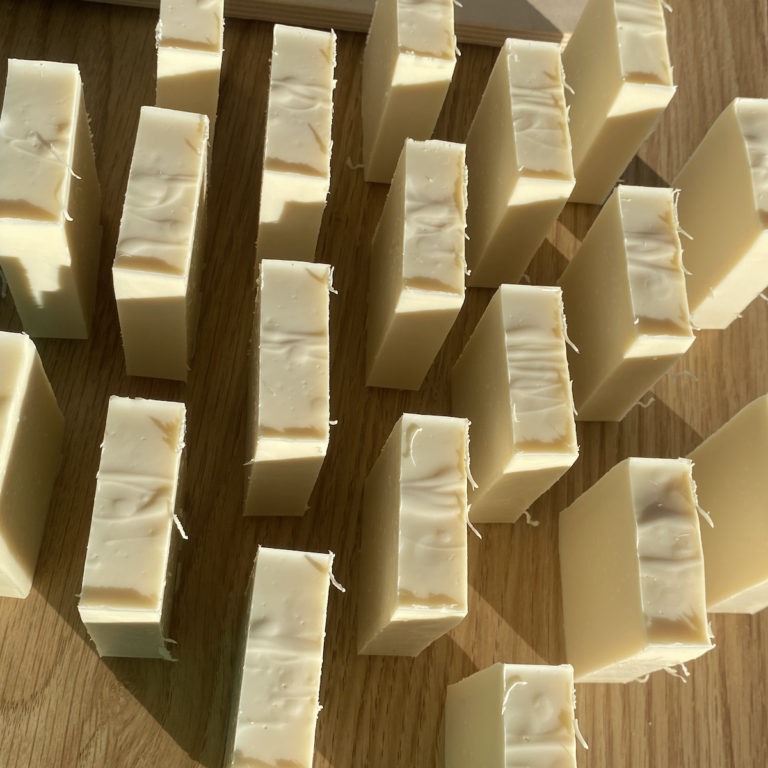
You’ll know you have it if you see an ashy looking film on your soap. To me it looks sorta like rough white powder stuck onto your bar.
If you’re searching up this article because you already have ashy looking soap, there are some simple steps you can do to get rid of it.
If the ash is only on the surface, you can buff it away with a damp cloth. Use gloves for this so you don’t leave your fingerprints all over it.
An alternative is to use steam (like from this clothes steamer) to get rid of it. Just use the steamer from about 1 – 4 inches away from the bar of soap, moving the steam over your bar. It can be fun to watch the appearance of the soap changing right before your eyes. This is the method I would recommend if you’re trying to fix soda ash on large quantities of soap.
Some people prefer to wash away the soda ash in water. You want to be careful to minimize the amount of time the soap is in contact with water to prevent the need for increasing your cure time. Keep your water wash short and speedy. Wear gloves to ensure you don’t leave fingerprints all over your beautiful soap. You can quickly dunk the soap under water and rub off the soda ash with a rag or a pair of old nylons.
Or, if a soap planer/leveler is more your style, use it to shave off just the affected surfaces.
If the soda ash is penetrating deeper into the soap you may not be able to get rid of it and will likely have a crumbly bar. Keep these types of for yourself, don’t share or sell it or you’ll get hit with random thoughts of worry like “damn, why did I give them ugly soap” and “now they’ll forever know me as the worst soapmaker in the galaxy. what a dumdum”.
This is all assuming you’re even bothered by soda ash. If you’re not bothered by it, remember that it’s harmless and shouldn’t affect the quality of your soap. It’s just not the aesthetic most soapers are going for.
One thing I found interesting is that some people will actually cause soda ash on purpose and incorporate it into their design (check out this link and scroll down to “Embrace Your Soda Ash“. I think this is so awesomely creative and really steps outside the bounds of what we tend to think we “know” in soapmaking – that soda ash is bad, for example.
For the curious (aka nerdy) among you, let’s dive into why soda ash even form in the first place. If ashiness happens its usually at the time the soap is saponifying, but sometimes it can even happen during curing. It’s caused by unsaponified lye reacting with the air it comes in contact with. Just as lye has a reaction to the oils in comes in contact with (it makes soap) it has a reaction with the carbon dioxide in the air.