18 Materials You Need to Start Making Soap at Home
Making handmade soap is a fantastic hobby that is not only enjoyable but also a creative process. It is something that you can customize to your likings, and it results in an exceptionally useful product for you, your family, and friends. You can start making soap at home by reading up on the process and acquiring a few necessary materials.
Some of the materials you need to start making soap at home include equipment like a kitchen scale, heat-proof containers, utensils, and a mold, as well as ingredients like lye, water, and oils. If you choose to use the hot process method, you’ll also need a double boiler or crockpot.
There are several materials you need to start making soap, so read on to learn what they are and start making your shopping list.
How Is Soap Made?
To understand the materials you’ll need to start making soap at your home, it is helpful to know a bit of background on how soap is made.
Basically, soap is made when lye is combined with fat. Lye is a caustic substance, so it can cause serious harm to your skin or eyes if it comes into contact with them.
The first step in making soap is to carefully dissolve your lye in water and melt your fats. When creating the lye solution, a chemical reaction occurs, and it heats up. You’ll add this warm solution to your already warm (melted) oils and mix for several minutes with an immersion or stick blender.
If you’re making cold process soap, it’s at this time that you pour your batter into a mold, insulate it with a towel or blanket, and let it sit a few days. Once it’s hard, remove it from the mold and slice it into bricks. Then, it must cure for several weeks.
If you’re making hot process soap, after some initial mixing to bring your soap to trace, cook it in a crockpot or double boiler to speed up saponification. After an hour or two, pour it into a mold to harden for a couple of days. Then, remove from the mold, slice, and allow to cure a week or two so it lasts longer.
Ready to gather your supplies and equipment? Here’s what you need to have to roll for your first rendezvous with making soap.
It’s worth noting that the supplies you designate for soap making should be set aside only for use while soap making. You should plan on never going back to using these for food ingredients. The great part is washing these supplies between soap making sessions is pretty easy since they’ll already have soap residue on them when it’s time to soak them and wash them up.
General Supplies
Here are a couple of essentials you need for a few different parts of the soap making process:
Kitchen Scale
There are no two ways about it—having a tool to measure your soap ingredients’ weight is crucial to your success as a soaper. As you may or may not know, an essential part of the soap making process is that every ingredient is measured by weight. This is different from most cooking recipes we’re used to, where we see ingredients measured in units of volume, such as cups.
Since different oils have varying weights, measuring by weight gives you the most accuracy for your recipe. It’s not about how much space it takes up (for example, a cup of coconut oil takes up the same amount of space as a cup of olive oil), but it’s how heavy they are.
When you’re dealing with a scientific reaction, as soapmaking is, it’s imperative to use the exact weights called to ensure they react correctly and result in a balanced bar of soap.
Okay, we’ll get off our “soapbox” now. Make sure you pick a reliable kitchen scale to set you off on the right foot!
Infrared Thermometer
Another critical step in making soap is monitoring the temperatures of your materials. An infrared thermometer—the contactless type you simply aim at something to get a temperature read—will make this process very convenient. We would recommend the Helect Infrared Thermometer from Amazon.
You’ll need to measure the temperature of your oils as you heat them up, your lye solution as you cool it down, and both of them before you combine them to ensure they’re close to the same temperature.
Additionally, if you use the hot process method, you may need to temp your soap batter when it’s done cooking and before you add any mix-ins to make sure it’s cool enough to do so.
Combining, Separating, and Mixing
There’s going to be quite a bit of this as you set out to make your first bars of soap, so get ready with some great bowls, utensils, and tools.
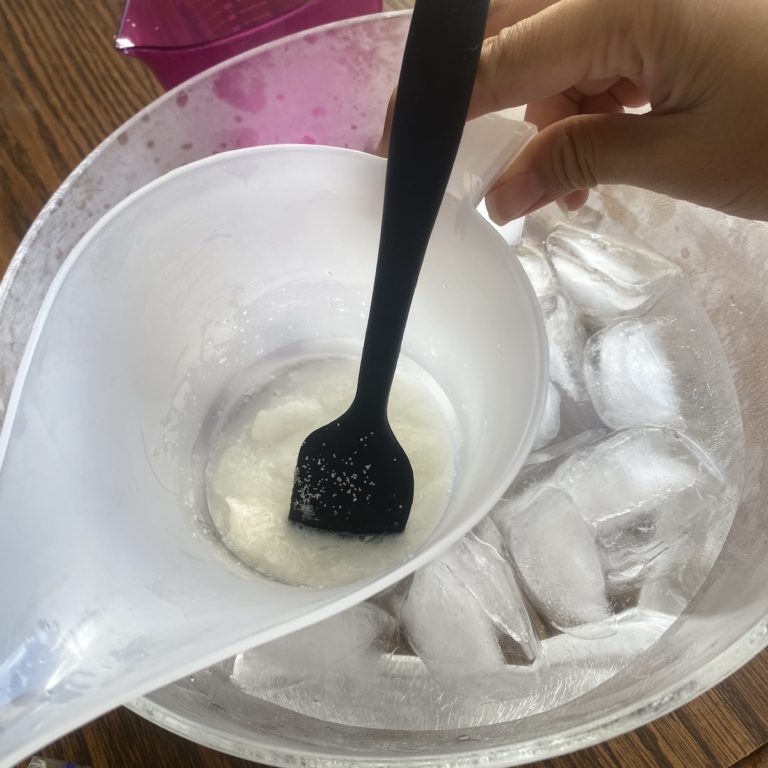
Heatproof Bowls
Stainless steel or glass are surefire materials to go with when it comes to bowls for your soap making. Because you’re dealing with a caustic substance and high temperatures, the last thing you need is your containers melting on your mid-recipe. For heatproof bowls, we would recommend the Vollrath 4-Quart Economy Mixing Bowl from Amazon.
Some plastics will hold up fine, but you’d need to look into them further before using them for making soap. For this reason, you can go with stainless steel or glass without having to look much further. Avoid aluminum, which can react poorly with lye. Some people love a stainless pitcher with a pour spout or a four-cup glass Pyrex measuring container for soap making.
Heatproof Stirring Utensils
Select some stirring utensils that can stand up to the heat you’ll encounter in making handmade soap, such as the HiramWare Silicone Spatulas.
Between the heat you intentionally created by melting oils, the heat from hot process soap making, and the naturally produced heat in the chemical reaction of mixing lye with water, you’ve got some hot stuff to deal with. Your stirring utensils need to be ready to withstand it while efficiently scraping out bowls and smoothing out tops of soap loaves.
Immersion or Stick Blender
No matter which recipe or soap making recipe you choose, your immersion blender will probably be your MVSP (most valuable soapmaking player). You’ll do quite a bit of mixing, and having an immersion or stick blender you can pulse with is going to be very important for the integrity of the soap (and to save your arm).
While using a whisk or stand mixer can take hours to bring your soap to emulsification, a stick blender can accomplish that in a minute or two. The UTALENT Immersion Hand Blender from Amazon is a great choice.
Heating
If you’re doing hot process soap, you need to identify what your external additional heat source will be. You have two options for that.
Crockpot
If you choose the hot process soap making method, a crockpot, like the Crock-Pot 3-Quart Round Manual Slow Cooker, can be a perfect set-and-forget way to provide the additional external heat your soap needs to complete the cooking process.
While it should last you a good long while, keep in mind that the caustic nature of soap batter will be problematic on the crockpot’s ceramic coating, so over time, it may wear down and crack.
If we may offer our two cents, we say you transition your current or old crockpot to become your soap making crock and buy yourself a brand new one for food.
Got one minute and fourteen seconds to watch how to make crockpot hot process handmade soap? Watch now and learn from Katie Wells of Wellness Mama:
Double Boiler
Whether you use a hot or cold process, you may choose to use a double boiler, like the ExcelSteel 3 Piece Boiler, at some point.
For the cold process, it may come in handy for merely heating your oils at the beginning of your recipe. For the hot process, you may even cook your entire batch of soap in a double boiler. You can put together your own double boiler with a pot-in-a-larger-pot method, or go with a nice new setup from Amazon.
Molding
As you work through your recipe, you’re going to reach that home stretch. After you’ve followed the recipe, monitored the temperature of your ingredients, and swirled in your add-ins, now it’s time to pour your soap into a mold that will turn it into bars.
Soap Mold
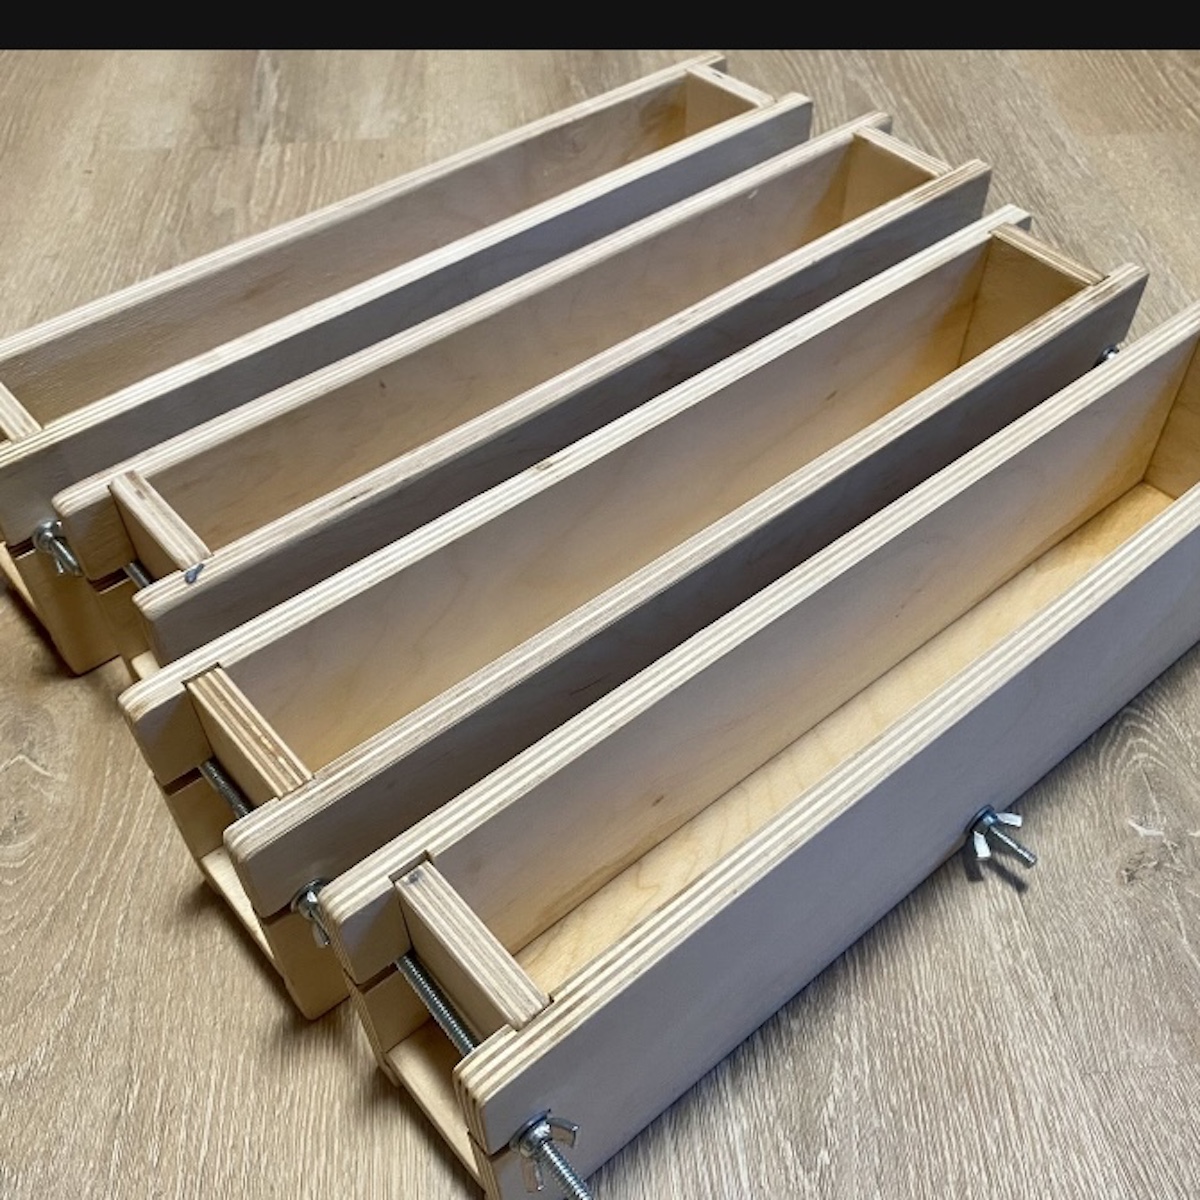
Many soapers prefer a loaf-style mold, which creates a solid rectangle of soap that must be cut into slices. Countless other mold styles exist in varying sizes and shapes, or you can even use an old cardboard box lined with parchment paper if you like. We would recommend the DD-life Flexible Rectangular Soap Silicone Loaf Mold Wood Box from Amazon.
Here are a few popular types of molds to consider:
- Silicone molds: This type is generally easy to use, unmold your soap from, and clean. Beginner and advanced soapmakers alike enjoy a quality silicone soap mold.
- Wood molds: There are some excellent wood molds out there that are perfect for a large batch of soap. Wood molds are known to make it easy to force the gel phase in the soapmaking process. Remember, if you select a wood mold, you must line it with freezer paper or a silicone lining before using it.
- Plastic molds: Many soapmakers enjoy using plastic molds for cold process soap, but they require you to take a few extra steps. If you’re making a recipe with lots of hard oils and sodium lactate added, your soap will likely come out quickly and cleanly from a plastic mold.
Interested in another perspective? Here’s a four and a half minute video with Amanda from Lovin Soap Studio, where she goes through several soap mold options and the pros and cons of each:
Soap Cutter, Miter Box, or Sharp Kitchen Knife
You have options on what to use to slice your soap into bars (if applicable, unless you use a soap mold that already separates it out into bars with cavities). A sharp kitchen knife can undoubtedly do the trick, but some soapers prefer the precision and accuracy of a soap cutter or miter box. Identify what you’d like to use and have it at the ready.
Protective Gear
As simple as they may seem, personal gear to protect your skin and eyes are essential when dealing with an acidic ingredient such as lye. That’s why we’re listing many suggestions here to make sure you have them on hand.
In addition to these items, ensure you wear long pants, long sleeves, and closed-toe shoes when you’re making soap to ensure you’re protected from any unexpected splashes that could harm your skin.
Gloves
Nothing fancy is required, but make sure you have something that will protect the skin on your hands as you measure, pour, mix, and combine all the way up to the time you’re pouring into a mold.
You may appreciate the protection that elbow-length rubber dish gloves provide, but they can get bulky as you’re trying to work. A thinner style like latex or nitrile usually works well, but be sure to pair this type of glove with long sleeves to keep everything protected.
Goggles
Your peepers are super important, so treat them as such with excellent worry-free protection against any possible splashes or harsh fumes from the lye. Chemical burns to the eyes are a particularly severe injury, so ensure your eye protection protects your eyes from all sides.
Don’t assume that regular glasses protect your eyes enough because they don’t. If you wear glasses, select protective eyewear that you can wear over them.
Face Mask
It’s not a bad idea to wear a face mask as an added layer of protection while you work with lye and its potent fumes. While this isn’t an essential material, it may help protect you, particularly if you’re sensitive to lye fumes or if you plan to make a large batch of soap.
If you learn well by watching and listening, you’ll get a lot out of this under ten-minute video about lye safety by Jamie Satterwaite of Three Little Goats:
Ingredients
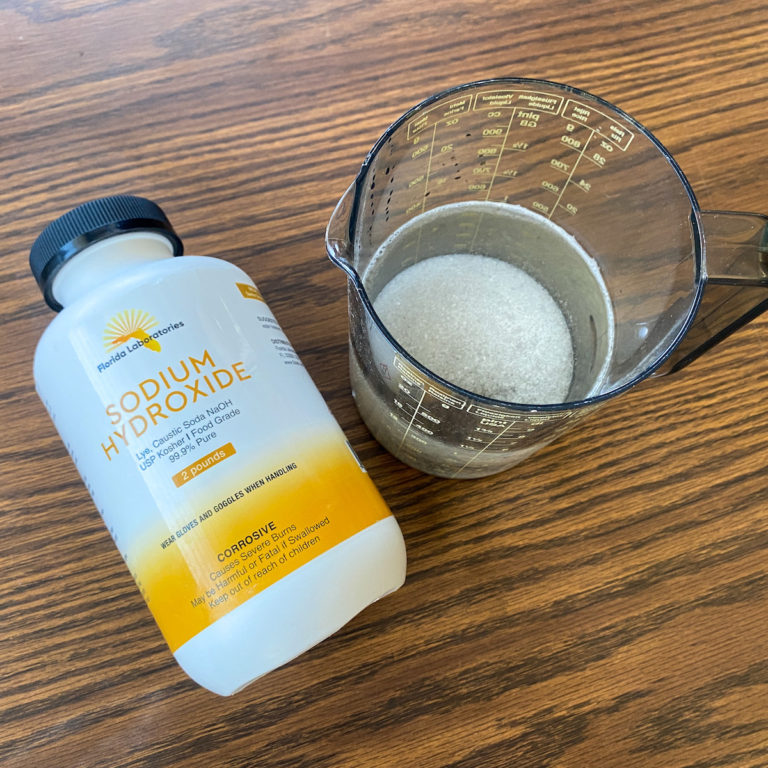
Lye
As one of the critical components in every handmade soap recipe, you absolutely need some on hand. While it seems to be harder to come by in stores as the years go by, you can always find it online. If you note one thing, note this: if it’s not one hundred percent sodium hydroxide (which is real lye), don’t buy it. You need the pure, real deal to make high quality, solid bar soap.
You can check online for many options, and you’ll find lye for sale on soapmaking vendors’ websites, as well as big online retailers like Amazon. You can choose from sodium hydroxide flakes to pearls to beads to powders. We would recommend the Essential Depot Potassium Hydroxide Flakes from Amazon.
Need some help deciding which product to go with? The folks at The Creative Folk help to take some guesswork out of this decision-making process for you. Read their article highlighting some top lye choices and the pros and cons of each.
Distilled Water
One of the ingredients needed for soap making is distilled water. The lye in almost every handmade soap recipe needs to dissolve with a liquid before proceeding to mix it with the oils. While sometimes a different liquid is called for, distilled water is a great item to have on hand and at the ready.
Oil
You know the basic science by now: lye solution + oils = soap. So, you need your oils ready, based on the recipe and what style of soap you are looking for. Common oils used for making handmade bar soap at home are coconut, olive, and palm oil, but there are countless other options out there.
We could never specify which ones are the best, as that’s a matter of personal preference, what you’re looking for in your soap, and recipe ratios.
Fragrances
It probably goes without saying that fragrances are welcome in homemade bar soaps, and it’s a great idea to stick to a natural product such as essential oils, when appropriate. Check online to see if you have a Young Living or doTERRA representative near you and support their small business, or find many middle-of-the-road quality fragrance oil options online.
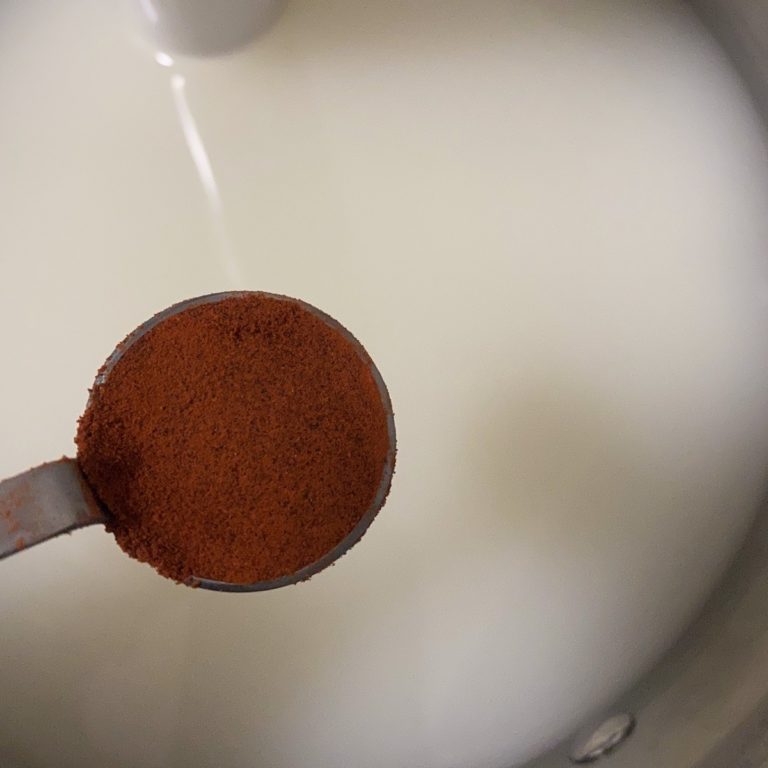
Colorants
Again, coloring your soap or leaving it a natural color is likely self-explanatory, but it is crucial to gather information before you sit down to make soap. Many soap makers appreciate working with a powdered colorant like mica powder, while for others, liquid works just fine. We would recommend the SMALL MEANING Mica Powder from Amazon.
Additives
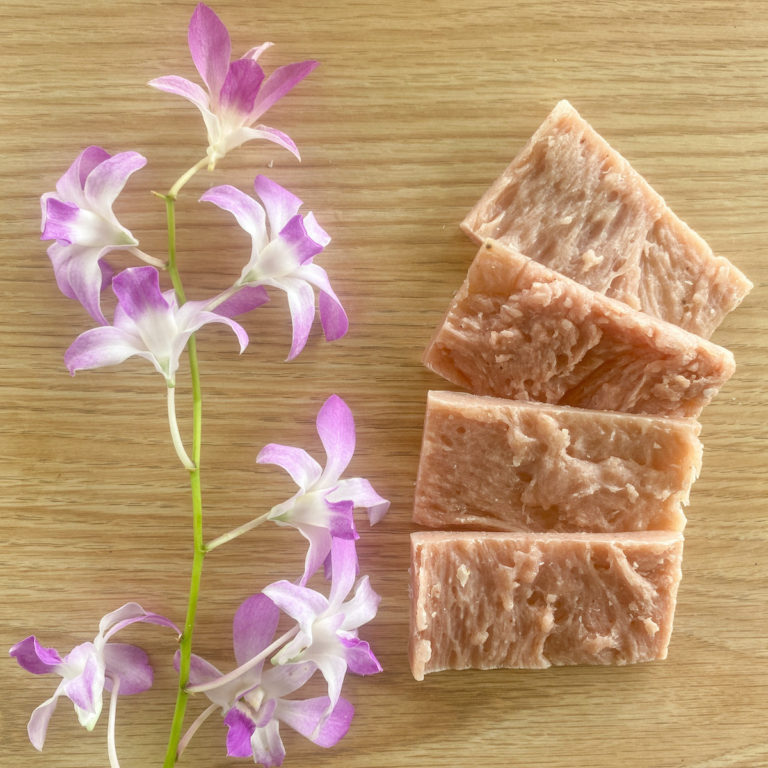
Are you dreaming of dried wildflowers sprinkled over the top of your soap? Or, how about ground coffee beans and oatmeal as added exfoliation throughout the bar? Make sure you have those ready and on hand, so you’re ready to mix them in when the time comes in the soapmaking process.
Final Thoughts
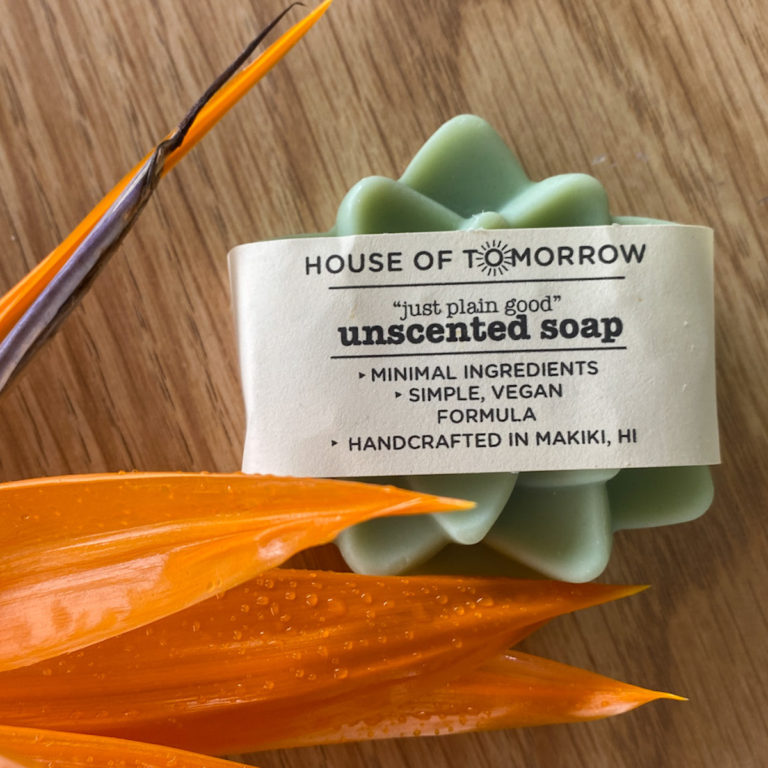
And there you have it! A handful of materials for you to gather, borrow, purchase, and prepare before you start making soap at home. Before you know it, you’ll be cranking out 100 bars of soap a week! Enjoy the soap making process, and thanks for reading.