How To Make Homemade Soap Shiny: The COMPLETE Guide
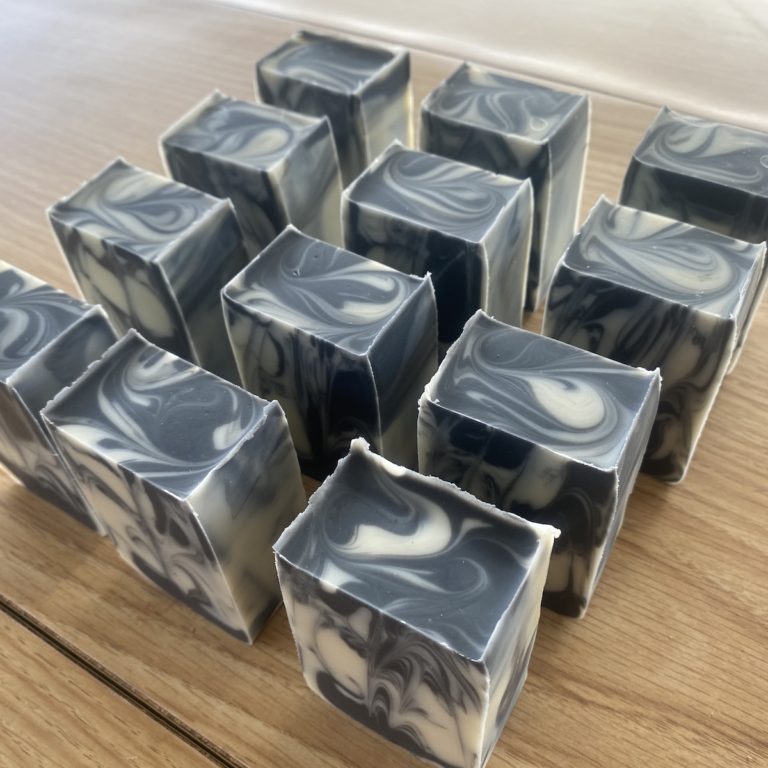
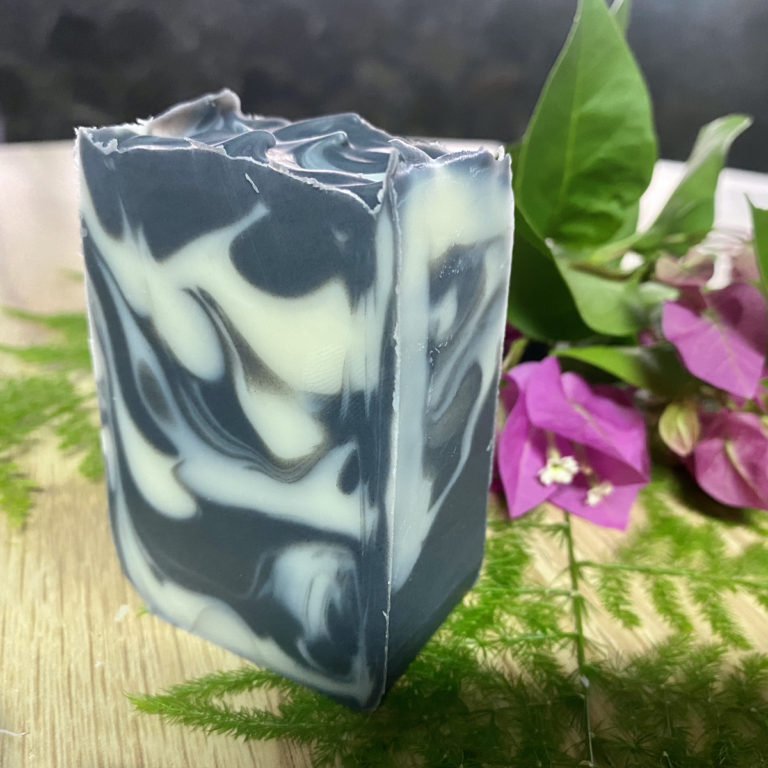
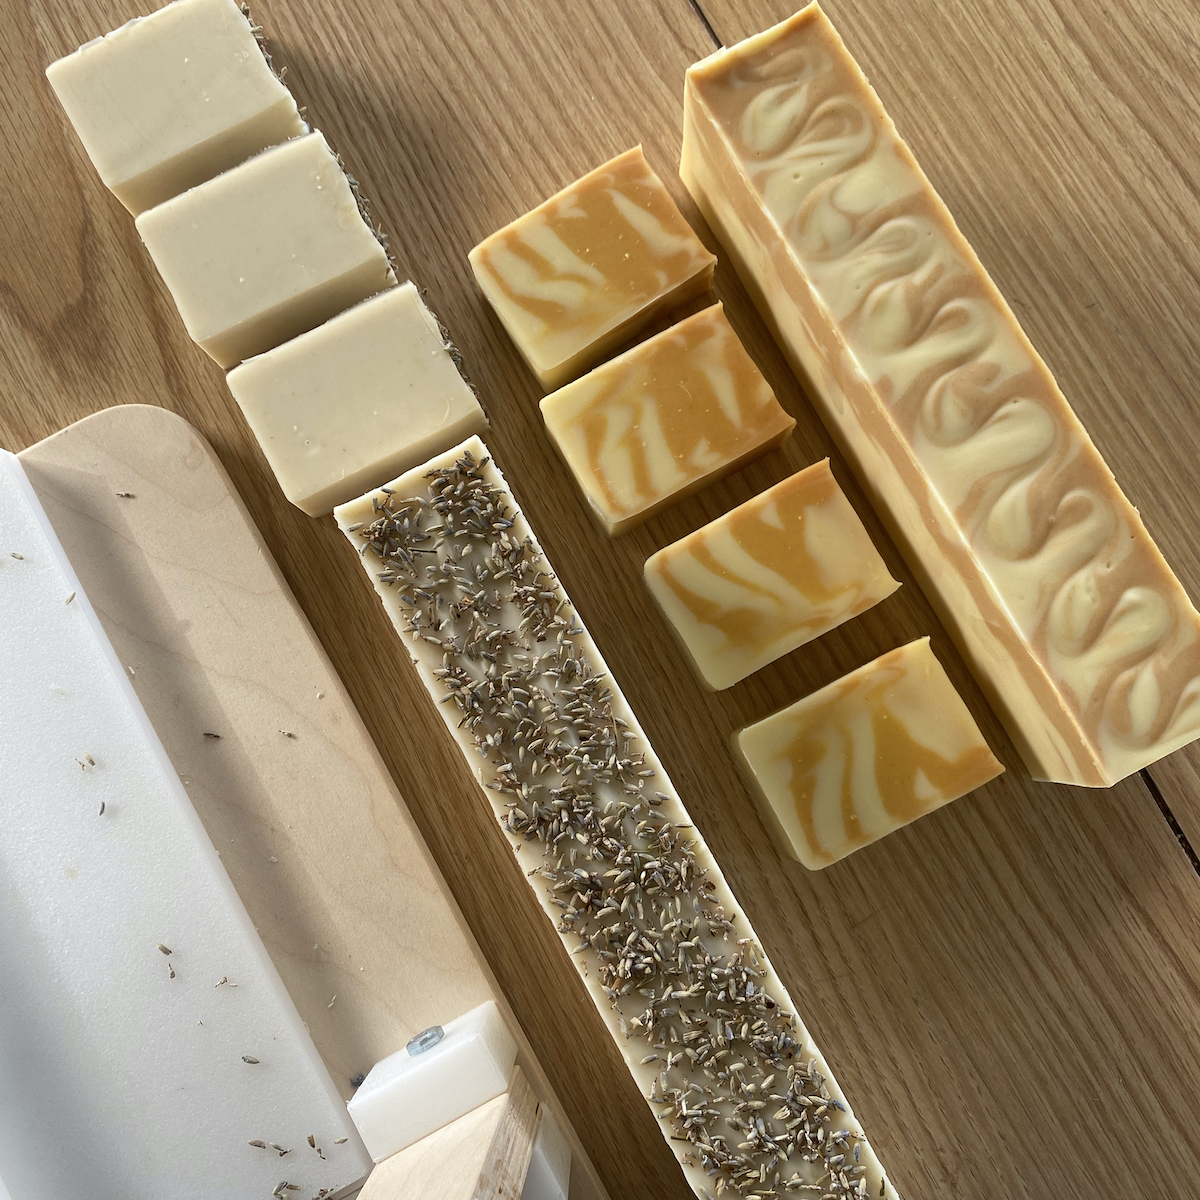
Homemade soap is one of the most rewarding projects to create. Why? Because it can be put to use (that means a lot to me). I love soap that looks old-fashion and rustic, but some prefer a nice shiny bar. There are some critical steps to ensure a glossy finish when creating soap from scratch, and sometimes its worth it to take these extra steps, especially when you’re using lots of colors that you want to highlight and show off.
We’ll cover a few different methods here, so read further to learn various techniques used to shine your soap, which can be applied in hot and cold soap-making processes.
Initial Considerations for Making Your Soap Shiny
Creating shiny soap can be done by following specific stages to achieving the desired results, or you may add one or more of these steps to improve the glossy effect on your finished product:
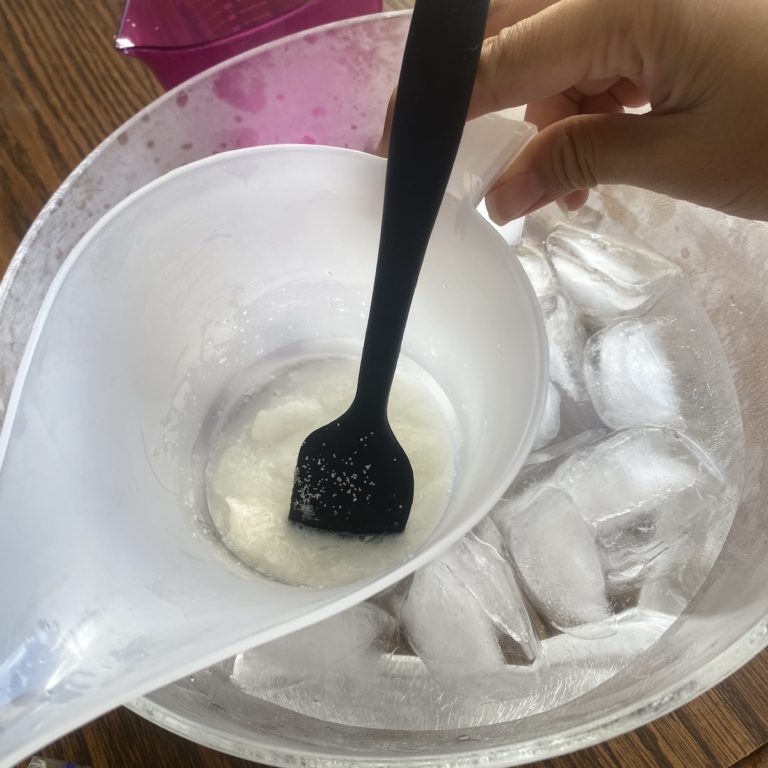
- Foregoing the immersion blender and mixing ingredients by hand will give your soap a smoother texture because it will reduce bubbles. This makes a very small difference, but it’s these small efforts that add up to help you increase the level of shine.
- Wear cotton gloves to polish or “shine” the soap, remove any residue, and change gloves once covered in a soap film. Here are instructions from soap-making-essentials.com about exactly how you would do it (rub it across your palms with the gloves on).
- Polishing can also be done with a clean cotton cloth if you don’t want to use gloves.
These methods can be time-consuming, though they are worthwhile if you’re looking to create that glossy look for your soap. There are other ways to increase shine, covered in the next section.
Step-by-Step Process to Creating a Shiny Finish on Your Homemade Soap
The following steps are easy to apply and can be used on any type of soap made from scratch to create a shiny finish. It is best to begin this procedure the following day after your batch of soap is finished. You’ll need a clear and clean surface, such as a table and a pair of gloves (disposable rubber gloves work well), a large box or container, parchment paper, and a medium glass or bowl of cold water:
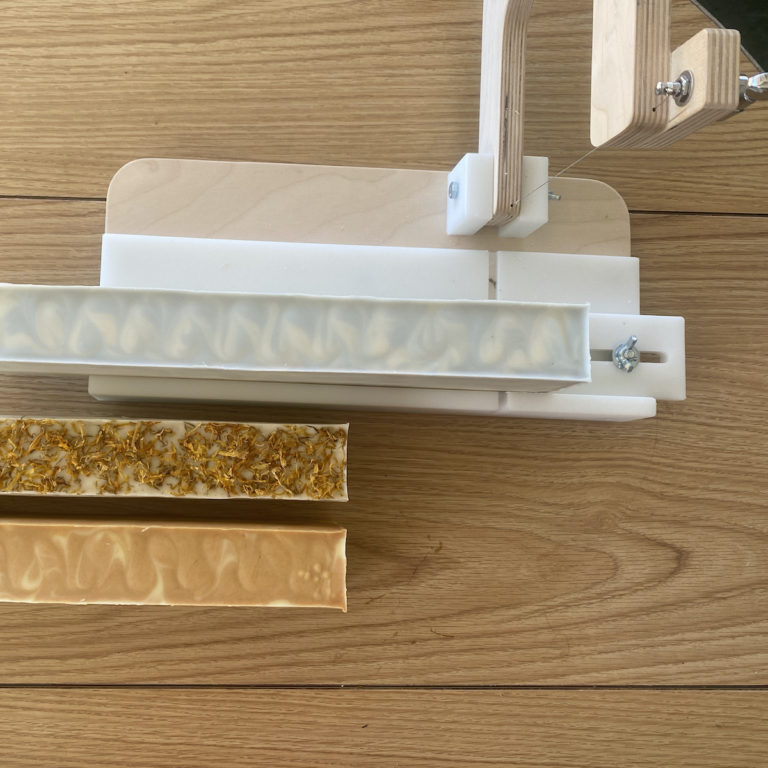
- Arrange all the bars of soap on one side of the table after they’ve been cut to size evenly.
- Prepare a cardboard box or similar container lined with parchment paper. This container should be large enough to fit all the soap pieces to be spaced apart evenly, without touching.
- Place the bowl of cold water in the center of the table—the bars of soap on one side, and the parchment-lined container.
- With the gloves on, pick up each bar of soap individually. Dip the bar in the water, ensuring all sides are coated, then place on the parchment paper.
- Allow all the soap bars coated in water to air out in the box. Place the container in front of a fan for about a day.
An Alternative Method to Preparing Homemade Soap and Increasing Shine
This method is best used with finished, cut bars of soap with either a smooth or rugged surface. For this process, you will need a rubbing alcohol (to remove any soda ash residue that may have formed on your soap), a spray bottle, rubber gloves, a professional soap planer (and beveled edge or vegetable peeler), a paper towel or cheesecloth, and a bowl of cold water:
- Pour rubbing alcohol into a spray bottle. You’ll need just enough to spray the surface of each bar to remove the soda ash.
- Before handling the soap, make sure you’re wearing gloves. Pick up each bar of soap, with the rugged surface or area where the soda ash is present, and spray with the bottle evenly. Spray just enough to coat these areas lightly.
- Allow the rubbing alcohol on the soap to evaporate. Dab any excess with a clean cloth or paper towel. All the soda ash should be gone after this stage.
- Using a professional bevel or plane, position to the lowest setting. This process will ensure that only a minimal amount of the soap’s surface is peeled off until you achieve the desired results. Include all the edges until each side is smooth
- Use the angled or beveled edge to shave the edges smooth. You can also use a vegetable peeler to complete this stage. Use minimal pressure when applying the peeling method to avoid taking too much off the sides of the soap.
- You may notice a shine to the soap at this stage and may stop after this stage. To increase the finished product to a high gloss, continue with the next steps.
- Following the previous procedure, submerge each bar of soap into cold water. Place each piece on a paper towel or clean surface to air dry.
Tips To Follow When Shining Your Bars of Homemade Soap
Once you’ve completed one of the above two processes, you’ll notice a clean, glossy finish on all bars of soap. There are a few tips to keep in mind when shining your soap:
- Always wear your gloves, as your fingerprints can make the shiny effect uneven or blotchy.
- Ensure that each bar of soap is coated with water on all sides. Otherwise, the glossy shine will not be consistent. If there are any rugged or rough edges, this may also impact the appearance.
- If you decide to add a stamp or design to each bar of soap, ensure that the full shining process is completed before adding a logo or picture.
- Check to make sure all soda ash is completely removed before you begin planing, bevelling, and coating each bar in water. This step will prevent foggy or cloudy patches on the soap.
- All materials should be clean and disinfected before use. Any residue from a previous project left on the gloves, in the glass bowl, or on any surface may interfere with the shine or finish quality.
The best part of the shining process is how easy it is! Besides having all the required equipment, you will want to make enough space to allow the soap to dry and air out for best results. If you’re new to soap-making, you’ll find the process takes time to get used to, including the shining. It’s essential to take the time you need and allow for at least one or two “practice” batches if you’re a beginner.
Soap-making is a fun and creative process where you can find new, innovative ways to combine ingredients and designs for each batch. Whether you make soap for personal or professional reasons, a shiny finish is one of the most important ways to increase aesthetic appeal. It highlights any designs, color combinations, and flowers or herbs inside each bar while making it presentable as a gift or display.
Final Thoughts
The soap shining process is often the simplest part of soap making, and it is a relaxing and rewarding activity. It is the final step to enhancing the presentation of your finished product. Soap-making is a wonderful hobby to practice on your own or with family and friends.
Once you become familiar with shining, you’ll find many ways to expand your creative skills with each batch. With proper supervision, and following safety guidelines such as using personal protective equipment, soap making and shining can be done with children and family as a rewarding pastime.